 Save
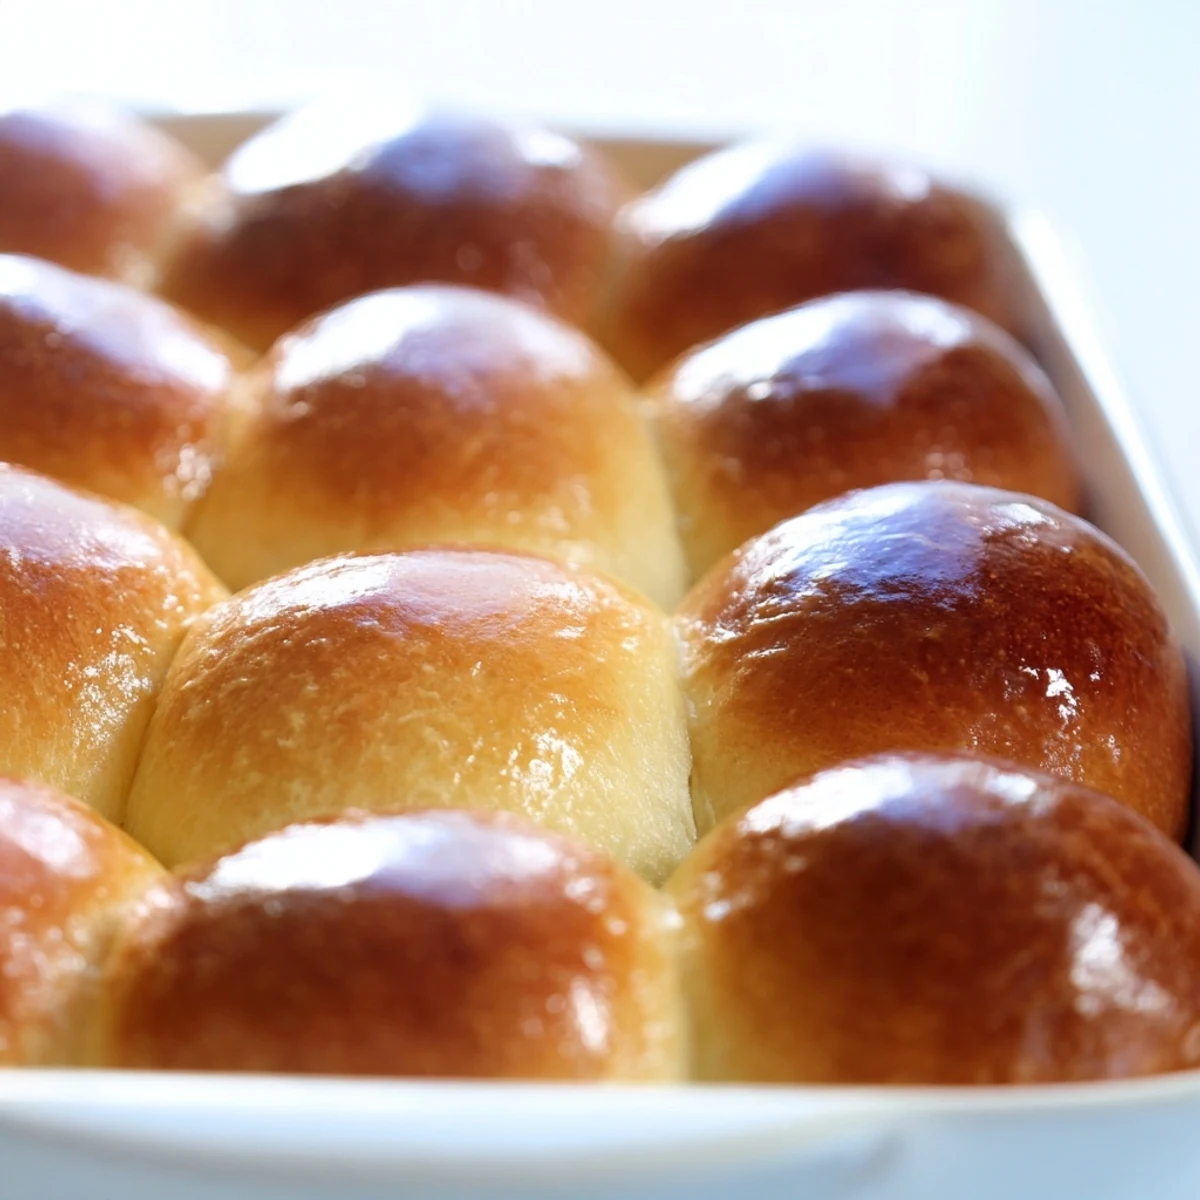
Save These homemade brioche rolls deliver restaurant-quality texture with an incredibly tender crumb and golden, glossy crust. The secret lies in incorporating softened butter gradually during kneading, creating those signature airy pockets and rich flavor French baking is known for.
While the total time includes rising periods, active preparation takes just 25 minutes. Your patience during the two proofing stages rewards you with pillowy, golden rolls that elevate any meal from ordinary breakfast toast to gourmet dinner sliders.
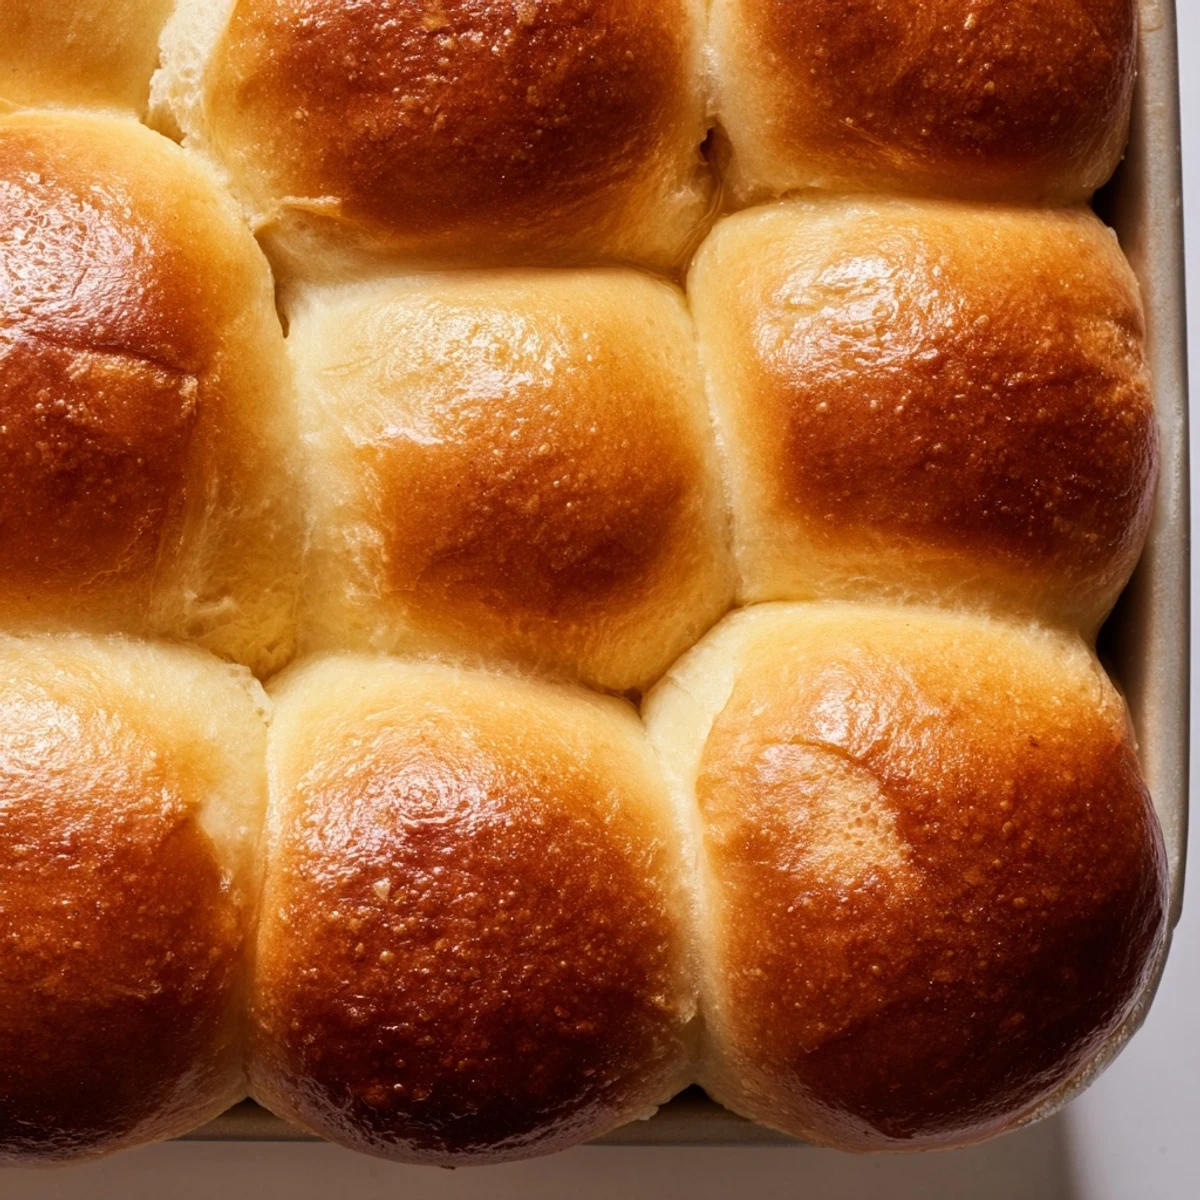
The dough yields perfectly portioned balls that rise into beautiful, bakery-style domes. An egg wash creates that irresistible shine and deep color. These rolls freeze beautifully, so you can bake once and enjoy fresh bread for weeks.
The smell of brioche baking takes me back to a tiny Paris apartment where I once spent a rainy afternoon watching rain streak the windows while butter melted in a copper pot. My host pulled these golden rolls from the oven, breaking one open to release steam that fogged up her glasses for a moment. Now every time I make them, my kitchen fills with that same impossible warmth.
Last Christmas morning, my sister took one bite and immediately declared she would never buy grocery store rolls again. She stood by the oven watching them brown, stealing warmth, while coffee brewed in the background and snow fell outside the window.
Ingredients
- All-purpose flour: Provides structure without making the rolls too dense, protein content matters here for that perfect rise
- Granulated sugar: Feeds the yeast and adds just enough sweetness to complement the butter without becoming dessert
- Instant dry yeast: Reliable and forgiving, no proofing needed though it still needs that warm milk to wake up properly
- Fine sea salt: Crucial for balancing all that butter and sugar, coarse salt would leave strange pockets in the soft crumb
- Large eggs: Must be room temperature or they will shock the dough and mess up your beautiful emulsion
- Whole milk: Lukewarm means barely warm to the touch, hot enough to activate yeast but not kill it dead
- Unsalted butter: Softened and cubed makes all the difference, trying to incorporate cold butter creates a chaotic mess
- Egg wash: That single egg with milk creates the glossy burnished top that makes these look professionally made
Instructions
- Combine the dry foundation:
- Start by whisking flour, sugar, yeast, and salt in your stand mixer bowl, letting the warm yeast smell fill the air before anything else happens
- Bring the dough together:
- Add room temperature eggs and that lukewarm milk, mixing on low until the shaggy mess starts to resemble something hopeful
- Incorporate the butter patiently:
- With mixer running on medium, drop in those softened butter cubes one by one, watching the dough transform from rough to satiny as each piece disappears
- Let the magic happen:
- Knead for 8 to 10 minutes until the dough pulls away from the bowl and feels like silk between your fingers, then cover and let it rise somewhere warm until doubled
- Shape with intention:
- Punch down gently, divide into 12 pieces, and form each into a smooth tight ball by tucking the edges underneath with the heels of your hands
- Second rise anticipation:
- Place those little dough balls in your greased pan, giving them space to puff up gloriously while covered for 45 to 60 more minutes
- Preheat and prepare:
- Heat your oven to 350°F and whisk that egg with milk, brushing it over the risen rolls as gently as you would pet a sleeping cat
- Bake to perfection:
- Slide the pan into the hot oven and bake 18 to 22 minutes until they turn that deep golden color that makes your whole house smell like a French bakery
 Save
Save My roommate once tried to shortcut the butter step and ended up with strange oily streaks through her supposedly fancy dinner rolls. We ate them anyway, standing over the sink with butter knives, laughing at how ambition often meets reality in the kitchen.
Making These Ahead
The dough actually benefits from an overnight rest in the refrigerator, developing deeper flavor while you sleep. Just let it come to room temperature for about 30 minutes before shaping the next morning.
Getting That Perfect Shape
I learned that tucking the dough underneath itself creates surface tension, giving each roll a smooth tight top instead of a wrinkly confused blob. A little flour on your hands keeps everything manageable without drying out the dough.
Serving Suggestions
These rolls shine alongside a bowl of hearty soup or as the foundation for breakfast sandwiches with scrambled eggs and melted cheese. They also freeze beautifully if you can resist eating them all the first day.
- Split and toast leftovers, then slather with salted butter and honey
- Use slightly stale rolls for the most incredible bread pudding you have ever tasted
- Warm them for 10 seconds in the microwave before serving to recreate that fresh baked texture
 Save
Save There is something profoundly satisfying about pulling a pan of homemade bread from the oven, the golden tops gleaming, knowing you created something that will bring people together around your table.
Your Recipe Questions Answered
- → Why is my brioche dough not smooth after kneading?
-
The dough goes through a shaggy phase before becoming smooth. Keep kneading on medium speed for the full 8-10 minutes. The butter needs time to fully incorporate and develop gluten structure. If the dough seems too sticky, chill it for 10 minutes then continue kneading.
- → Can I make these rolls without a stand mixer?
-
Yes, though it requires more effort. Mix by hand using a wooden spoon until combined, then turn onto a floured surface. Knead by hand for 15-20 minutes, pressing and folding the dough until smooth and elastic. The butter will still incorporate, just take your time adding it gradually.
- → How do I know when the rolls are fully baked?
-
Look for a deep golden brown color on top. The internal temperature should reach 190-200°F when measured with a kitchen thermometer. Gently tap the bottom—if it sounds hollow, they're done. The rolls should feel firm but spring back when pressed lightly.
- → Can I prepare the dough ahead of time?
-
Absolutely. After the first rise, punch down the dough and refrigerate overnight in a covered bowl. The cold slows fermentation, developing deeper flavor. Let it come to room temperature for 30 minutes before shaping and proceeding with the second rise.
- → What's the best way to store and reheat these rolls?
-
Store in an airtight container at room temperature for up to 3 days. For longer storage, wrap individually and freeze for up to 3 months. Reheat frozen rolls at 350°F for 5-7 minutes. Day-old rolls refresh beautifully when warmed in a 300°F oven for 5 minutes.
