 Save
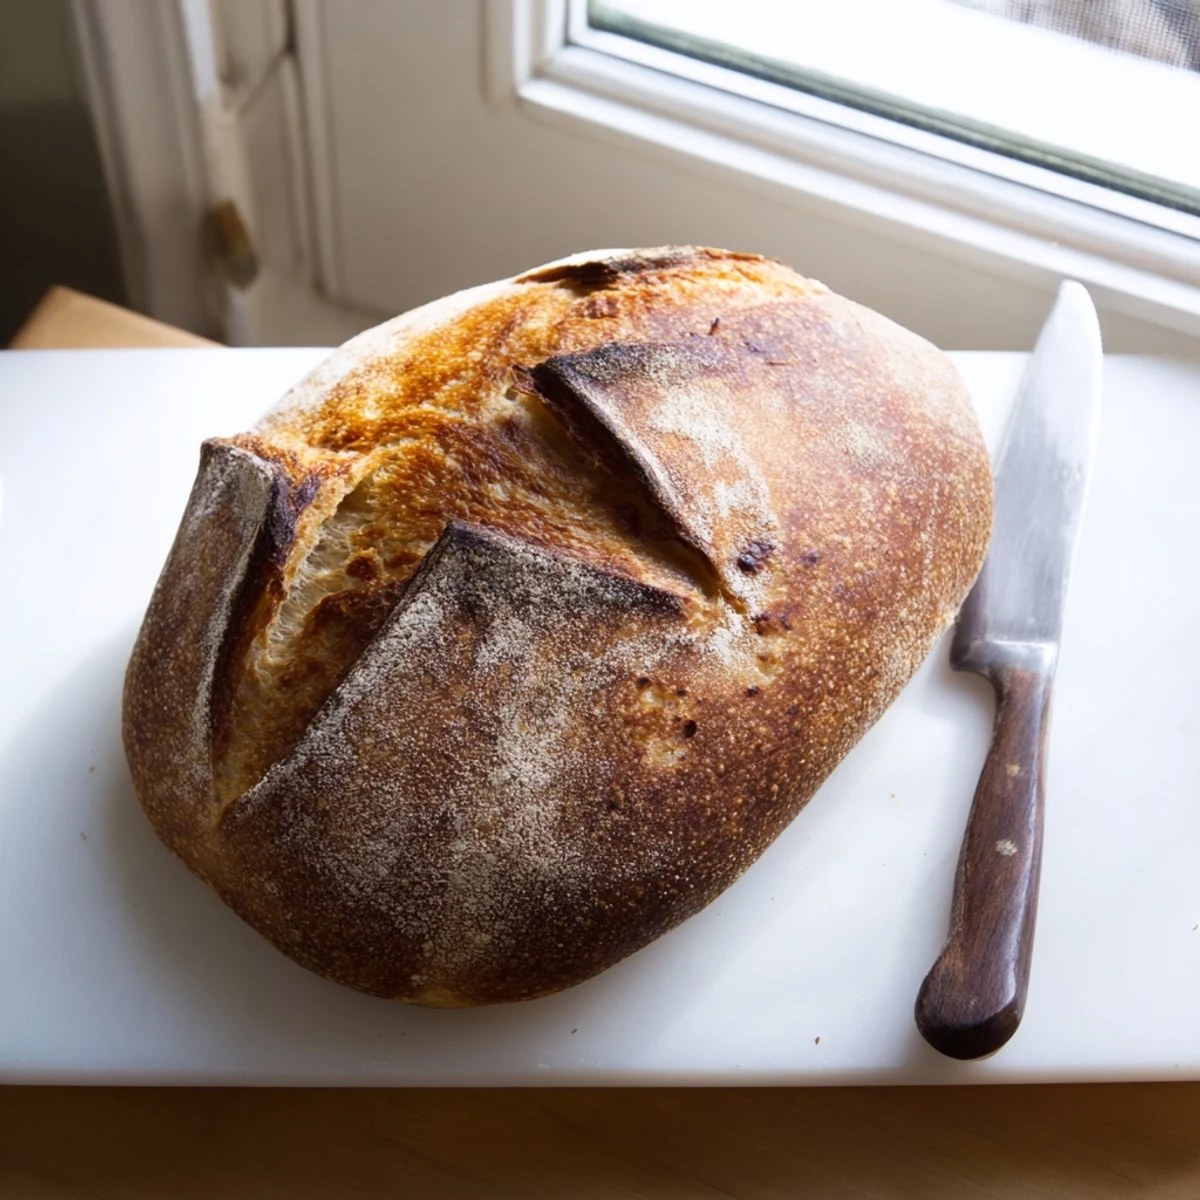
Save Craft a stunning crusty loaf with minimal effort and maximum flavor. This European-inspired bread features a delightfully chewy crumb and crackling golden crust, achieved through straightforward techniques. The dough requires only basic pantry staples—bread flour, water, yeast, and salt—making it accessible for home bakers of any experience level. After a simple rise period, the high-heat baking method creates that signature artisan appearance and texture. Enjoy freshly baked slices warm from the oven, paired with olive oil, butter, or your favorite soups and stews.
There is something magical about four simple ingredients transforming into crackling, golden bread. My first attempt left me staring at the oven door, watching the loaf puff up like a sleepy creature waking up. The smell that filled my kitchen made it impossible to wait for the bread to cool completely. I burned my fingers tearing off that first warm chunk.
My sister visited last winter and we made three loaves in one weekend. We sat at the kitchen table watching snow fall outside, dipping warm bread into olive oil and talking until the bread was gone. Now she texts me every time she bakes a loaf, describing the sound of the crust cracking.
Ingredients
- Bread flour: The higher protein content creates that chewy artisan texture we all love
- Salt: Do not skip this or your bread will taste flat and uninspired
- Instant yeast: No proofing needed just mix it right in with the flour
- Lukewarm water: Think bath temperature hot enough to activate yeast but not kill it
- Cornmeal or semolina: Prevents sticking and adds a subtle crunch to the bottom crust
Instructions
- Mix the dough:
- Combine flour, salt, and yeast in a large bowl. Pour in the water and stir until everything comes together into a shaggy, sticky mess.
- Let it rise:
- Cover the bowl with plastic wrap or a damp towel. Walk away for 1 to 2 hours until the dough has doubled in size and looks puffy.
- Shape the loaf:
- Turn the dough onto a floured surface and fold the edges underneath to form a rough ball. Place it seam side down on parchment paper.
- Rest again:
- Cover the dough and let it rest for 30 minutes while you preheat your oven to 450°F with a Dutch oven inside if you have one.
- Score and bake:
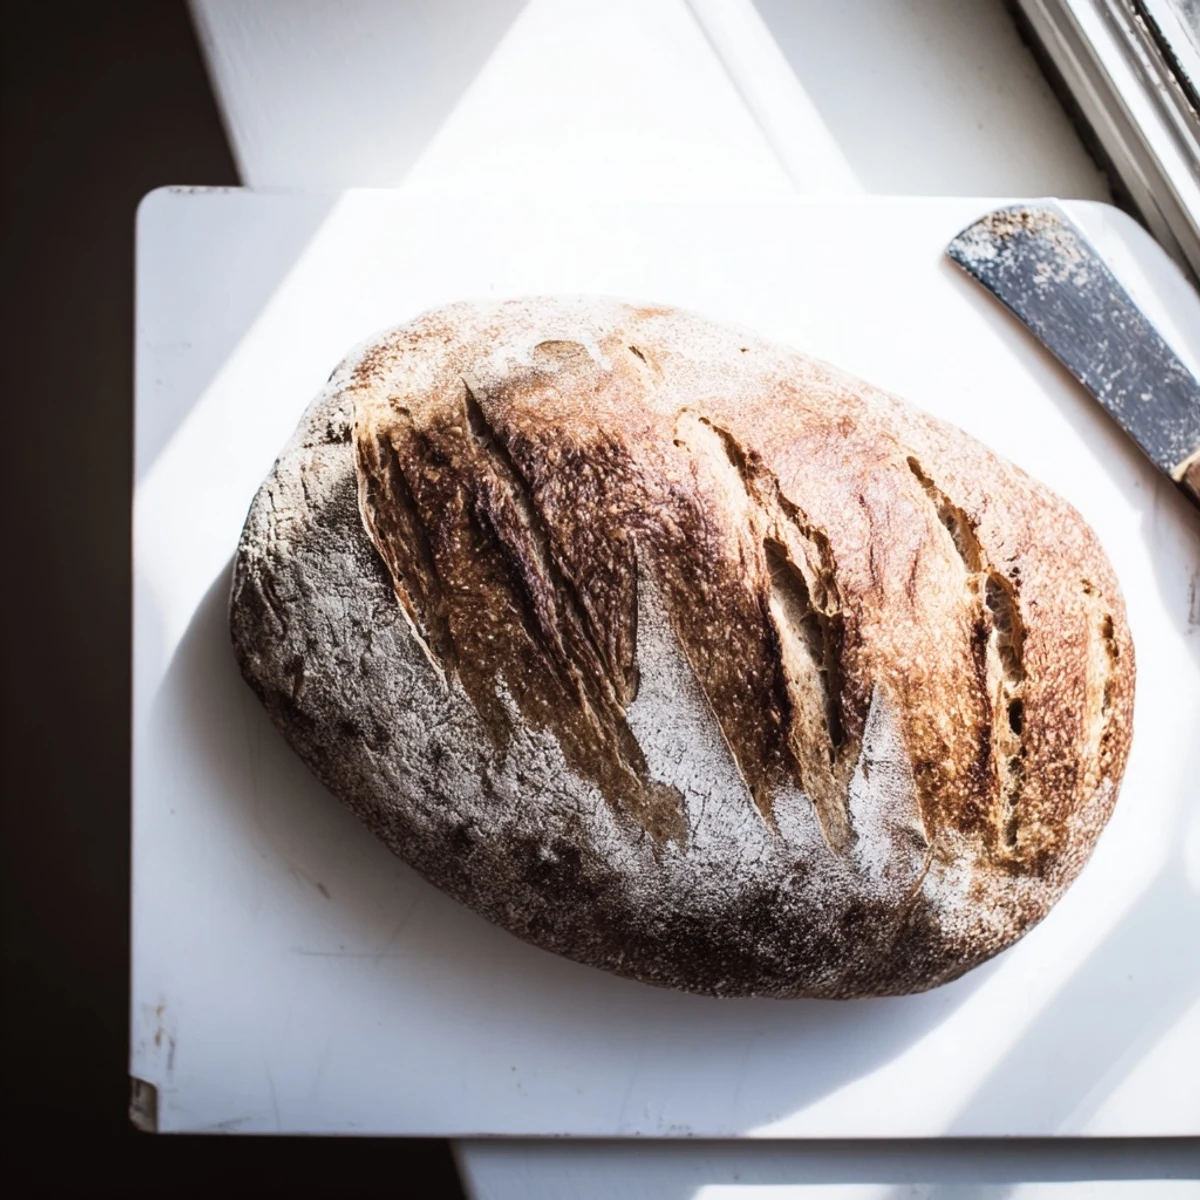
- Cut a slash across the top of the loaf with a sharp knife. Bake covered for 25 minutes then uncovered for 15 more minutes until deep golden brown.
 Save
Save This bread became my go to for housewarming gifts and dinner parties. Friends started asking for the recipe, and I realized something so simple could mean so much. There is genuine joy in breaking bread you made yourself.
Making It Your Own
Once you master the basic recipe, try adding mix ins like chopped rosemary, roasted garlic, or shredded cheese. The base dough is incredibly forgiving and welcomes creativity.
Storage And Freshness
Homemade bread has no preservatives so it dries out faster than store bought loaves. Keep it wrapped in a cloth or paper bag at room temperature for up to 2 days. After that, slice and freeze it for perfect toast.
Serving Suggestions
Warm slices with salted butter are simple perfection. This bread also makes the best grilled cheese or French toast you have ever tasted. The sturdy texture stands up to soups and stews without falling apart.
- Try it with olive oil and balsamic for dipping
- Use day old bread to make croutons or breadcrumbs
- Pair with a cheese board and your favorite wine
 Save
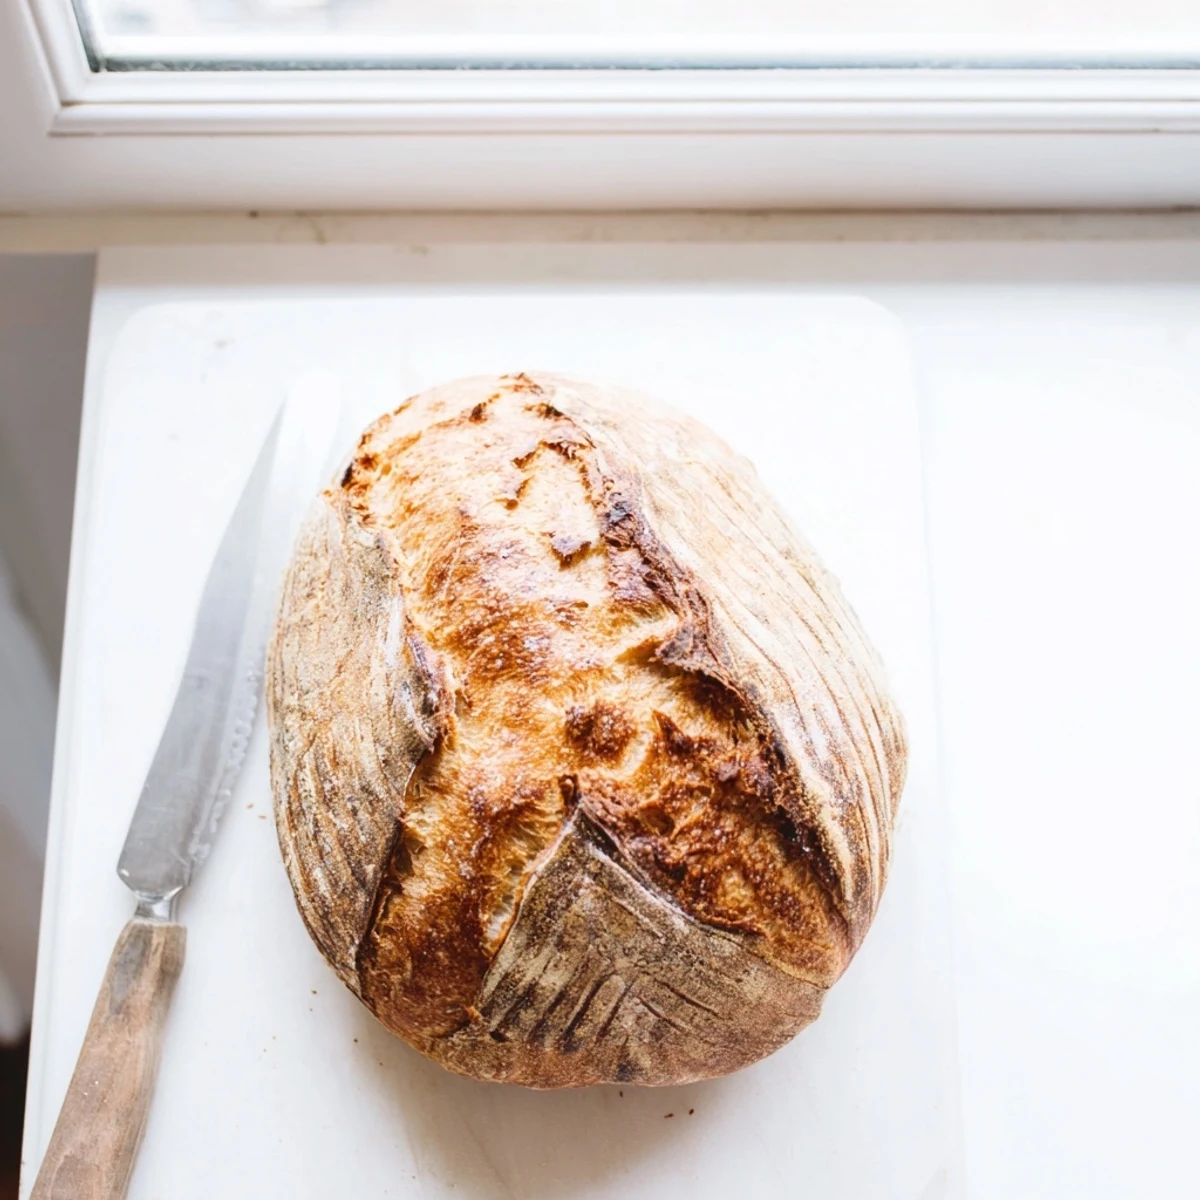
Save There is nothing quite like the sound of a fresh loaf crackling as it cools on your counter. Happy baking.
Your Recipe Questions Answered
- → What makes this bread rustic?
-
The rustic character comes from the high-temperature baking method, which creates a thick, crackling crust and a moist, chewy interior. The simple shaggy dough texture before rising also contributes to the authentic artisan appearance.
- → Can I use all-purpose flour instead of bread flour?
-
While bread flour provides the best structure and chewiness due to its higher protein content, all-purpose flour will work. The texture may be slightly less chewy, but still delicious.
- → Why is a Dutch oven recommended?
-
A Dutch oven traps steam during baking, creating the perfect environment for a crispy crust and excellent oven spring. It mimics professional steam-injected ovens used by artisan bakers.
- → How do I know when the bread is done?
-
The crust should be deep golden brown, and when you tap the bottom of the loaf, it should sound hollow. An instant thermometer inserted into the center should read 190-200°F (88-93°C).
- → Can I add mix-ins like herbs or cheese?
-
Absolutely. Rosemary, thyme, garlic, or grated cheese can be folded in during step 2. Keep additions to roughly 1/4 cup total to maintain proper dough structure.
- → How should I store the finished loaf?
-
Store at room temperature in a paper bag or loosely wrapped in cloth for up to 2 days. For longer storage, slice and freeze in an airtight bag, then toast individual slices as needed.
