 Save
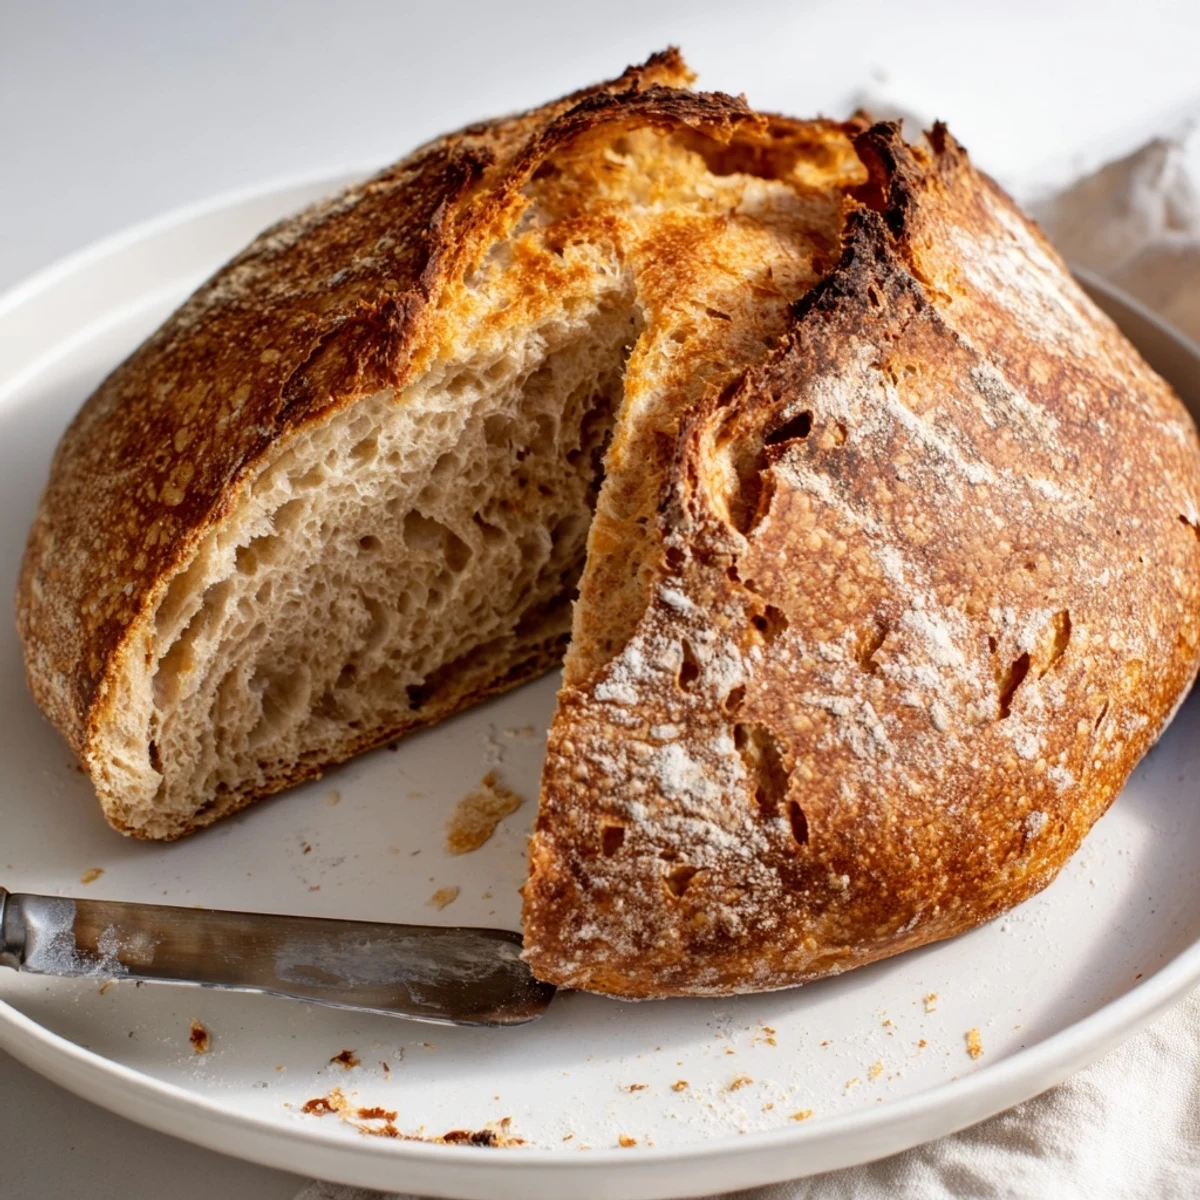
Save Crafting professional-quality bread at home has never been easier. This revolutionary method eliminates kneading entirely, relying on time and steam to develop flavor and texture. The result? A crackling golden crust enclosing a tender, airy interior with those coveted irregular holes.
The process mixes flour, salt, yeast, and water into a shaggy dough, then lets fermentation work its magic over 12–18 hours. A quick shape and 45 minutes in a preheated Dutch oven produces bakery-worthy loaves that rival any artisan bakery.
The smell of this bread baking fills the whole house with that unmistakable bakery warmth that makes everyone wander into the kitchen, asking if there is anything ready to eat yet. My first attempt at no-knead bread happened on a rainy Sunday when I refused to go to the grocery store but still wanted something fresh for dinner soup.
I once forgot about my dough until almost 20 hours later, panicked, and baked it anyway. That accidental loaf turned out to be the most flavorful bread I have ever made, which taught me that patience really does equal flavor in bread making.
Ingredients
- 3 1/4 cups bread flour: Bread flour gives you that chewy interior we all love, but all-purpose works perfectly fine if that is what you have in your pantry
- 1 1/2 teaspoons salt: Do not skimp on this because salt is what actually develops the flavor during those long resting hours
- 1/2 teaspoon instant yeast: A tiny amount does all the heavy lifting while you sleep or go about your day
- 1 1/2 cups lukewarm water: Think bath temperature warm, about 100 degrees Fahrenheit, because too hot will kill your yeast and too cold will slow everything down
- Extra flour or cornmeal: This prevents sticking and adds a nice subtle texture to the bottom crust
Instructions
- Mix your dough:
- Whisk the flour, salt, and yeast in a large bowl, then pour in the warm water and stir until everything comes together into a shaggy, sticky mess. Do not worry about how it looks because the hydration is exactly what creates those beautiful air pockets inside.
- Let it rest:
- Cover the bowl tightly with plastic wrap or a clean towel and walk away for 12 to 18 hours. The dough should bubble up and double in size, developing that distinctive sourdough-like flavor without any starter maintenance.
- Shape the loaf:
- Scrape the dough onto a floured surface and gently fold the edges toward the center to form a rough ball, using plenty of flour on your hands to prevent sticking. Place it seam-side down on parchment paper and let it rest while your oven heats up.
- Preheat your Dutch oven:
- Put your Dutch oven and its lid into a cold oven, then crank the heat to 450 degrees and let it get screaming hot for at least 30 minutes. This preheating step is absolutely crucial for getting that professional-style crust.
- Bake covered:
- Carefully lift the parchment paper and lower the dough into the hot Dutch oven, cover immediately with the lid, and bake for 30 minutes. The trapped steam creates the perfect environment for oven spring and crust development.
- Finish uncovered:
- Remove the lid and bake for another 12 to 15 minutes until the loaf is deep golden brown and sounds hollow when tapped on the bottom. Let it cool completely on a wire rack before slicing into it.
 Save
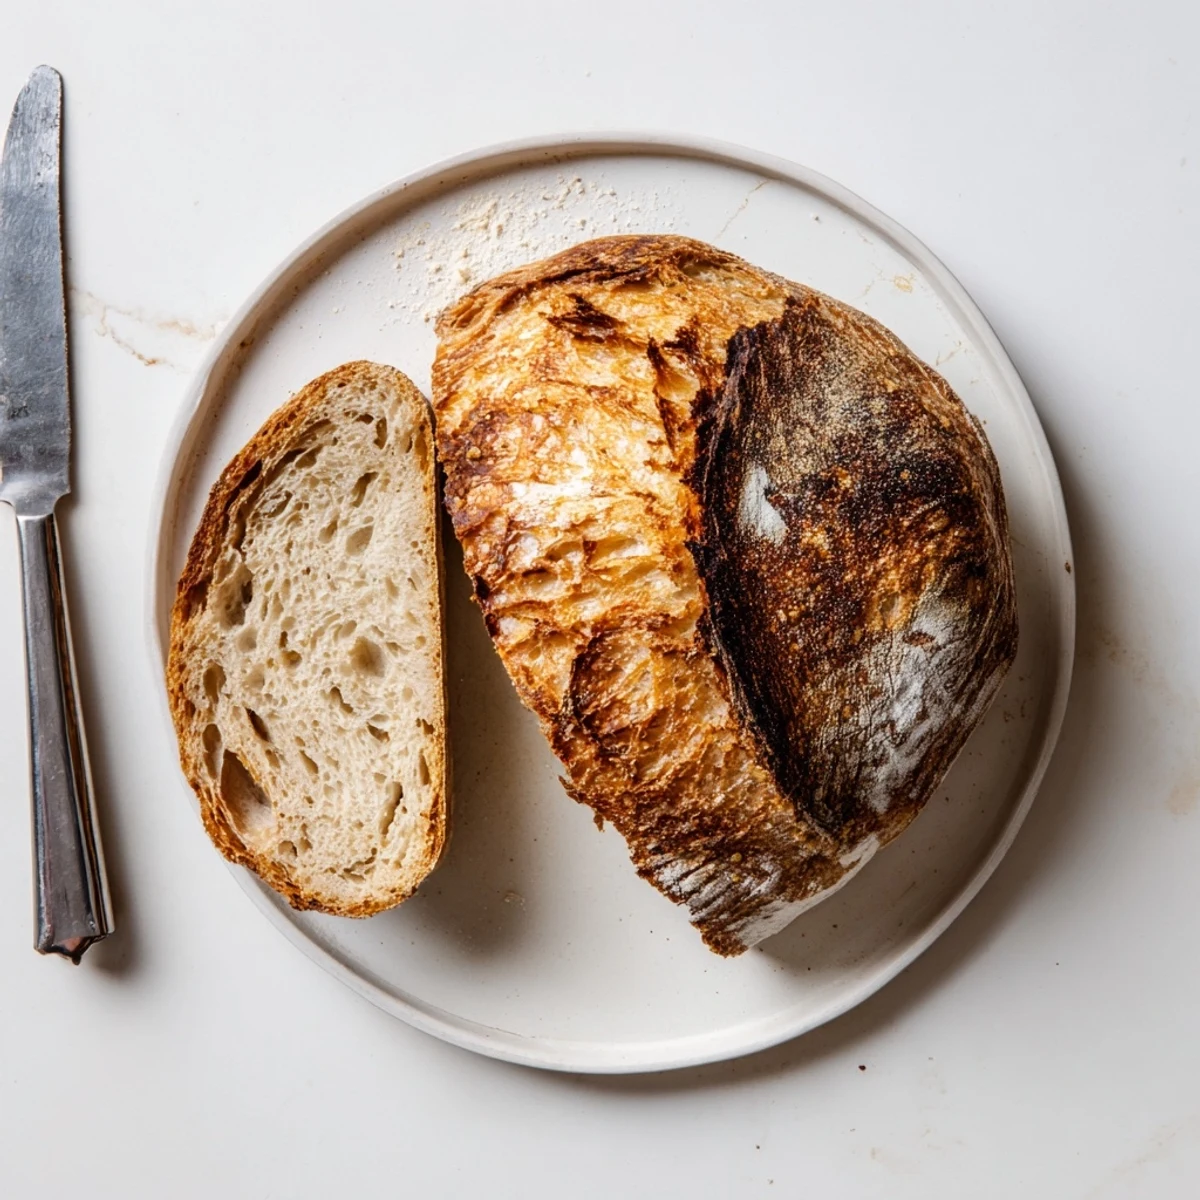
Save This bread has become my go-to whenever friends come over for dinner because it looks so impressive coming out of the oven, yet I barely did any work. People always ask for the recipe, and their faces light up when I explain how simple it actually is.
Making This Your Own
Once you have mastered the basic version, try mixing in half a cup of chopped olives, toasted nuts, or dried fruit right at the beginning with the dry ingredients. Whole wheat flour can replace up to one third of the white flour for a heartier loaf and nuttier flavor.
Timing Strategies
I usually mix the dough before bedtime so it can ferment overnight, then shape and bake it first thing in the morning. Alternatively, mix it in the morning before work and bake when you get home for fresh bread with dinner.
Serving Ideas
This bread is incredible on its own, but try serving it with really good olive oil and flaky salt, or slathered with salted butter while still slightly warm. It also makes the most amazing grilled cheese or panini the next day.
- Wrap any leftovers in a clean cloth rather than plastic to keep the crust nice and crisp
- Day-old bread makes perfect croutons or breadcrumbs for later use
- The loaf freezes beautifully if you want to double the batch and save one for later
 Save
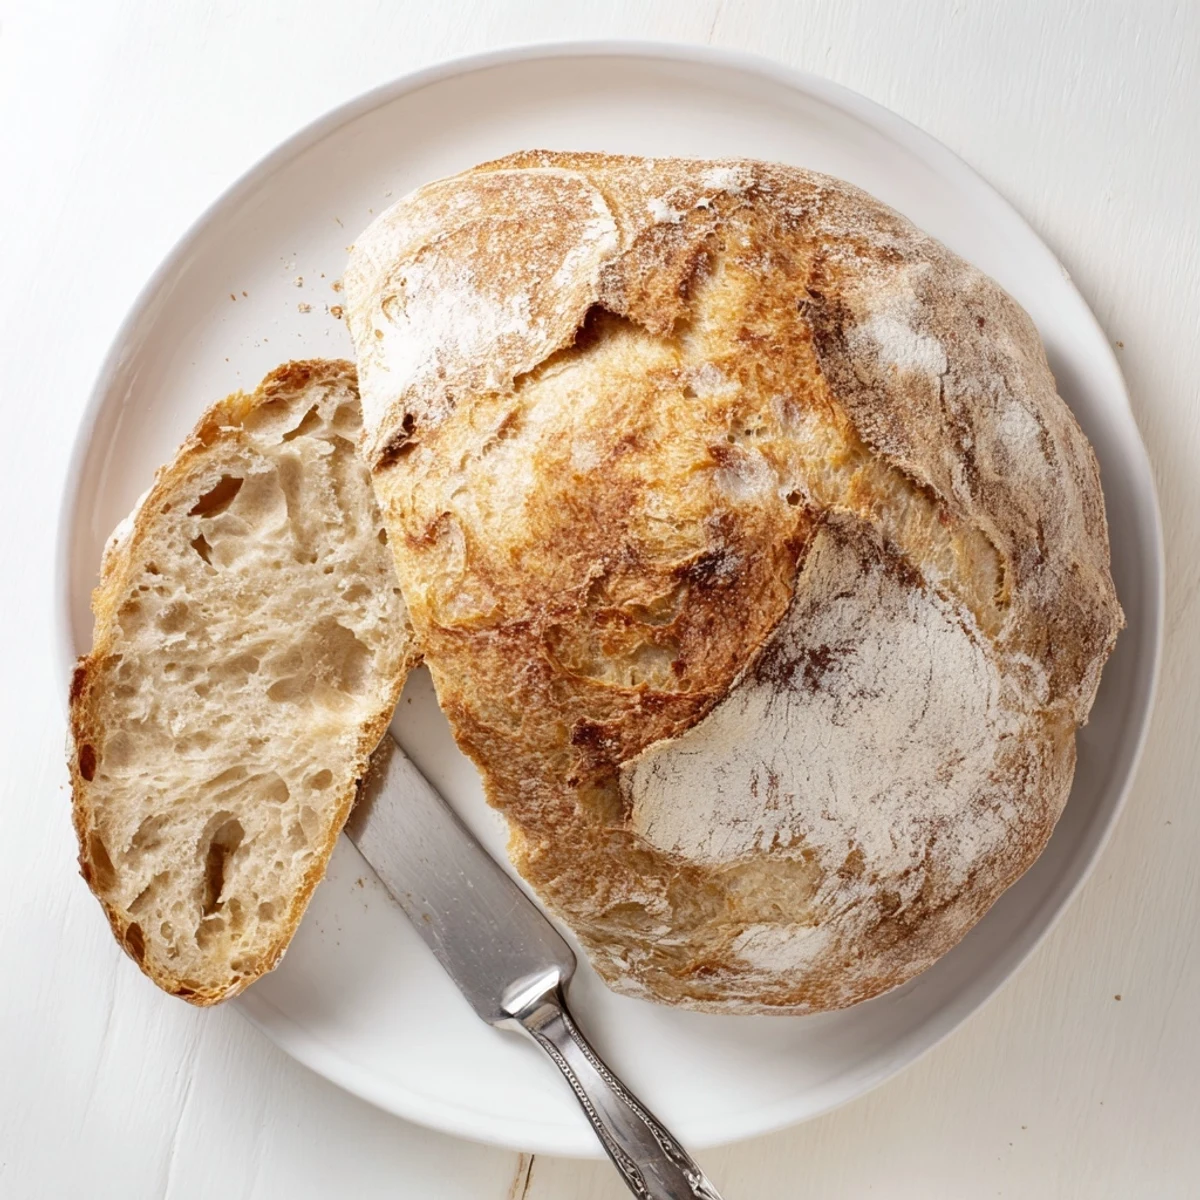
Save There is something deeply satisfying about serving homemade bread to your family, especially when the process is this undemanding. The first slice with melting butter is worth every hour of waiting.
Your Recipe Questions Answered
- → Why does this bread not require kneading?
-
The extended fermentation period allows gluten strands to develop naturally over time. Traditional kneading manually organizes these proteins, but the long resting period achieves the same structure without physical effort.
- → Can I use all-purpose flour instead of bread flour?
-
Absolutely. All-purpose flour yields excellent results with slightly less chewiness. Bread flour's higher protein content creates more structure, but the difference remains subtle in this preparation method.
- → Why use a Dutch oven for baking?
-
The preheated Dutch oven creates an enclosed steam-filled environment that mimics professional deck ovens. This steam keeps the crust soft initially, allowing dramatic oven spring before setting into a beautifully crisp exterior.
- → How do I know when the dough has risen enough?
-
Look for bubbles dotting the surface and significant volume increase—the dough should appear jiggly and doubled in size. The fermented aroma should smell pleasant with slight tang, indicating proper yeast activity.
- → Can I shorten the rising time?
-
Reducing fermentation time compromises flavor development and texture. However, placing the bowl in a slightly warmer area (75–80°F) may accelerate the process to roughly 10–12 hours while maintaining quality results.
- → Why must the bread cool completely before slicing?
-
The interior continues cooking from residual heat after leaving the oven. Cutting too soon releases steam, causing the crumb to become gummy and dense. Waiting at least 2 hours ensures proper texture development.
