 Save
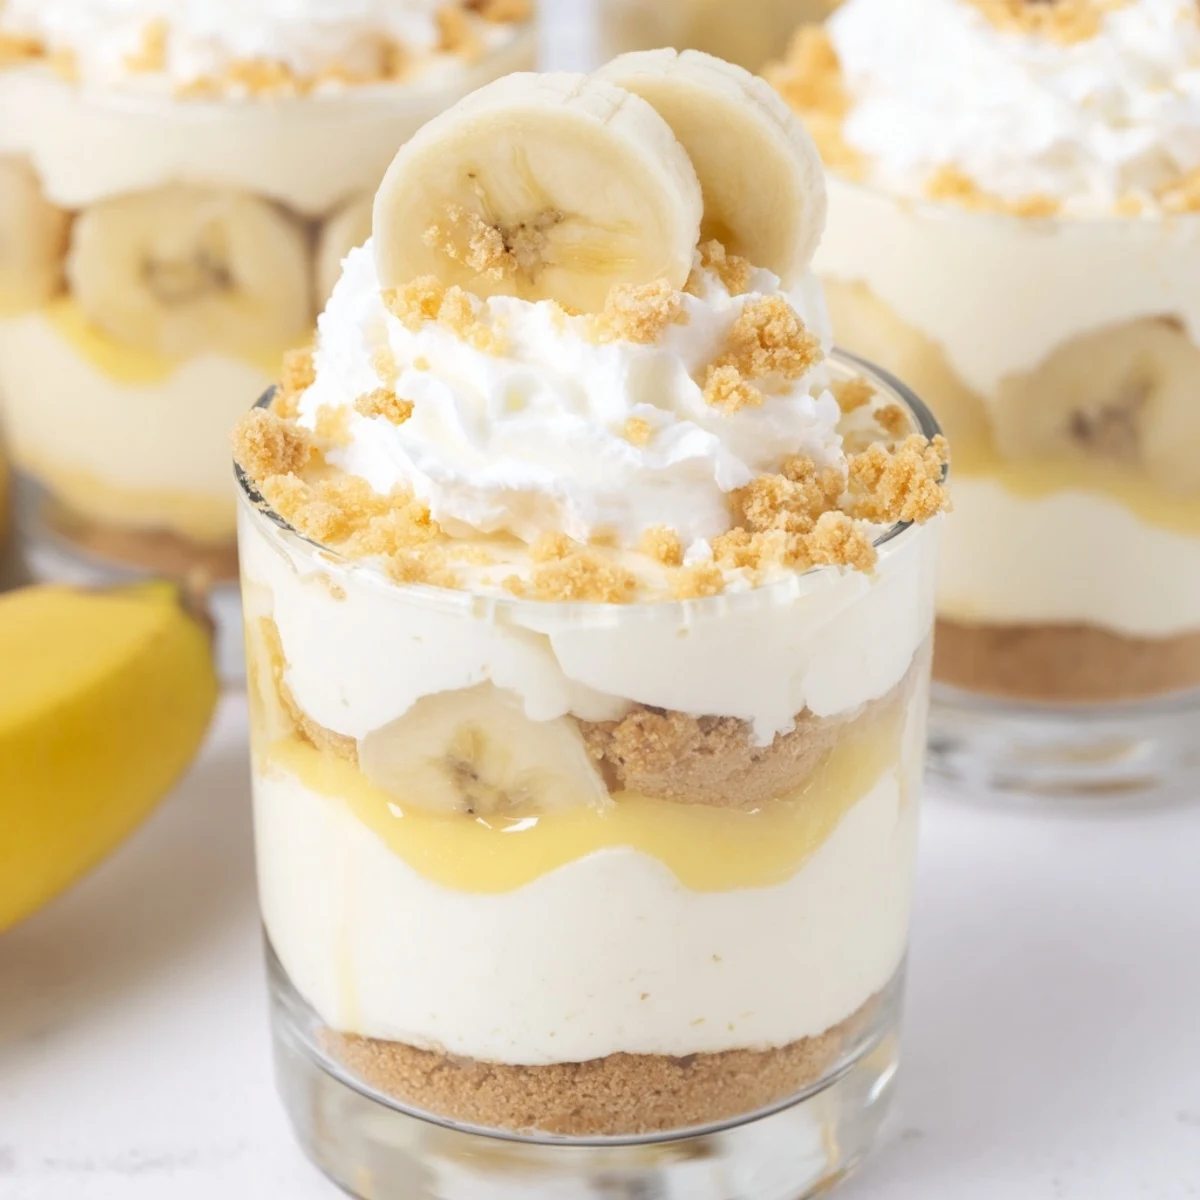
Save These individual portions combine the best of two beloved desserts—rich cheesecake and classic banana pudding—into adorable single-serving cups. A buttery vanilla wafer crust forms the base, followed by velvety cheesecake filling made with whipped cream and cream cheese. The middle layer brings sweet banana pudding with fresh sliced fruit, topped with another swoosh of cheesecake mixture. Each cup gets finished with a sprinkle of crispy wafer crumbs and more banana slices for that perfect crunch. Best of all, no oven is required—just twenty minutes of prep time and a couple of hours in the refrigerator to set.
The first time I made these, it was for a last-minute book club gathering. I needed something impressive but had zero energy to turn on my oven, and these cups ended up stealing the entire show. Everyone kept asking for the recipe while scraping their glasses clean with their spoons.
My youngest actually helped me assemble these last summer. She took her job very seriously, pressing down each crust layer and arranging the banana slices like little edible coins. It became our thing, and now she asks to make them whenever friends come over.
Ingredients
- Vanilla wafer cookies: Crushing these yourself creates the perfect texture, and the extra buttery flavor beats store-bought graham cracker crumbs every single time
- Unsalted butter: Melted just until it pools, this binds your crust together without overpowering the delicate vanilla notes
- Cream cheese: Let it sit on your counter for a full hour room temperature is the secret to avoiding any pesky lumps in your filling
- Heavy whipping cream: The colder the better here, and chill your mixing bowl too if you want peaks that hold their shape beautifully
- Instant banana pudding mix: The shortcut that makes this recipe possible, though whisking it exactly two minutes makes all the difference in texture
- Ripe bananas: Look for ones with just the right amount of brown speckling they offer the best flavor and natural sweetness
Instructions
- Build the buttery crust:
- Toss your crushed wafers with melted butter until every crumb glistens, then press two tablespoons into each cup with the back of a spoon until firm
- Whip the cheesecake base:
- Beat that softened cream cheese with sugar and vanilla until it looks like satin, then fold in your whipped cream until no white streaks remain
- Prepare the pudding layer:
- Whisk the pudding mix into cold milk vigorously for two full minutes, watching it transform into something thick and luscious
- Assemble your layers:
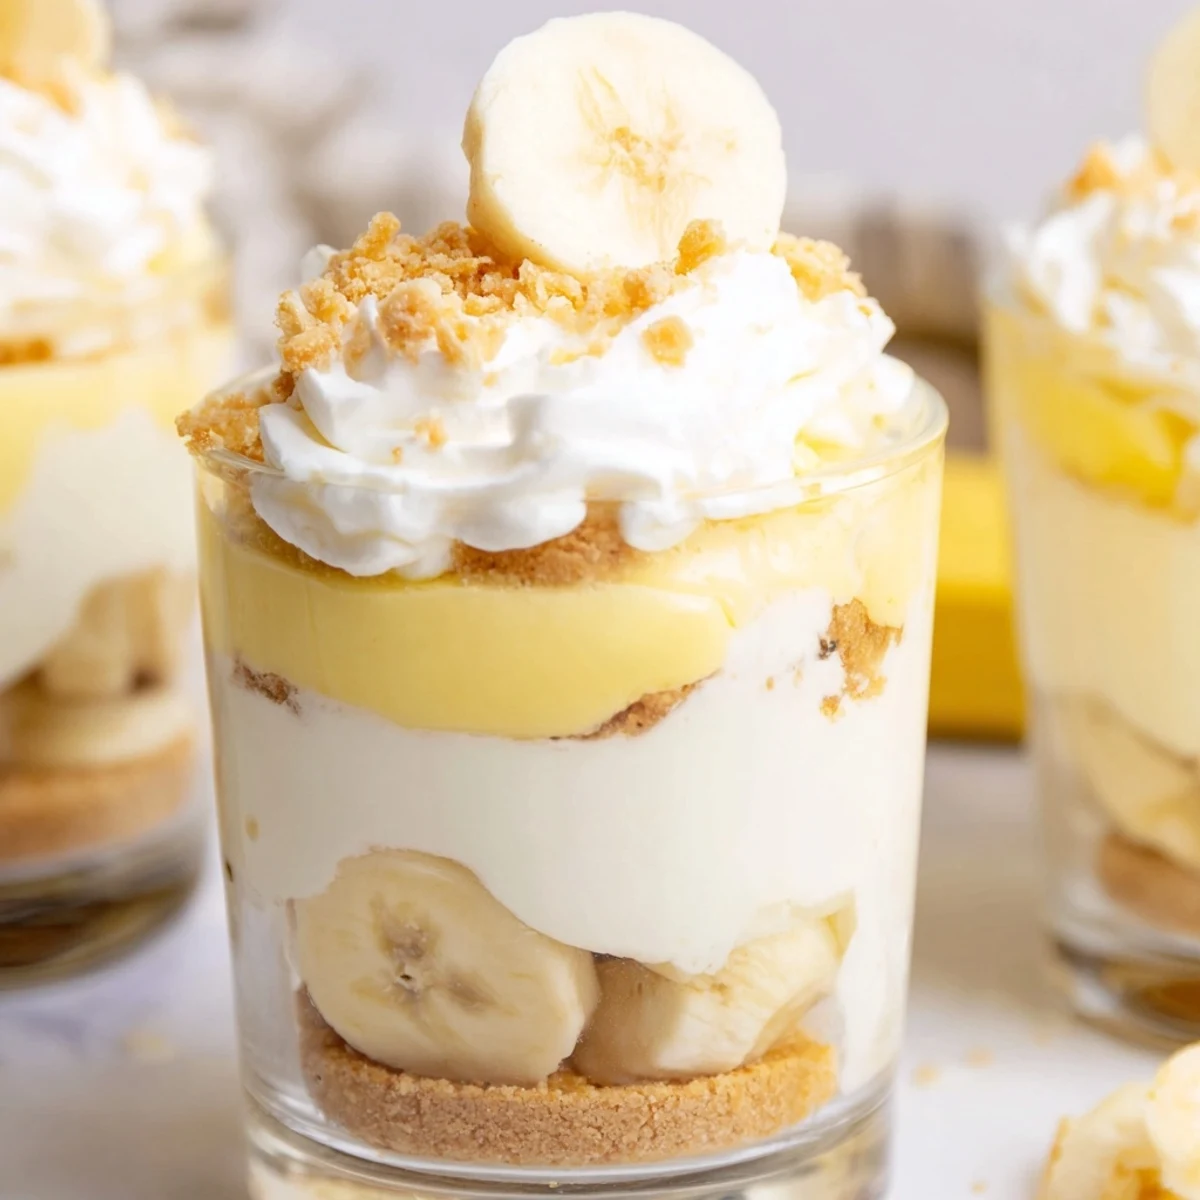
- Spoon half the cheesecake mixture over your crust, add a ring of banana slices, top with pudding, then crown with the remaining filling
- Chill completely:
- Pop these beauties in the fridge for at least two hours so all the flavors can mingle and the layers can set properly
 Save
Save These became my go-to contribution for every family gathering after my aunt texted me at midnight asking for the recipe. Now nobody even asks anymore they just know these cups will be sitting on the dessert table.
Make It Your Own
Sometimes I swap half the wafers for graham crackers or gingersnaps depending on my mood. A pinch of cinnamon in the crust makes these taste like autumn in a cup.
Serving Suggestions
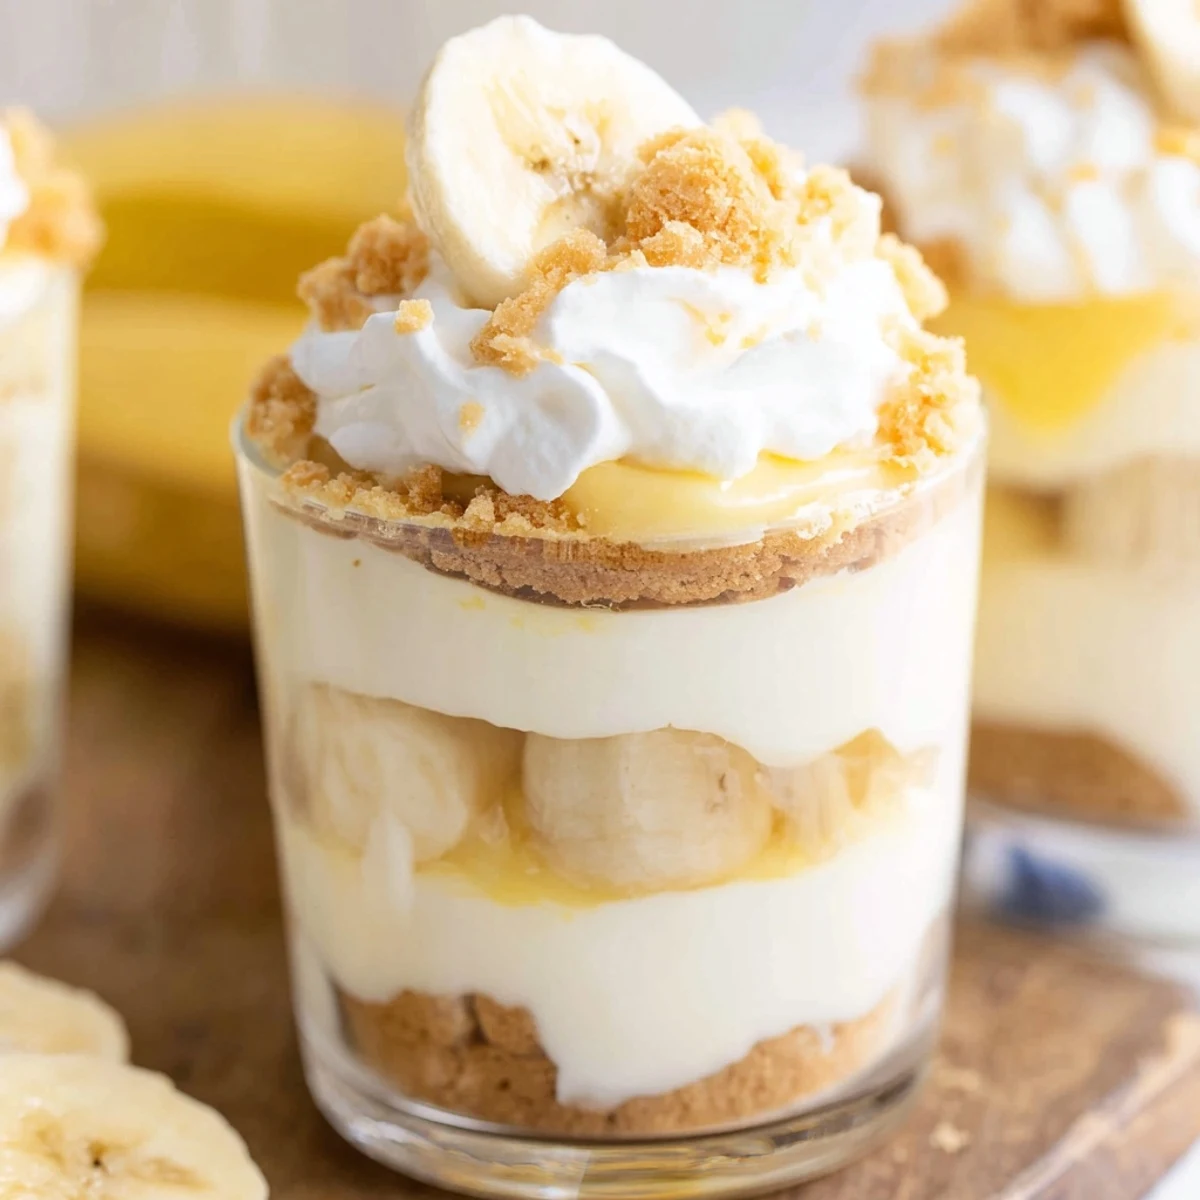
Clear glass cups show off those gorgeous layers, but mason jars work beautifully too. Keep extra whipped cream on hand because someone always wants an extra dollop.
Storage & Timing
These actually taste better the next day when all the flavors have had time to become best friends. Just wait until right before serving to add your fresh banana topping.
- Press your crust firmly with a shot glass if you want it extra compact
- Set out all ingredients before you start, the assembly moves quickly once you begin
- These freeze beautifully for up to a week without the fresh toppings
 Save
Save Watch how quickly these disappear, and keep this recipe handy for all those moments when you need something special without any of the fuss.
Your Recipe Questions Answered
- → Can I make these cups ahead of time?
-
Yes, these cups can be prepared up to 24 hours in advance. Simply assemble the cups, cover tightly, and refrigerate. For the freshest presentation, add the banana slices and wafer crumb toppings just before serving to prevent the bananas from browning.
- → How do I keep the bananas from turning brown?
-
To prevent oxidation, toss sliced bananas lightly in lemon juice before arranging them in the cups. Alternatively, assemble everything except the fresh banana toppings and add them right before serving. The banana pudding mix itself provides plenty of banana flavor throughout the layers.
- → Can I use homemade pudding instead of instant mix?
-
Absolutely. Homemade vanilla or banana pudding made from scratch will work beautifully. Allow the pudding to cool completely before layering, and ensure it's thick enough to hold its shape between the cheesecake layers.
- → What size cups work best for this dessert?
-
Half-pint mason jars, small parfait glasses, or 6-8 ounce dessert cups work perfectly. You'll need six individual containers to accommodate all the layers. Clear glass is ideal for showcasing the beautiful striped layers.
- → Can I substitute the vanilla wafers?
-
Graham cracker crumbs, gingersnap cookies, or even buttery shortbread cookies make excellent crust alternatives. Just crush them finely and mix with melted butter the same way—about 2 tablespoons of butter per cup of crumbs.
- → How long do these need to chill before serving?
-
The cups need at least 2 hours in the refrigerator for the layers to set properly and flavors to meld. For the best texture and taste, let them chill for closer to 4 hours if time allows. They should be served cold.
