 Save
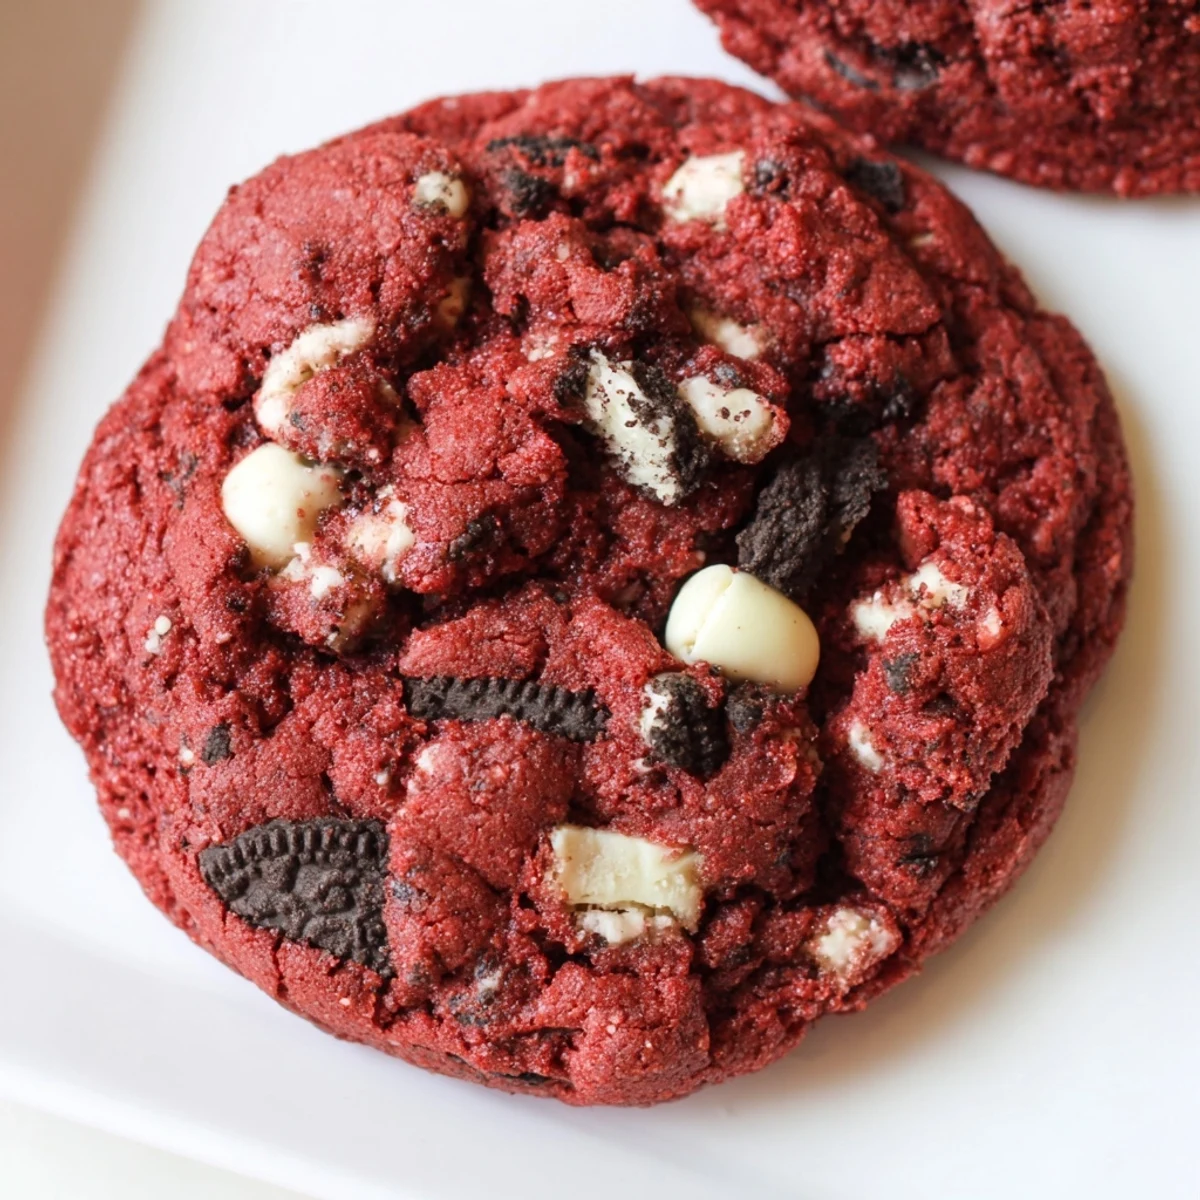
Save These soft, chewy red velvet cookies combine the classic cocoa flavor of red velvet with the irresistible crunch of Oreo cookie chunks and creamy white chocolate chips. The vibrant red color comes from gel food coloring, while the perfect texture is achieved by baking until edges are set but centers remain slightly underbaked.
Ready in just 32 minutes with simple pantry ingredients, these treats deliver the ultimate cookies-and-cream experience. The dough comes together quickly—cream butter and sugars, add wet ingredients including red food coloring, then fold in dry ingredients along with white chocolate chips and roughly chopped Oreos.
Each batch yields 24 generously sized cookies that stay fresh for up to 5 days when stored in an airtight container. For extra visual appeal, press additional Oreo pieces onto the dough balls before baking.
The red color alone catches your eye, but that first bite reveals something completely unexpected. I was skeptical about mixing red velvet with Oreos until my sister's birthday party when a friend brought these over and they vanished in ten minutes flat. Now whenever I need a dessert that feels festive but doesn't require hours of decorating, this is my go-to recipe. The combination of soft cocoa cookie and crunchy cream-filled pieces is somehow greater than the sum of its parts.
Last Christmas Eve, my mom walked into the kitchen while I was mixing the red food coloring into the dough and immediately asked if I was making cupcakes again. When I folded in the chopped Oreos, she looked skeptical but grabbed a spoon anyway. Those cookies ended up being what everyone talked about at midnight mass the next day, and now they're requested at every family gathering. Something about the red and white swirl makes people feel like they're getting something special.
Ingredients
- All-purpose flour: The foundation that gives these cookies their structure and chewy texture
- Unsweetened cocoa powder: Essential for that signature red velvet chocolate flavor without overwhelming sweetness
- Baking soda: Creates the perfect rise so cookies stay thick and tender instead of flat and crispy
- Salt: Balances the sweetness and intensifies the cocoa flavor
- Unsalted butter: Softened to room temperature for proper creaming and ultimate tenderness
- Light brown sugar: Adds moisture and subtle caramel notes that keep cookies chewy for days
- Granulated sugar: Creates crisp edges while the centers stay soft
- Large egg and egg yolk: The extra yolk adds richness and helps achieve that fudgy texture
- Vanilla extract: Pure vanilla makes the chocolate notes sing
- Milk: Just enough liquid to bring the dough together without making it sticky
- Red food coloring: Gel coloring gives the most vibrant red without adding extra liquid
- White chocolate chips: Creamy sweetness that pairs perfectly with the cocoa base
- Oreo cookies: Roughly chopped creates the best texture distribution throughout each cookie
Instructions
- Prep your baking station:
- Set oven to 350°F and line two baking sheets with parchment paper while your butter softens on the counter.
- Whisk the dry ingredients:
- Combine flour, cocoa powder, baking soda, and salt in a medium bowl until everything is evenly distributed.
- Cream the butter and sugars:
- Beat softened butter with both sugars for 2-3 minutes until the mixture looks pale and fluffy.
- Add the wet ingredients:
- Mix in the egg, extra yolk, vanilla, milk, and red food coloring until the dough turns a uniform red.
- Combine everything:
- Pour in the dry ingredients and mix gently until just combined, being careful not to overwork the dough.
- Fold in the mix-ins:
- Add white chocolate chips and chopped Oreos, folding until they're evenly distributed throughout the red dough.
- Scoop and space:
- Drop rounded balls onto prepared sheets, leaving 2 inches between each for proper spreading.
- Bake to perfection:
- Bake 10-12 minutes until edges look set but centers still appear slightly underdone.
- Cool completely:
- Let cookies rest on baking sheets for 5 minutes before moving them to a wire rack.
 Save
Save My coworker admitted she was initially disappointed when I brought these to our office potluck instead of something more sophisticated. Two hours later, she sent me an email asking for the recipe because her husband had eaten almost the entire batch before she could even try one. Now whenever I need to bring something to a new group of people, these are my secret weapon for winning hearts through stomachs.
Getting the Perfect Red Color
I've learned through trial and error that liquid food coloring can turn your dough into a sticky mess that spreads too thin. Gel coloring delivers that vibrant red we associate with red velvet without altering the dough consistency. Start with one tablespoon and add more if needed, remembering that the color will deepen slightly during baking.
Chopping the Oreos Just Right
The key is leaving some Oreo pieces in larger chunks while others break down into smaller crumbs. This creates pockets of concentrated cookies-and-cream flavor throughout each cookie. I place the Oreos in a zip-top bag and use the flat side of a meat mallet, giving it just a few good whacks until I have the right mix of sizes.
Storage and Freshness Tips
These cookies actually improve slightly after the first day as the flavors meld together. Store them in an airtight container at room temperature with a piece of white bread to maintain moisture. The bread trick keeps them chewy for up to five days, though in my house they rarely last past day two.
- Place wax paper between layers to prevent sticking
- Warm cookies in the microwave for 10 seconds to recreate that fresh-baked texture
- These freeze beautifully for up to three months if tightly wrapped
 Save
Save Whether it's Valentine's Day, Christmas, or just a Tuesday when you need something cheerful, these cookies deliver happiness in every bright red bite. The recipe has earned a permanent place in my baking rotation, and I bet it will find a home in yours too.
Your Recipe Questions Answered
- → What makes red velvet cookies different from regular chocolate cookies?
-
Red velvet cookies combine cocoa with buttermilk-like tanginess and a distinct red color. These have a softer, more tender crumb than traditional chocolate cookies, plus the signature cookies-and-cream combination from Oreos and white chocolate.
- → Can I use liquid food coloring instead of gel?
-
Yes, but you'll need more liquid food coloring to achieve the same vibrant red hue. Gel coloring provides more intense color with less liquid, which prevents affecting the dough consistency.
- → Why do the centers look slightly underbaked?
-
Removing cookies when centers appear slightly underbaked ensures they stay soft and chewy after cooling. The residual heat continues cooking them briefly on the baking sheet, setting the structure perfectly.
- → How should I store these cookies?
-
Keep in an airtight container at room temperature for up to 5 days. Place parchment paper between layers to prevent sticking. Avoid refrigeration as it can make them lose their soft texture.
- → Can I freeze the cookie dough?
-
Scoop dough balls onto a baking sheet and freeze until solid, then transfer to a freezer bag. Bake from frozen, adding 1-2 minutes to the baking time. Dough keeps for up to 3 months.
- → What's the best way to chop Oreos for these cookies?
-
Use a sharp knife to roughly chop Oreos into various-sized chunks. Some pieces will be smaller, mixing throughout the dough, while larger pieces create satisfying pockets of crunch.
