 Save
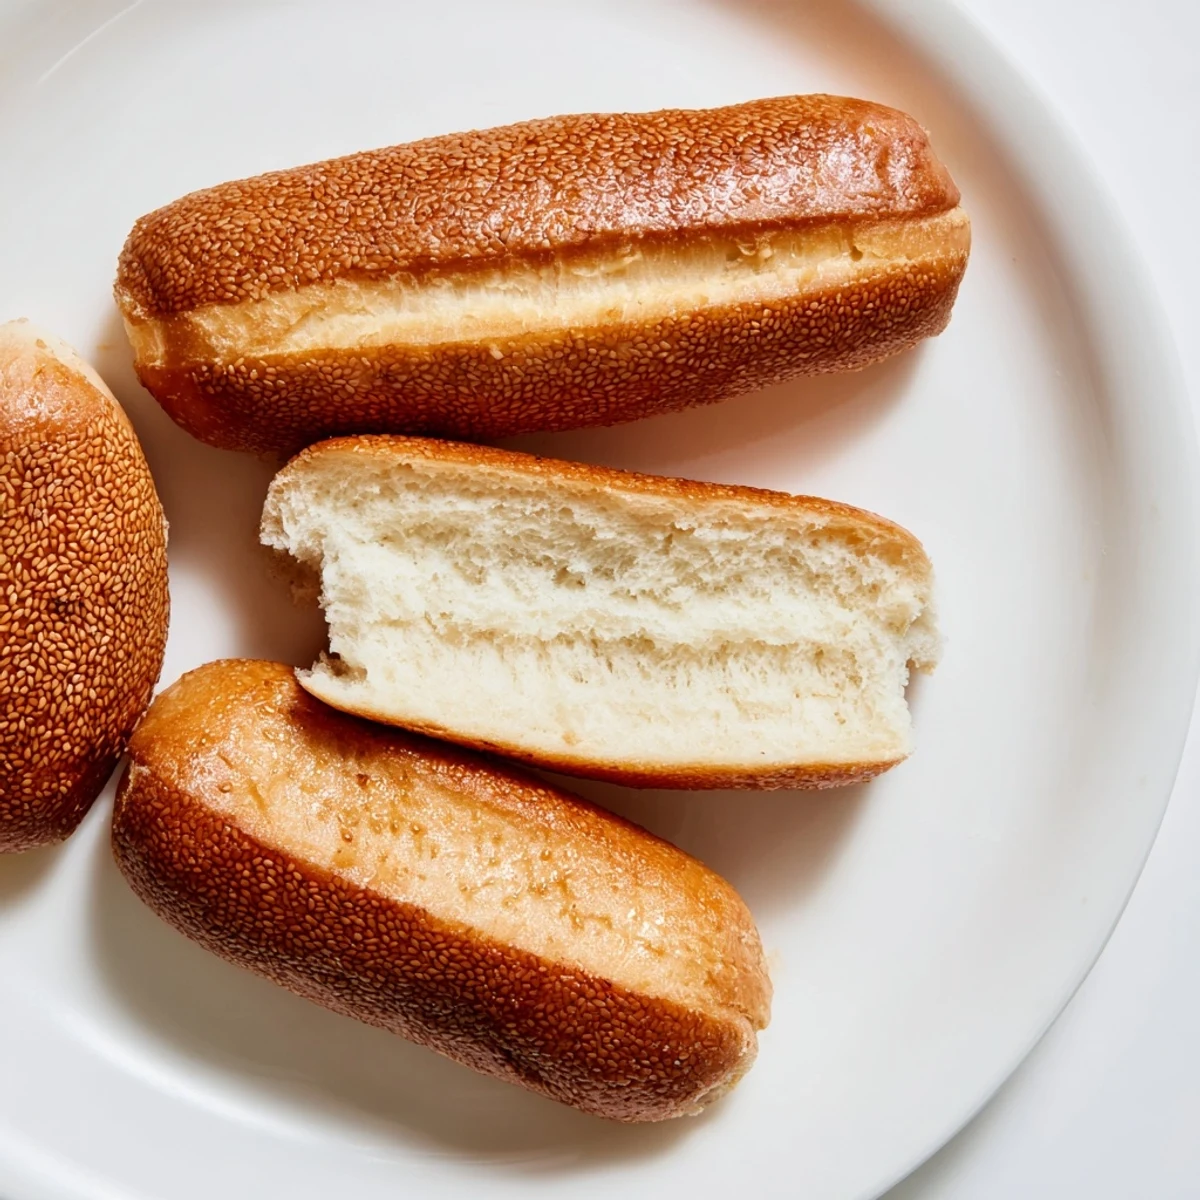
Save These soft hot dog buns make excellent use of unfed sourdough starter, adding a pleasant tanginess that pairs perfectly with grilled sausages and classic franks. The dough comes together quickly with pantry staples, requiring just two rises before baking to golden perfection.
Brushing the finished buns with melted butter creates an extra soft texture, while optional toppings like sesame seeds add visual appeal and crunch. Each batch yields eight substantial buns that freeze beautifully for future cookouts.
The subtle sourdough flavor elevates ordinary hot dogs into something special, making these worth the minimal effort. Leftover buns toast beautifully for breakfast sandwiches or burger night.
The smell of these buns baking always pulls everyone into the kitchen. I started making them when my sourdough discard container was overflowing and I refused to throw away all that fermented goodness. Now they are the most requested item at every summer gathering.
Last summer I made three batches back to back because my neighbor kept bringing people over to try them. There is something magical about sliding a hot dog onto a bun you baked yourself that makes the whole experience feel special.
Ingredients
- Sourdough discard: Use unfed starter straight from your fridge for the best flavor development
- Warm milk: Should feel pleasantly warm to the touch like a baby bottle
- Unsalted butter: Melt it completely so it distributes evenly through the dough
- Sugar: Feeds the yeast and helps the buns brown beautifully
- Large egg: Adds richness and helps the texture stay tender
- Salt: Enhances all the flavors and balances the slight tang from the sourdough
- All-purpose flour: Start with less and add more until the dough feels right
- Instant yeast: No need to proof it separately but the warm milk helps it wake up
- Milk for brushing: Helps the seeds stick and gives the buns a shiny finish
- Melted butter: Brushing hot buns keeps the crust soft and adds extra flavor
Instructions
- Wake up the yeast:
- Combine warm milk sugar and yeast in your largest bowl then walk away for five minutes
- Mix the base:
- Add sourdough discard melted butter egg and salt to the yeast mixture
- Build the dough:
- Gradually add flour one cup at a time until the dough pulls away from the sides
- Knead it smooth:
- Turn onto a floured surface and knead for seven minutes until the dough feels like your earlobe
- First rise:
- Place in a greased bowl cover and let the dough double in size
- Shape the buns:
- Divide into eight equal pieces and roll each into a six inch smooth log
- Second rise:
- Space buns two inches apart on parchment cover and let get puffy
- Bake golden:
- Brush with milk add seeds then bake at 375°F until deeply golden
- Finish with butter:
- Brush immediately with melted butter and cool before slicing
 Save
Save My daughter now asks for these for every birthday dinner instead of cake. Watching family members instinctively reach for a second bun because the first one was so satisfying makes all the kneading worth it.
Making Them Ahead
I often mix the dough the night before and let it do its first rise in the refrigerator. The cold fermentation gives the buns an even deeper flavor and the cold dough is easier to shape into uniform logs.
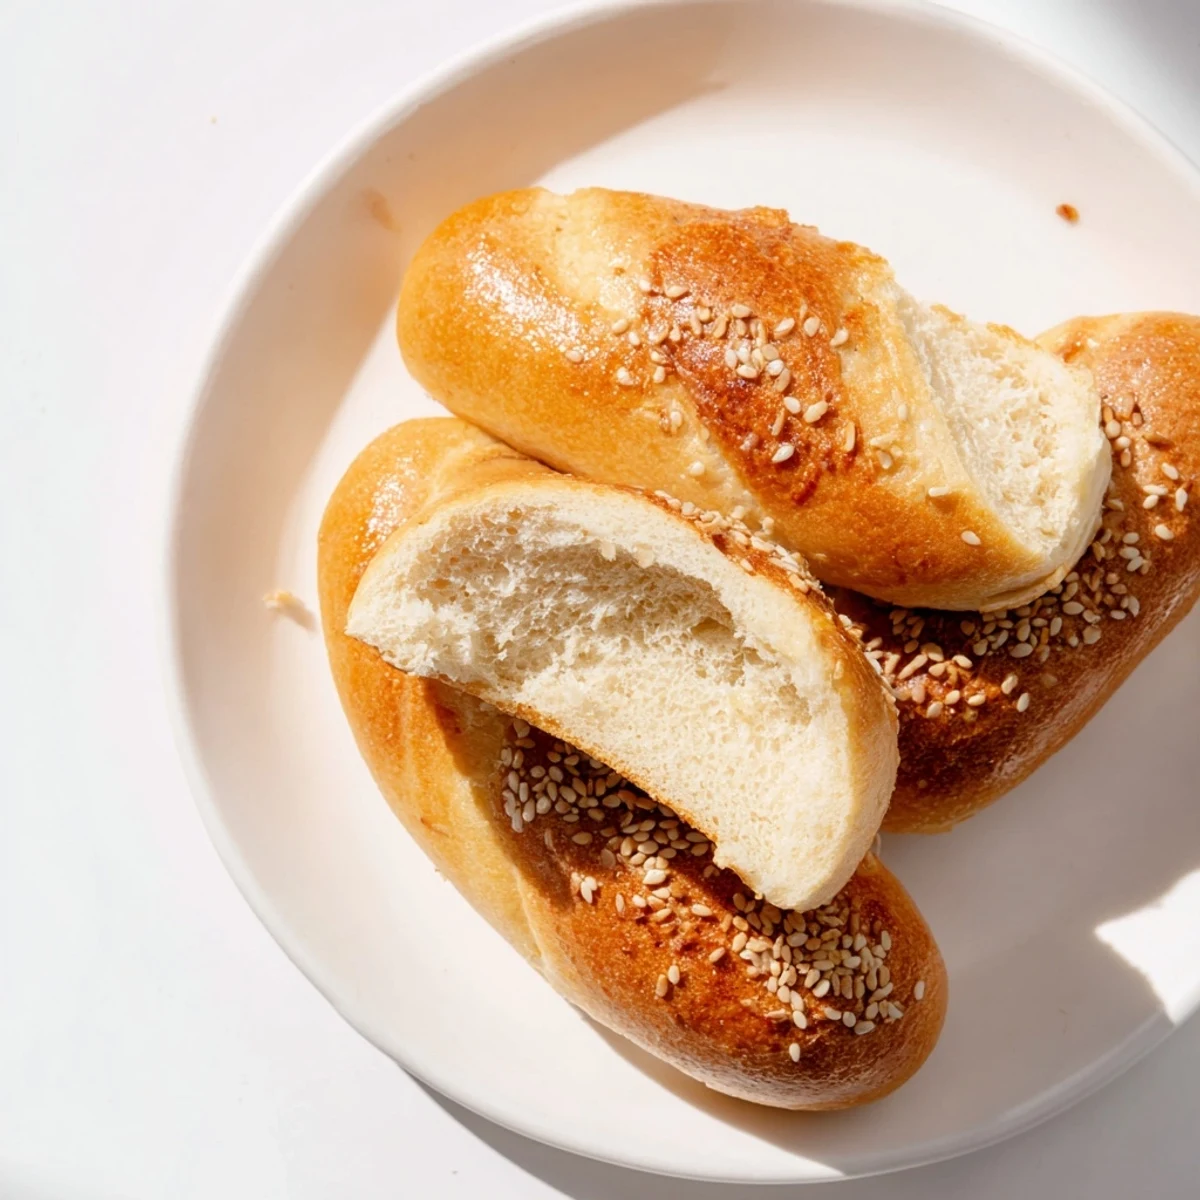
Getting The Shape Right
Roll each piece under your palms with light pressure letting the dough slide against the counter. If the dough springs back let it rest for five minutes before continuing. Taper the ends slightly for that classic bakery look.
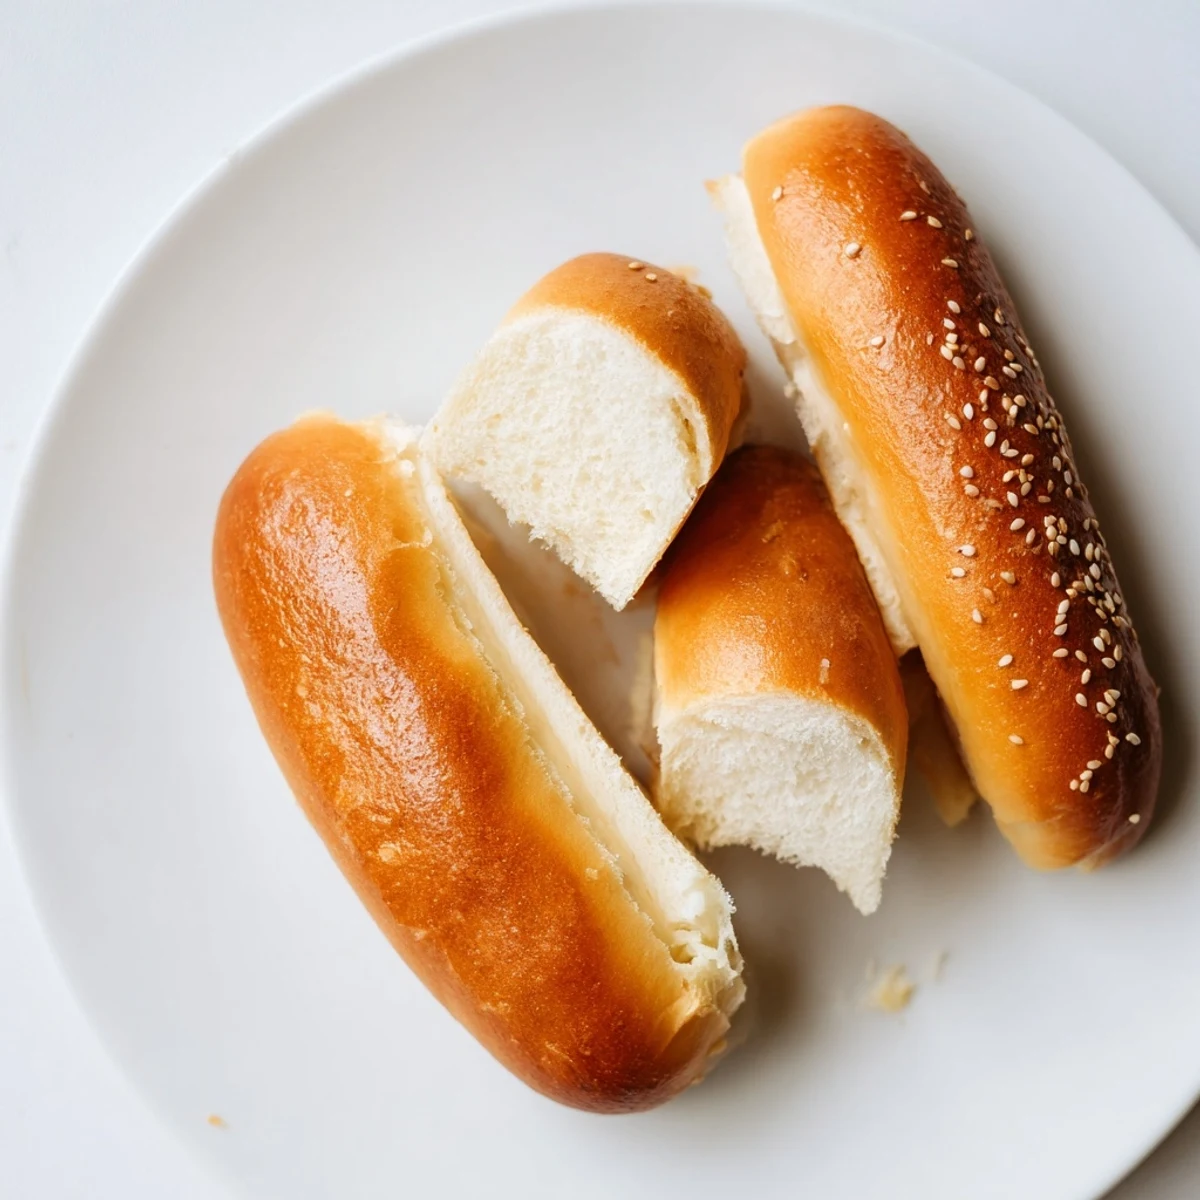
Custom Your Buns
These buns are incredibly forgiving and adapt well to whatever seeds or seasonings you love. A generous sprinkle of everything bagel seasoning makes them irresistible. Brush with egg wash instead of milk for a darker shinier crust.
- Try pretzel salt on top for a salty crunch
- Add shredded cheese to the dough for cheesy buns
- Make them smaller and use for sliders
 Save
Save There is nothing quite like serving homemade buns at a cookout and watching everyone realize something is different. Happy baking.
Your Recipe Questions Answered
- → Can I make these buns without a stand mixer?
-
Absolutely. These buns come together beautifully with hand kneading. The key is mixing until the dough forms a smooth, elastic ball that springs back when pressed. It typically takes 7–8 minutes by hand.
- → How should I store these buns?
-
Keep them in an airtight bag at room temperature for up to 3 days. For longer storage, freeze individually wrapped buns for up to 3 months. Thaw overnight and refresh in a warm oven.
- → Can I use active sourdough starter instead of discard?
-
Yes. Active starter works well, though you may need slightly less flour since active starter tends to be more hydrated. The flavor will be slightly more pronounced.
- → What makes these better than store-bought buns?
-
Homemade buns offer superior texture—soft yet sturdy enough to hold juicy toppings without falling apart. The sourdough adds depth of flavor and improves keeping quality.
- → Can I shape these into hamburger buns instead?
-
Certainly. Divide the dough into 6–8 pieces, flatten each into a 4-inch disk, and let rise before baking. Adjust baking time as needed until golden brown.
- → Do I need to feed the sourdough discard first?
-
No feeding required. Unfed, refrigerated discard works perfectly here. That's what makes these buns such an excellent way to reduce waste while baking something delicious.
