 Save
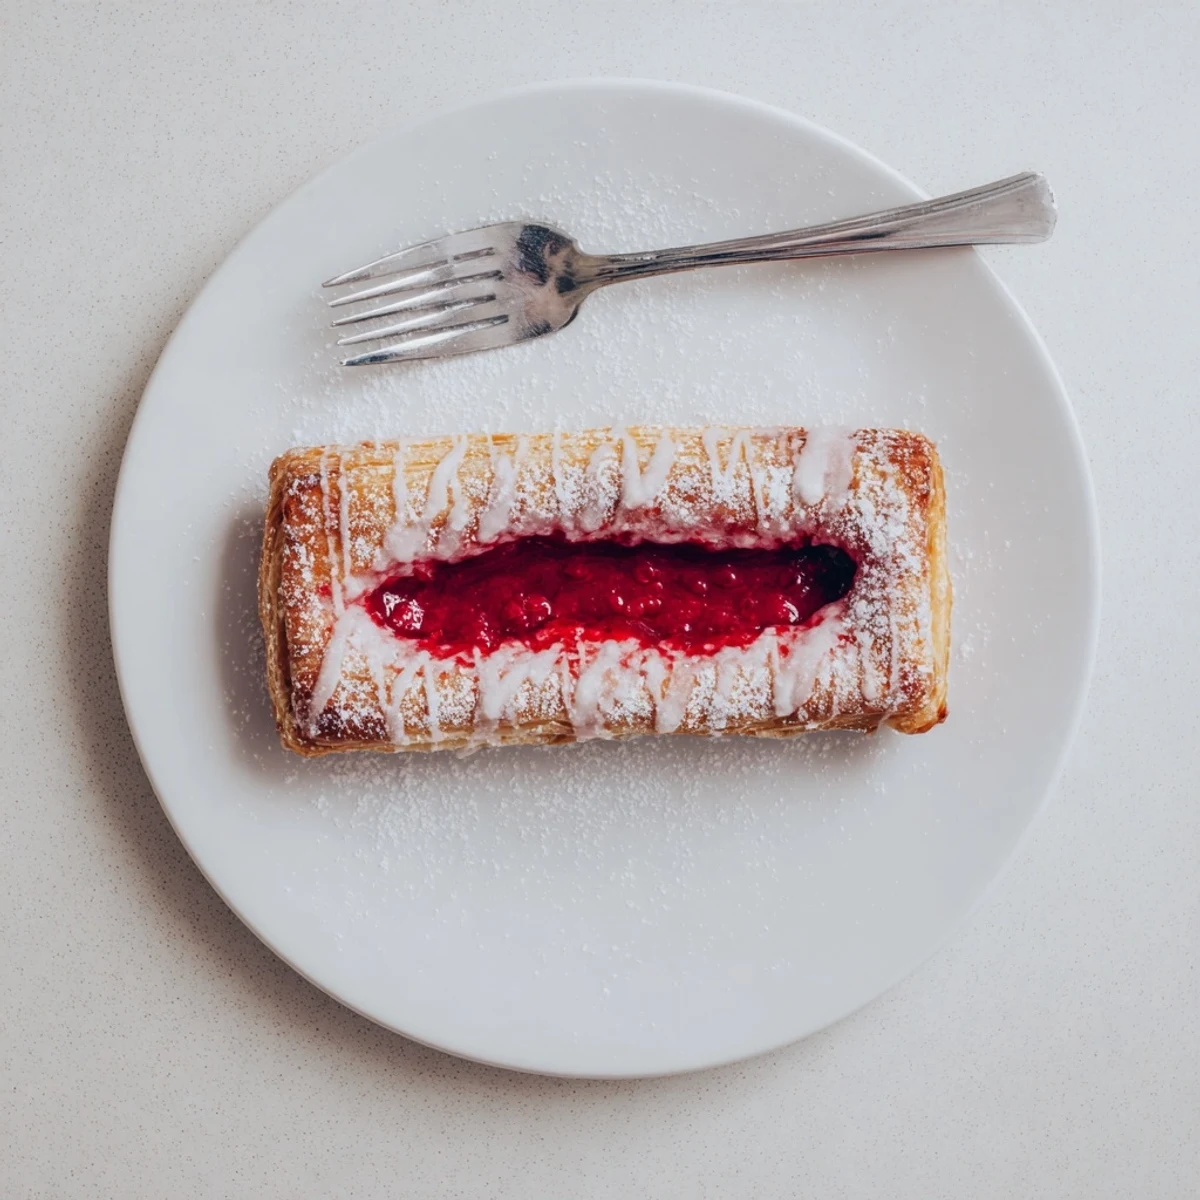
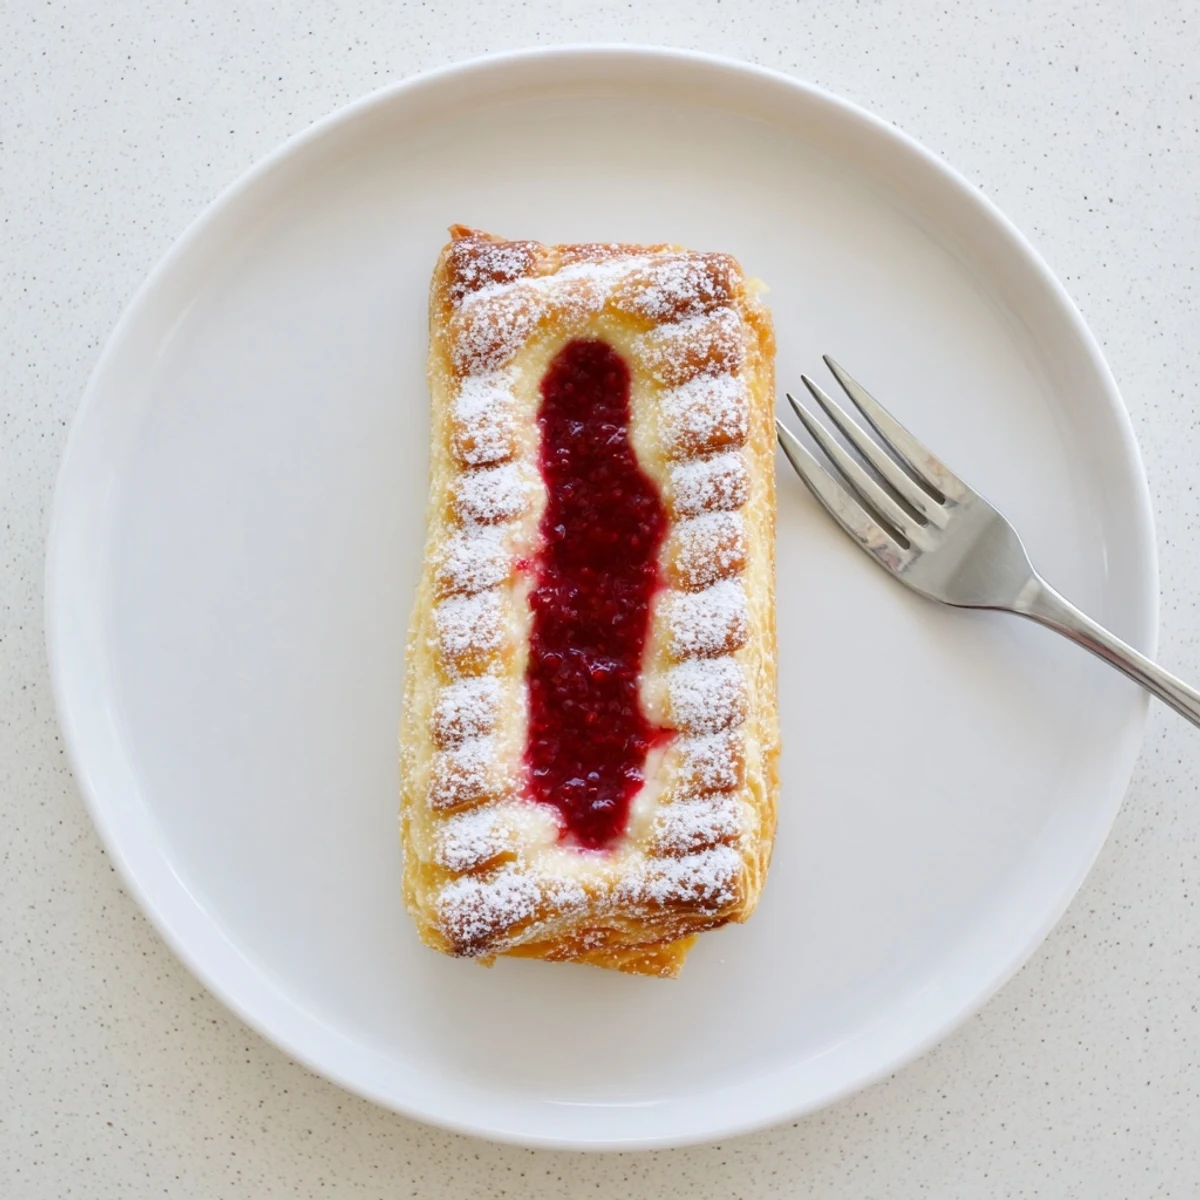
Save These buttery pastries transform your sourdough discard into flaky, golden layers topped with tangy cream cheese filling and sweetened raspberries. The dough comes together quickly with chilled butter cut into flour, then enriched with unfed sourdough starter for subtle tang. After chilling, roll and cut the dough, create centers for the fillings, and let them rest before baking until golden. A simple vanilla glaze adds the perfect finishing touch.
The smell of raspberries simmering with sugar takes me back to my tiny apartment kitchen where I accidentally set off the smoke alarm while attempting my first homemade pastries. These sourdough discard danishes became my redemption story, turning what would have been wasted starter into something people actually ask for by name. There is something deeply satisfying about watching that chilled butter transform into flaky layers, especially when you know every corner of dough has been used intentionally.
I brought a batch to a friends birthday brunch last spring, and watched three different people ask for the recipe before the coffee was even poured. My niece now refers to them as the pink ones and has started requesting them for special occasions, which is basically the highest honor a sevenyearold can bestow upon breakfast pastry.
Ingredients
- Unsalted butter (chilled and cubed): Cold butter is what creates those flaky layers we love in danishes, so do not let it sit out too long or you will lose the magic
- Allpurpose flour: This provides the structure for your pastry while keeping everything tender
- Sourdough discard: Using your unfed starter adds incredible flavor and gives new life to something you would otherwise throw away
- Granulated sugar: Just enough to balance the tang from both the sourdough and cream cheese
- Salt: Do not skip this, it enhances all the other flavors and keeps the pastry from tasting flat
- Large egg (beaten): Brushing the dough with egg wash gives your danishes that beautiful golden shine
- Cream cheese (softened): Make sure this is truly at room temperature so your filling turns out silky smooth without any lumps
- Vanilla extract: Pure vanilla makes everything taste better and rounds out the cream cheese filling beautifully
- Lemon juice: This brightens both the cream cheese and raspberry fillings, cutting through the richness
- Fresh or frozen raspberries: Frozen works perfectly fine here, just do not thaw them before cooking or you will end up with too much liquid
- Cornstarch: This thickens the raspberry filling so it does not make your pastry soggy
- Powdered sugar: For the glaze that makes these look and taste professionally made
- Milk or cream: Adjust the amount depending on how thick you like your glaze
Instructions
- Prepare the dough:
- Cut the cold butter into the flour using a pastry blender or your fingers until it looks like coarse crumbs with some pebblesized pieces remaining. Mix in the sourdough discard, sugar, and salt until everything just comes together, then shape into a disk, wrap tightly, and chill for at least an hour.
- Make the cream cheese filling:
- Beat the softened cream cheese until it is completely smooth, then add the sugar, vanilla, and lemon juice. Mix until everything is creamy and fully combined, then set aside while you work on the raspberry filling.
- Cook the raspberry filling:
- Combine the raspberries, sugar, cornstarch, and lemon juice in a small saucepan over medium heat. Stir constantly for three to five minutes until the mixture bubbles and thickens noticeably, then remove from heat and let it cool completely.
- Assemble the danishes:
- Preheat your oven to 375F and line a baking sheet with parchment paper. Roll the chilled dough to about 1/4 inch thick, cut into eight rectangles or circles, and place them two inches apart on your prepared baking sheet. Create an indentation in the center of each piece, then fill each with about one tablespoon of cream cheese followed by a spoonful of raspberry filling.
- Proof and bake:
- Let the assembled pastries rest at room temperature for twenty to thirty minutes so they puff slightly. Brush the edges with beaten egg, then bake for twenty to twentyfive minutes until golden brown and set. Cool completely on a rack before glazing.
- Add the glaze:
- Whisk the powdered sugar, milk, and vanilla until smooth, adding more liquid if needed to reach your desired consistency. Drizzle generously over the cooled danishes just before serving.
 Save
Save My neighbor texted me at 11 PM one night asking if I had any left because her husband kept talking about them after trying one at a block party. Now whenever I make a batch, I automatically set aside two for her because friendship deserves fresh pastries.
Making These Ahead
You can assemble the entire danish recipe the night before and keep them covered in the refrigerator. In the morning, let them sit at room temperature while the oven preheats, then add a few extra minutes to the baking time since they will be cold. The glaze is best added right before serving though, otherwise it can soak into the pastry and make it soggy.
Fruit Variations
Beyond raspberries, try swapping in sliced strawberries, blueberries, or even a mix of stone fruits like peaches and cherries. The key is keeping the fruit pieces small enough that they cook through quickly and do not make the filling too watery. Just adjust the sugar depending on how tart your fruit is.
Storage Tips
These danishes are honestly best the day they are made, when the pastry is at its flakiest and the filling is still fresh. Store any leftovers in an airtight container at room temperature for up to two days, though the texture will soften over time. To refresh them, pop them in a 350F oven for about five minutes.
- Freeze unbaked danishes on a baking sheet until firm, then transfer to a freezer bag for up to three months
- Bake frozen danishes at 375F for an extra five to seven minutes, no need to thaw first
- The glaze does not freeze well, so make it fresh when you are ready to serve the thawed danishes
 Save
Save There is something wonderful about turning what would have been waste into something that makes people pause and genuinely enjoy their morning. Happy baking.
Your Recipe Questions Answered
- → Can I use fresh sourdough starter instead of discard?
-
Yes, you can use active sourdough starter though the texture may be slightly different. Reduce any additional liquid in the dough by about 1 tablespoon to compensate for the hydration in fed starter.
- → How should I store these danishes?
-
Store in an airtight container at room temperature for up to 2 days. For longer storage, freeze unglazed danishes for up to 3 months and thaw before glazing.
- → Can I make the dough ahead of time?
-
Absolutely. The dough can be wrapped and refrigerated for up to 2 days before rolling and filling. You can also freeze the dough disk for up to 3 months, thaw overnight in refrigerator.
- → What other fruits work well in these pastries?
-
Blueberries, strawberries, blackberries, or sliced stone fruits like peaches and plums all work beautifully. Adjust the sugar in the fruit filling based on natural sweetness.
- → Why do my danishes spread too much while baking?
-
This usually happens when the dough becomes too warm. Keep everything chilled, work quickly when assembling, and let them proof at room temperature for the recommended time rather than longer.
- → Can I make these without a stand mixer?
-
Yes, simply use a pastry blender, two knives, or your fingers to cut the butter into the flour. For the cream cheese filling, a fork or whisk works well to beat everything smooth.
