 Save
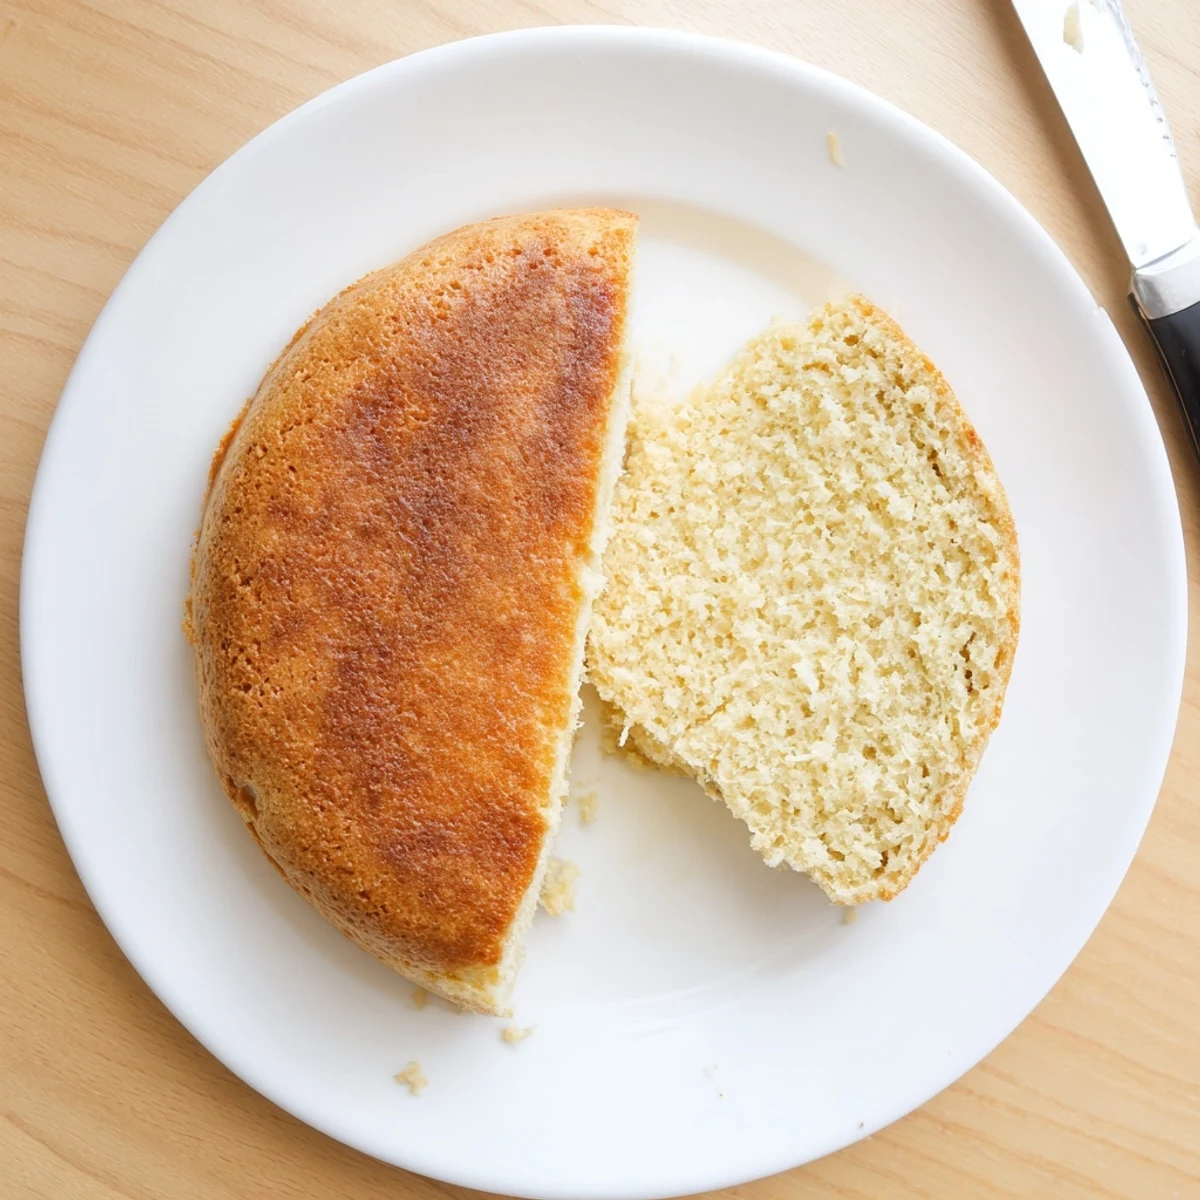
Save Create bakery-style bread without turning on your oven. This stovetop method yields a soft, airy loaf with a golden crust, cooked slowly in a covered skillet. The dough requires just 10 minutes of kneading and an hour to rise, then cooks over gentle heat for about 30 minutes. Perfect for hot summer days, small kitchens, or anyone craving fresh bread without the equipment. The result is a versatile loaf ideal for sandwiches, toast, or enjoying warm with butter.
My tiny apartment kitchen didnt have an oven for two whole years, which sounds like a disaster until you discover the magic of stovetop bread. The first time I tried this, I was skeptical—how could dough possibly bake without an oven? But when that golden crust emerged from my cast iron skillet, smelling like something from a proper bakery, I was converted forever.
Last summer during a power outage, my neighbor came over with a jar of homemade jam and nowhere to toast bread. We made this recipe together on my gas stove, huddled around the skillet like it was a campfire. Something about bread made this way—cooked slowly, watched carefully, flipped by hand—feels more intimate and satisfying than anything from an oven.
Ingredients
- All-purpose flour: The foundation of your bread, providing structure and that soft interior we all crave
- Instant yeast: Your rising agent, and instant means no proofing required—just mix it straight in
- Sugar: Not for sweetness, but to feed the yeast and help it work its magic
- Salt: Essential for flavor and controlling the yeasts growth
- Olive oil: Keeps the dough tender and adds subtle richness to the final loaf
- Warm water: Should feel like bathwater, about 110°F, to activate the yeast without killing it
Instructions
- Mix your dry base:
- Combine flour, yeast, sugar, and salt in a large bowl, whisking them together until evenly distributed throughout
- Bring it together:
- Pour in the warm water and olive oil, stirring with your wooden spoon until a shaggy, sticky dough forms
- Knead until smooth:
- Turn the dough onto a floured surface and knead for 8 to 10 minutes, feeling it transform from sticky to smooth and elastic under your hands
- Let it rise:
- Place your dough in a greased bowl, cover with a damp cloth, and tuck it in a warm corner for an hour until it has doubled in size
- Shape your loaf:
- Punch down the risen dough gently and shape it into a round, smooth ball, tucking the edges underneath
- Prep your pan:
- Generously grease a heavy-bottomed skillet or nonstick pan with olive oil, making sure to coat the bottom and sides
- First side down:
- Place your dough in the center of the pan, cover tightly with a lid, and cook over the lowest heat for 15 minutes
- The big flip:
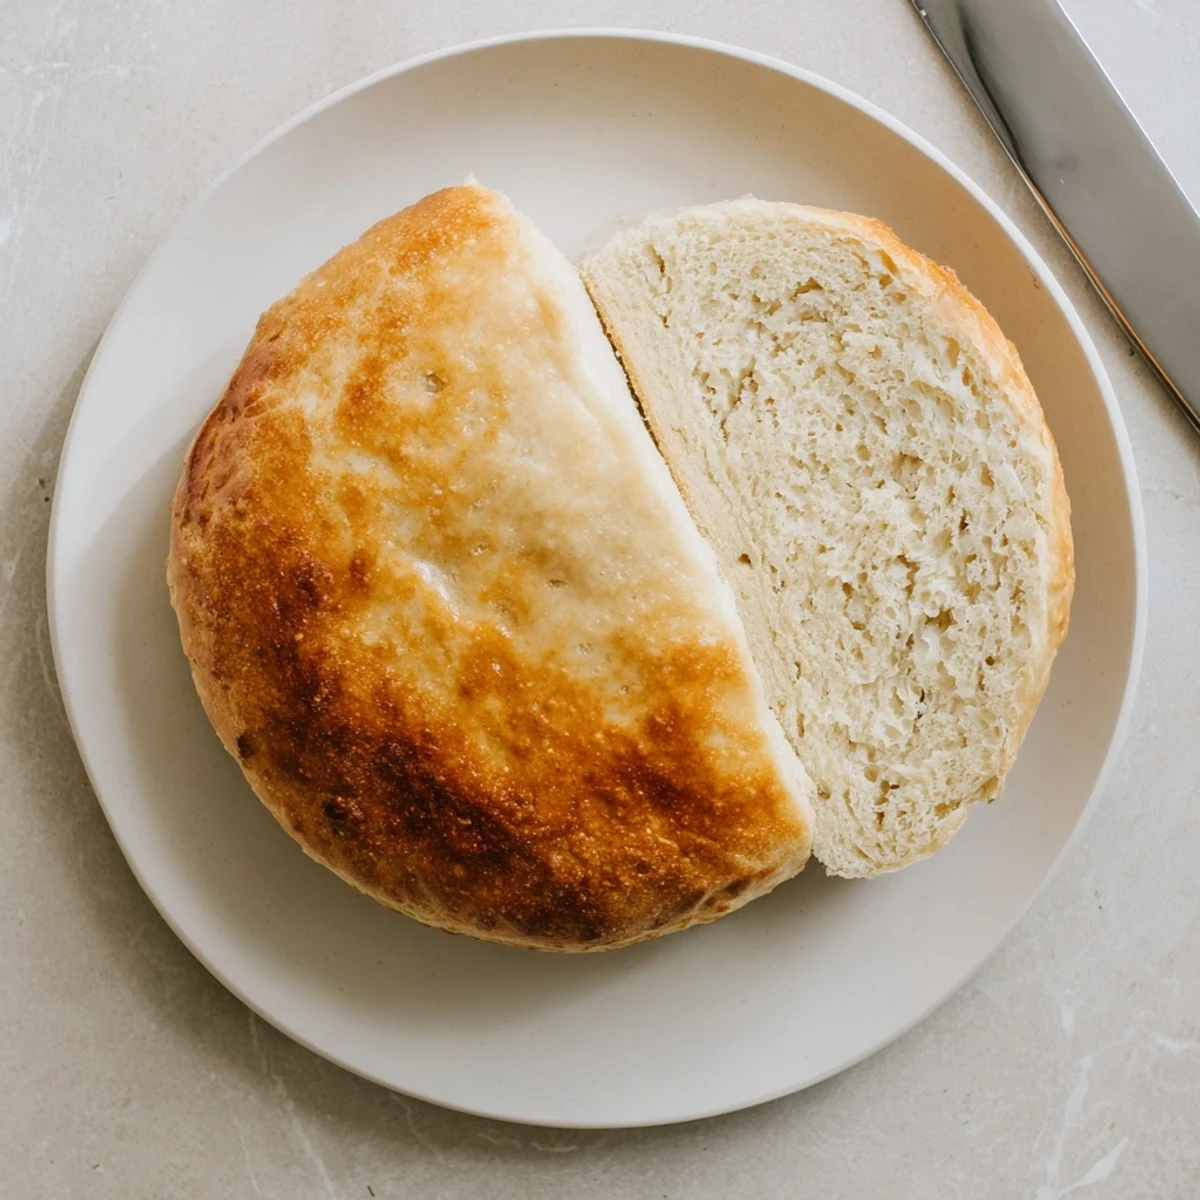
- Carefully turn the bread with a spatula, cover again, and cook another 12 to 15 minutes until golden and hollow-sounding when tapped
- Rest before slicing:
- Let the bread cool on a wire rack for at least 15 minutes—this step feels impossible but makes all the difference for texture
 Save
Save My three-year-old now asks for stove bread by name, standing on her stool to watch the flip moment with wide eyes. That simple act of turning the bread over, revealing the golden crust underneath, has become our little kitchen ritual.
Getting the Temperature Right
The difference between a perfectly cooked loaf and a burnt bottom comes down to patience with your stove setting. I keep my flame at the absolute lowest setting, where it is just barely visible. If you are using an electric stove, the lowest setting might still be too hot, so try using a heat diffuser or moving between two burners.
When to Add Herbs
Dried herbs like rosemary, thyme, or oregano should go in with the dry ingredients so they distribute evenly throughout the dough. Fresh herbs are more delicate—knead them in gently after the first rise. My favorite variation is adding minced garlic and rosemary, which transforms this into an incredible accompaniment for pasta night.
Serving Suggestions
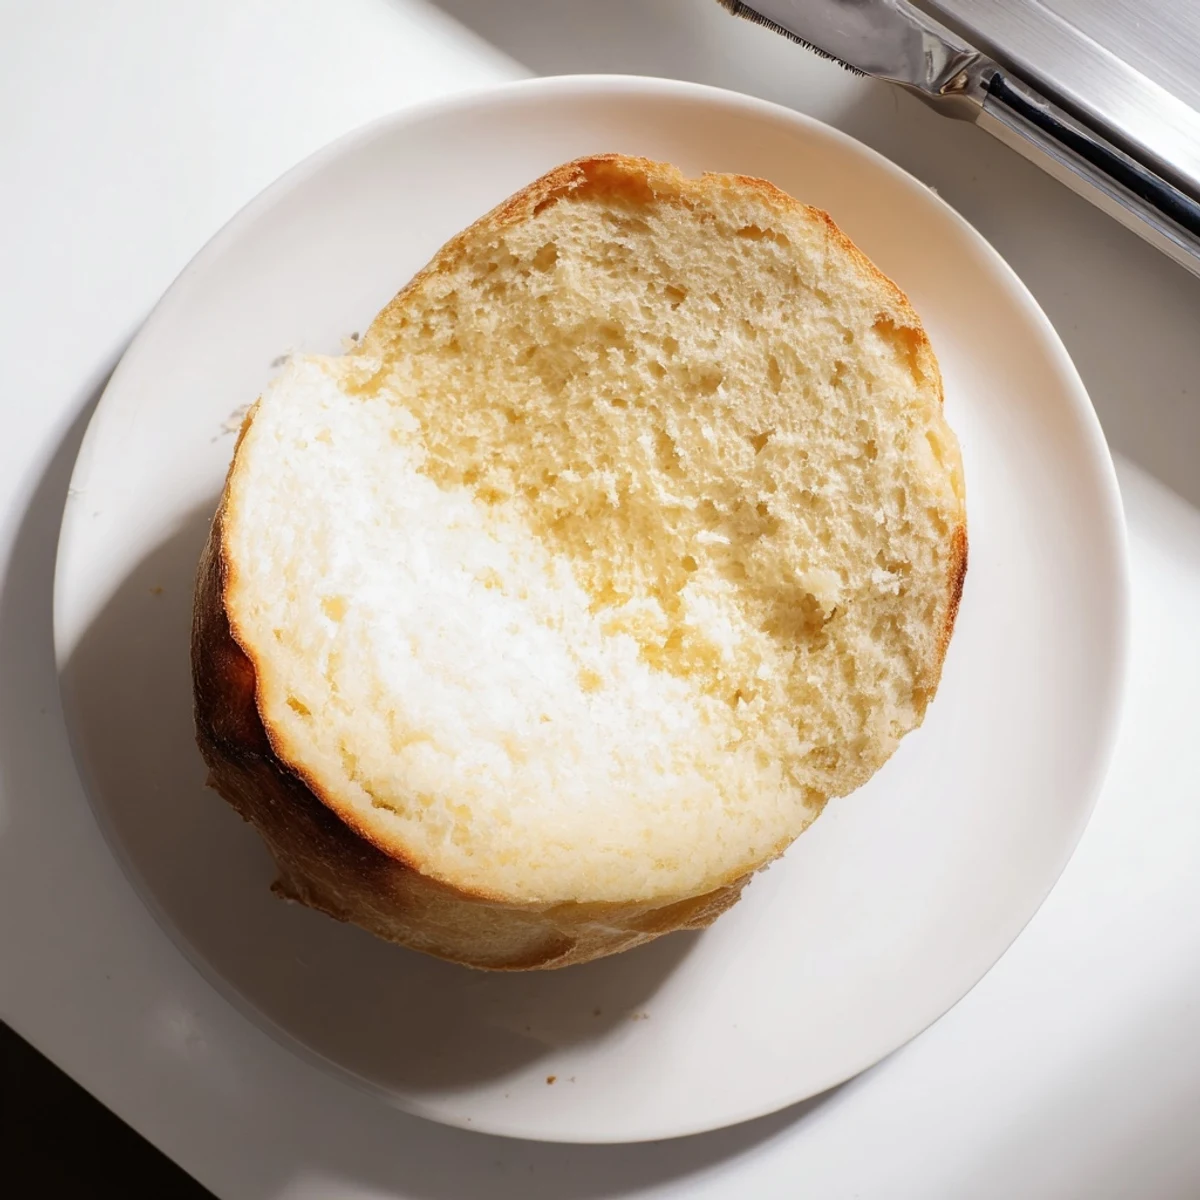
This bread is at its absolute best warm from the pan, though it still makes excellent toast the next day. I love serving it with salted butter that has been softened to room temperature, or dipping it in a bowl of good olive oil mixed with cracked pepper and flaky salt.
- Try it alongside soup instead of crackers
- Use slightly stale slices for panzanella salad
- Layer with cheese and tomatoes for a quick bruschetta
 Save
Save There is something deeply satisfying about making bread without any special equipment—just flour, water, and a little bit of stovetop magic.
Your Recipe Questions Answered
- → Can I make this bread without a lid?
-
A tight-fitting lid is essential for trapping steam and heat, which helps the bread cook through evenly and stay soft. Without a lid, the bread may dry out or remain undercooked inside.
- → Why cook on the lowest heat setting?
-
Low heat allows the bread to cook thoroughly without burning the bottom. It mimics the even, gentle heat of an oven, ensuring the inside bakes completely while the exterior develops a golden crust.
- → Can I use whole wheat flour?
-
You can substitute up to half the all-purpose flour with whole wheat flour. Keep in mind whole wheat absorbs more liquid, so you may need to add a tablespoon or two of warm water to achieve the right dough consistency.
- → How do I know when the bread is done?
-
The bread is ready when both sides are golden brown and it sounds hollow when tapped on the bottom. This usually takes 12–15 minutes per side over low heat.
- → Can I add mix-ins like cheese or garlic?
-
Absolutely. Knead in shredded cheese, minced garlic, or dried herbs during the initial mixing step. These additions infuse flavor throughout the loaf while maintaining the soft texture.
- → Why does the dough need to rise for an hour?
-
The rising time allows yeast to ferment and produce carbon dioxide, creating air pockets that make the bread light and fluffy. Skipping this step will result in a dense, heavy loaf.
