 Save
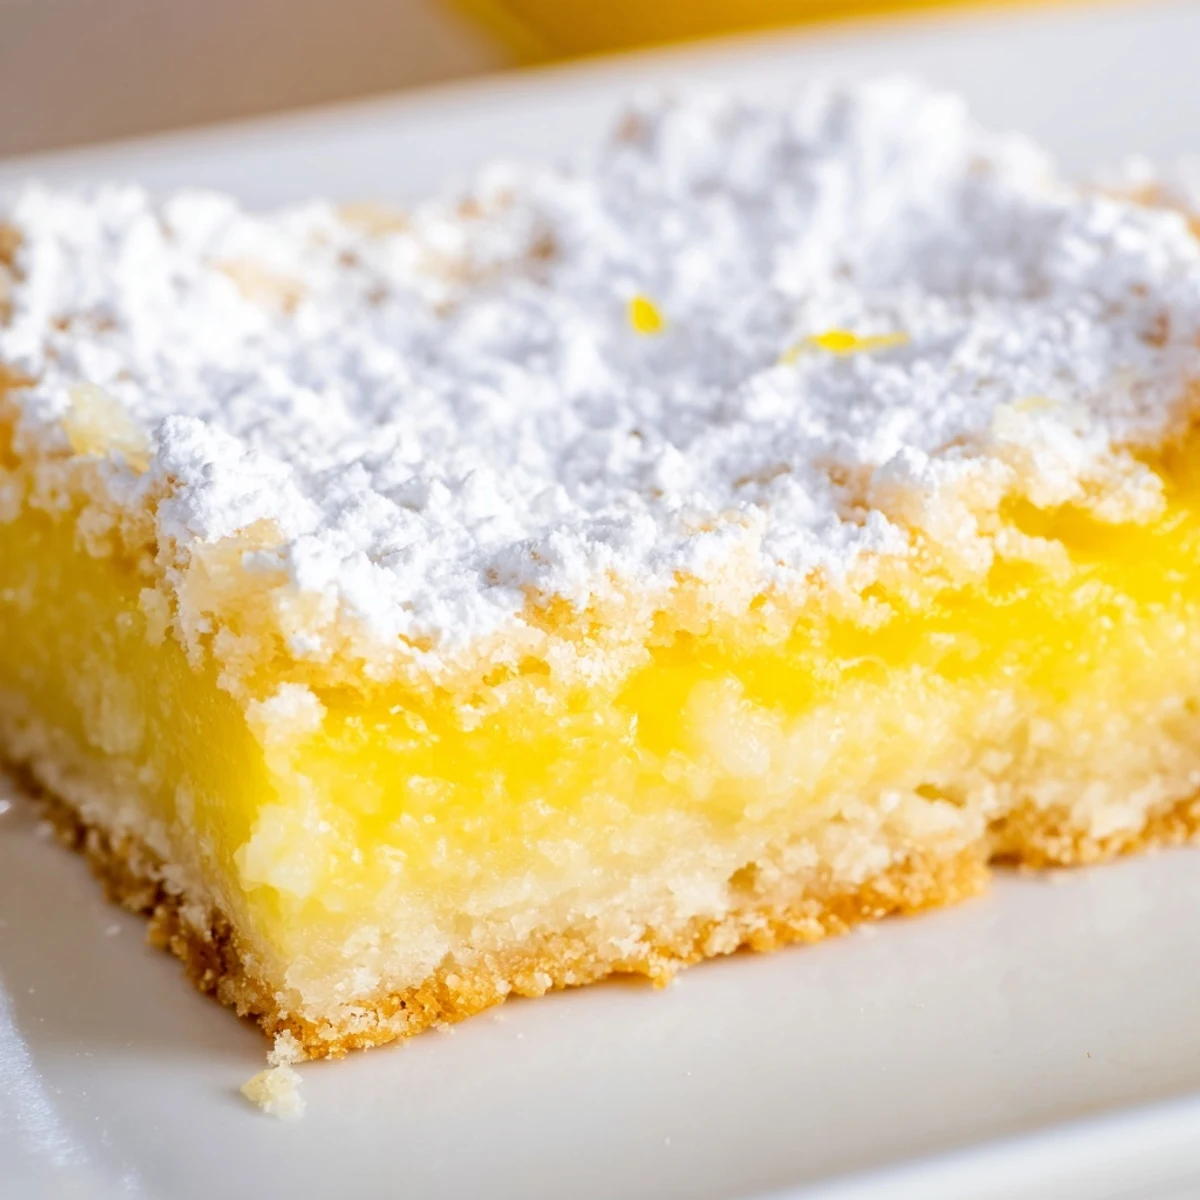
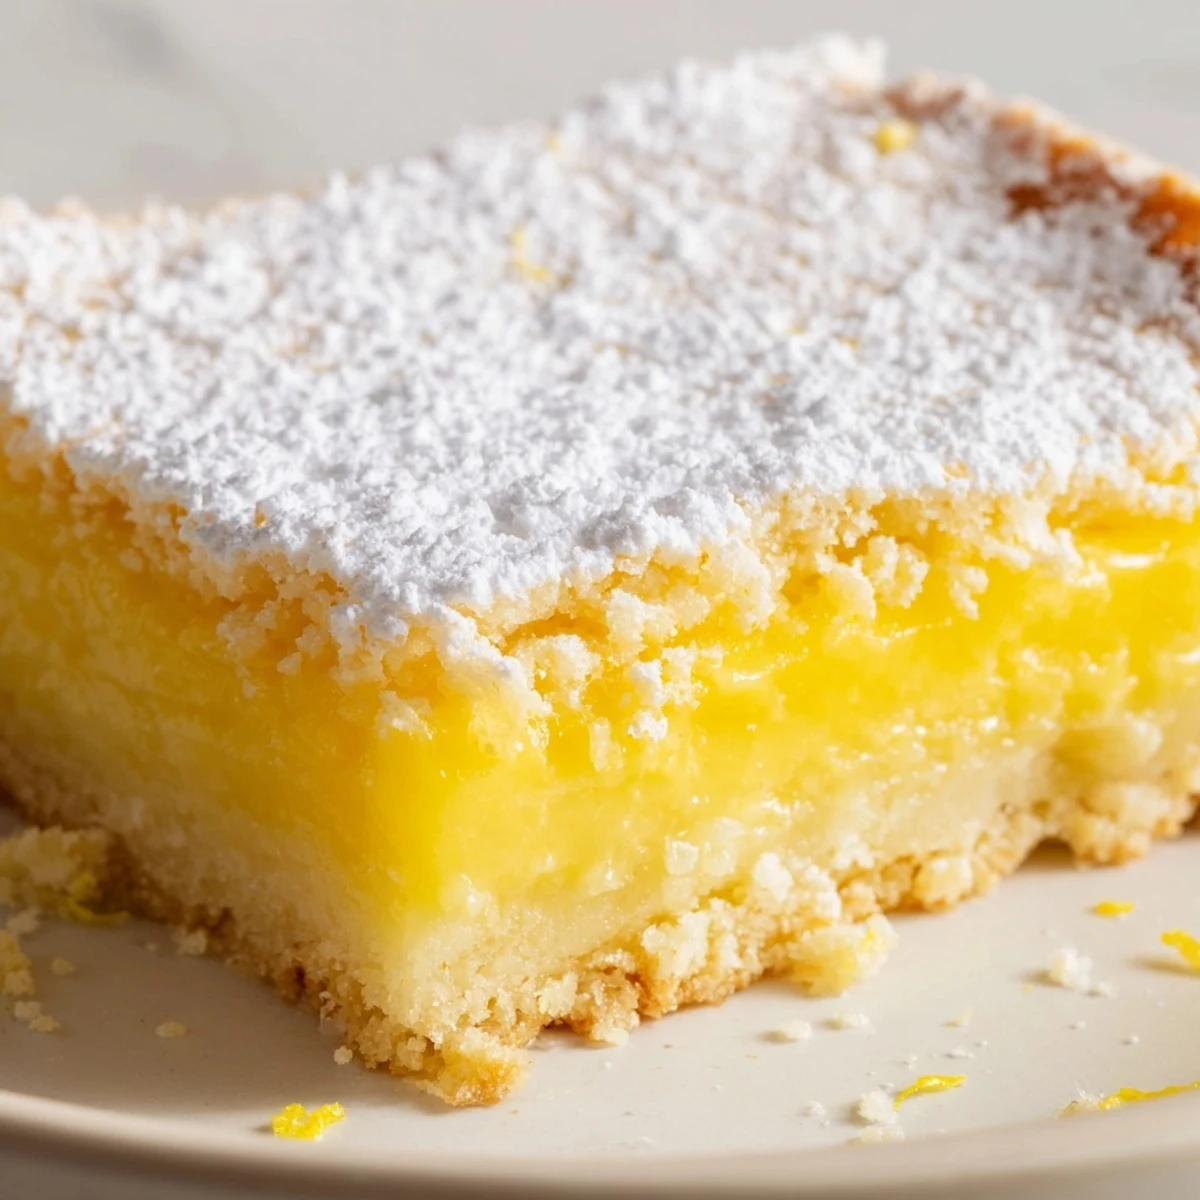
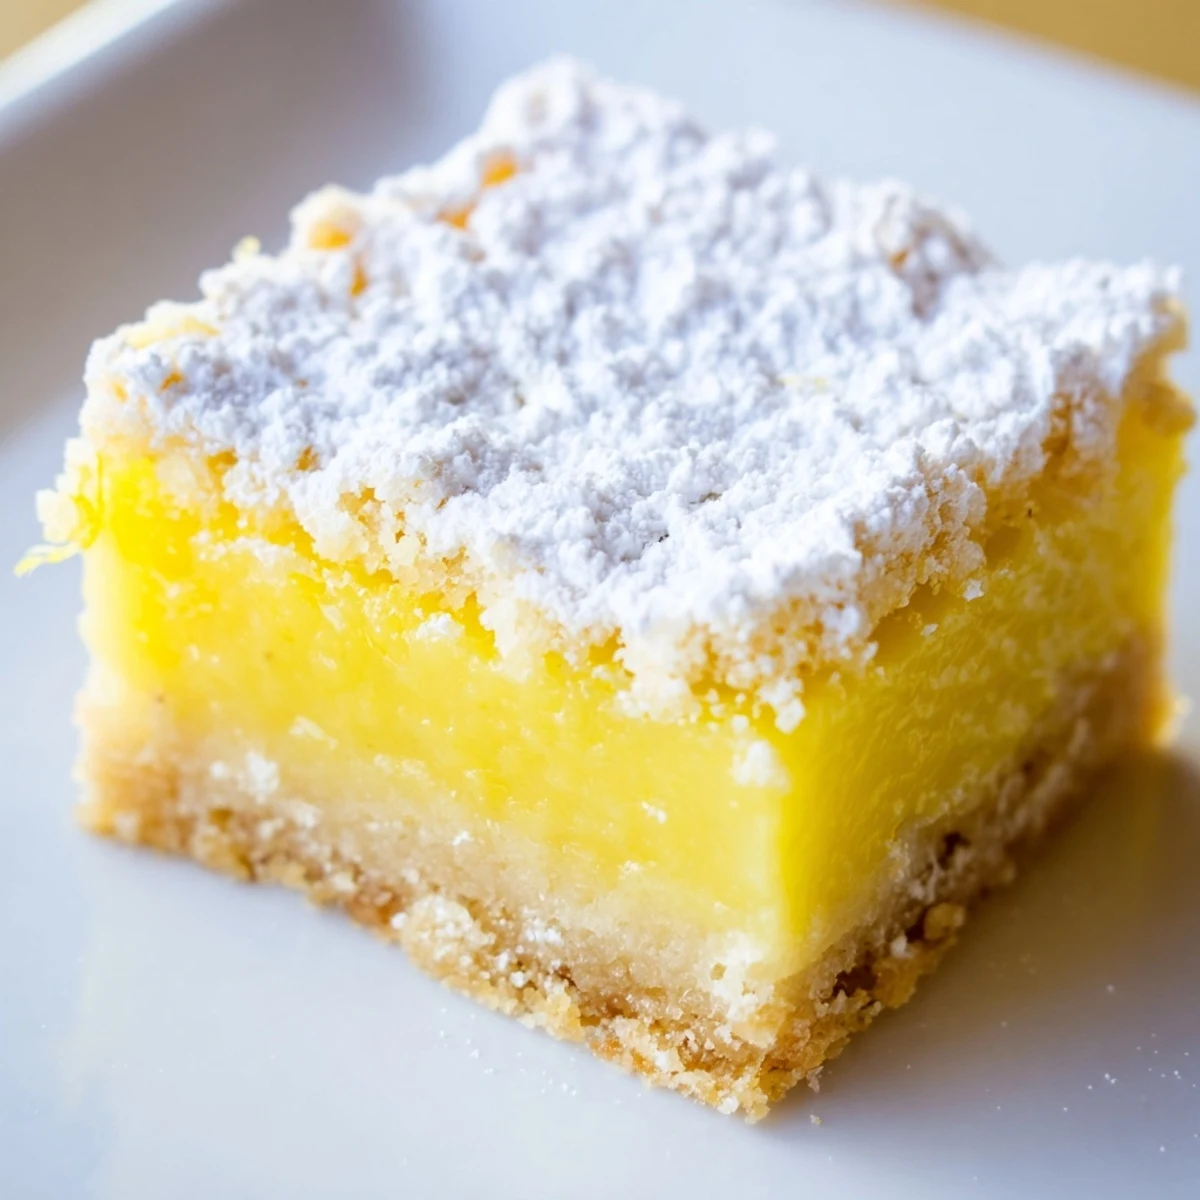
Save These bright and fresh lemon bars combine a buttery shortbread base with a silky, tangy lemon filling that balances sweetness and citrus zing perfectly.
Ready in just 50 minutes with simple pantry staples, they yield a dozen generous squares ideal for potlucks, picnics, or everyday treats.
A dusting of powdered sugar adds a beautiful finish to these classic American dessert bars.
The smell of lemon zest hitting a grater is one of those small kitchen pleasures that makes everything feel brighter, even on a gray Tuesday when the dishes are piling up and you have nowhere to be.
I brought a batch of these to a neighbor who had just come home from the hospital, and she stood in her driveway eating two before even making it inside, which told me everything I needed to know about whether the recipe worked.
Ingredients
- Unsalted butter (1 cup, 225 g, melted): Melted rather than softened butter gives the crust that tender, crumbly snap without needing to cut in cold cubes.
- Granulated sugar (1/2 cup for crust, 1 1/2 cups for filling): Two separate amounts because the crust needs just enough sweetness while the filling carries the real sugar load to balance all that acid.
- All-purpose flour (2 cups for crust, 1/4 cup for filling): That quarter cup in the filling is the secret weapon that keeps it set and custardy rather than turning into a soupy mess.
- Salt (1/4 tsp): A small pinch in the crust makes the butter taste more like itself.
- Large eggs (4): Room temperature eggs blend smoother into the filling and help it set evenly without stubborn wet spots.
- Freshly squeezed lemon juice (2/3 cup, 160 ml, about 3 to 4 lemons): Bottled juice tastes flat and metallic here, so squeeze your own and save the bottled stuff for something else.
- Lemon zest (from 2 lemons): All the aromatic oils live in the zest, and without it the filling tastes one dimensional no matter how much juice you pour in.
- Powdered sugar for dusting: A generous snowfall right before serving adds a gentle sweetness and makes the bars look like they came from a bakery case.
Instructions
- Preheat and prepare the pan:
- Set your oven to 350 degrees F and line a 9 by 13 inch baking pan with parchment paper, leaving an overhang on the sides so you can lift the whole thing out later without a fight.
- Build the crust:
- Stir melted butter, sugar, flour, and salt together in a bowl until a soft dough forms, then press it firmly and evenly into the bottom of the pan using your fingers or the back of a spoon.
- Bake the crust:
- Slide it into the oven for 18 to 20 minutes until the edges turn a pale gold and your kitchen starts smelling like warm butter, then pull it out but keep it in the pan.
- Whisk the filling:
- In a separate bowl, whisk sugar and flour together first so the flour does not clump, then add the eggs, lemon juice, and zest and whisk until everything is smooth and uniformly sunny.
- Combine and bake again:
- Pour the filling directly over the warm crust and return the pan to the oven for another 18 to 20 minutes, until the center is set with only the slightest wobble when you gently shake the pan.
- Cool, slice, and finish:
- Let the bars cool completely in the pan on a wire rack, then use the parchment overhang to lift them out, slice into 12 pieces, and dust generously with powdered sugar right before serving.
 Save
Save The moment a friend picks up one of these bars and closes their eyes at the first bite is when the recipe stops being yours and starts being theirs.
Storing and Making Them Last
These bars keep beautifully in the refrigerator for up to four days, and honestly I think they taste even better on day two when the filling has fully settled into the crust.
Making Them Gluten Free
Swap the all purpose flour for a one to one gluten free blend in both the crust and filling and you will barely notice the difference, though the crust may be slightly more delicate so handle it gently when slicing.
A Few Last Thoughts
Every lemon is different in size and juiciness, so taste your filling before you pour it and trust your own palate over any measurement.
- Roll the lemons firmly on the counter before juicing to get every last drop out.
- A microplane zester gives you fine, fluffy zest that disappears into the filling beautifully.
- Dust the powdered sugar at the very last second or it will melt into the surface and look wet.
 Save
Save Keep a plate of these in your fridge during lemon season and you will never be without something sweet to offer unexpected guests.
Your Recipe Questions Answered
- → How do I know when the lemon filling is fully set?
-
The center should be set with only a slight jiggle when you gently shake the pan. It will continue to firm up as it cools completely on a wire rack.
- → Can I use bottled lemon juice instead of fresh?
-
Freshly squeezed lemon juice delivers the brightest, most vibrant flavor. Bottled juice works in a pinch but may taste slightly less lively. Always include the fresh zest for the best aromatic result.
- → How should I store leftover lemon bars?
-
Store them in an airtight container in the refrigerator for up to 4 days. The chilled texture actually makes them even more enjoyable, with a clean, firm bite.
- → Can I make lemon bars gluten-free?
-
Yes, substitute the all-purpose flour in both the crust and filling with a 1-to-1 gluten-free baking blend. Texture may vary slightly but the tangy lemon flavor remains excellent.
- → Why is my shortbread crust crumbling when I press it?
-
Make sure the butter is fully melted and mixed thoroughly with the sugar, flour, and salt. The warmth of the melted butter helps bind the dough together when pressing it firmly and evenly into the pan.
- → Can I freeze lemon bars for later?
-
Absolutely. Cut them into squares and freeze in a single layer on a baking sheet, then transfer to a freezer-safe container for up to 3 months. Thaw overnight in the refrigerator before dusting with powdered sugar and serving.
