 Save
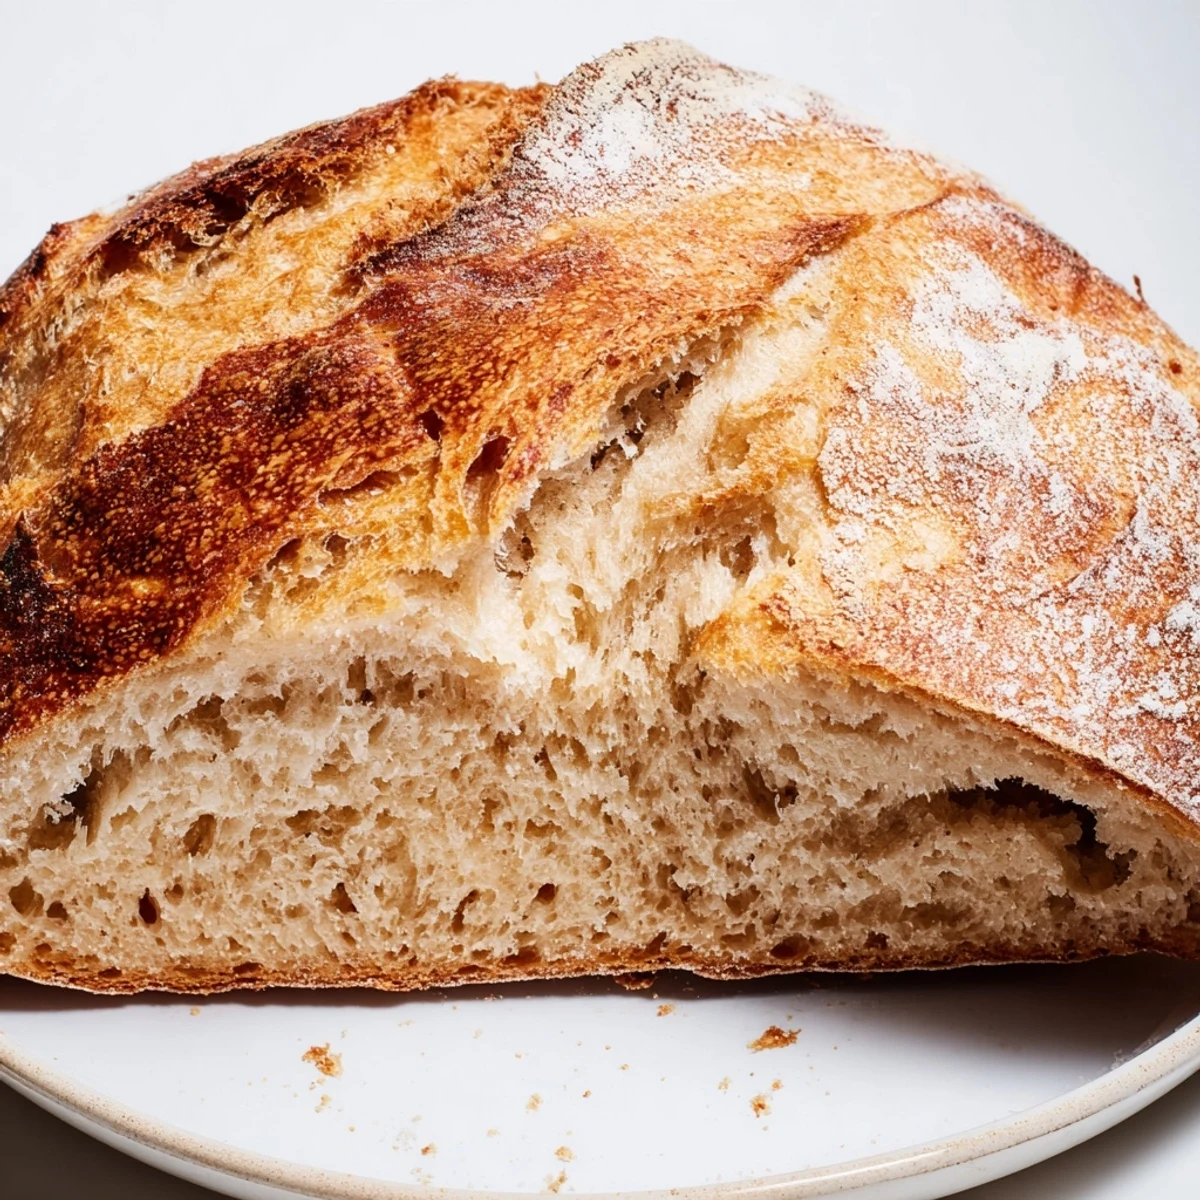
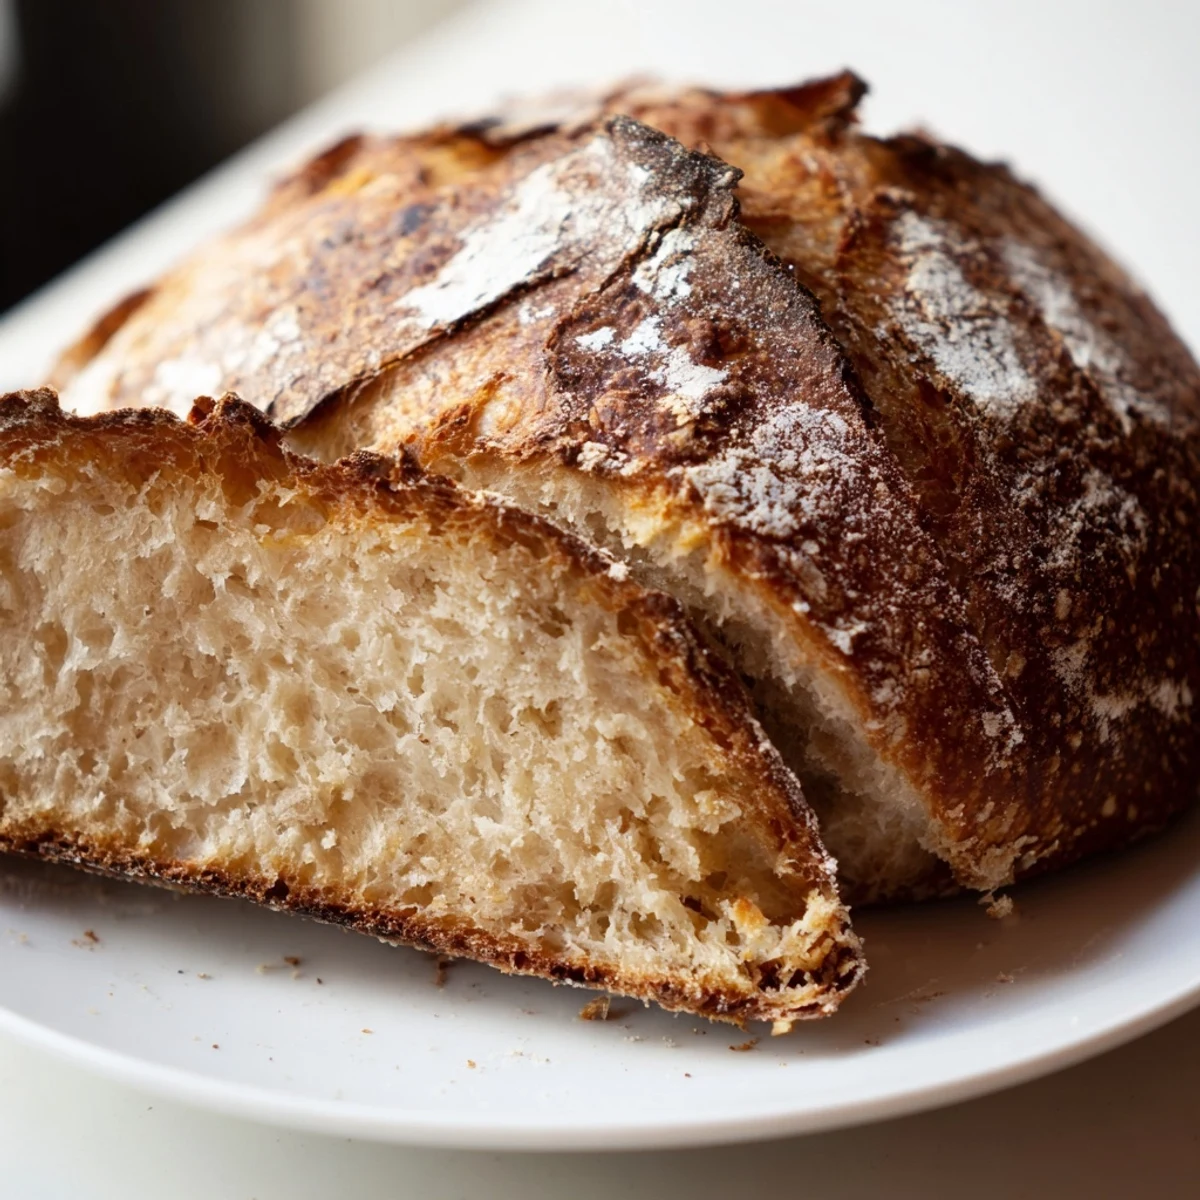
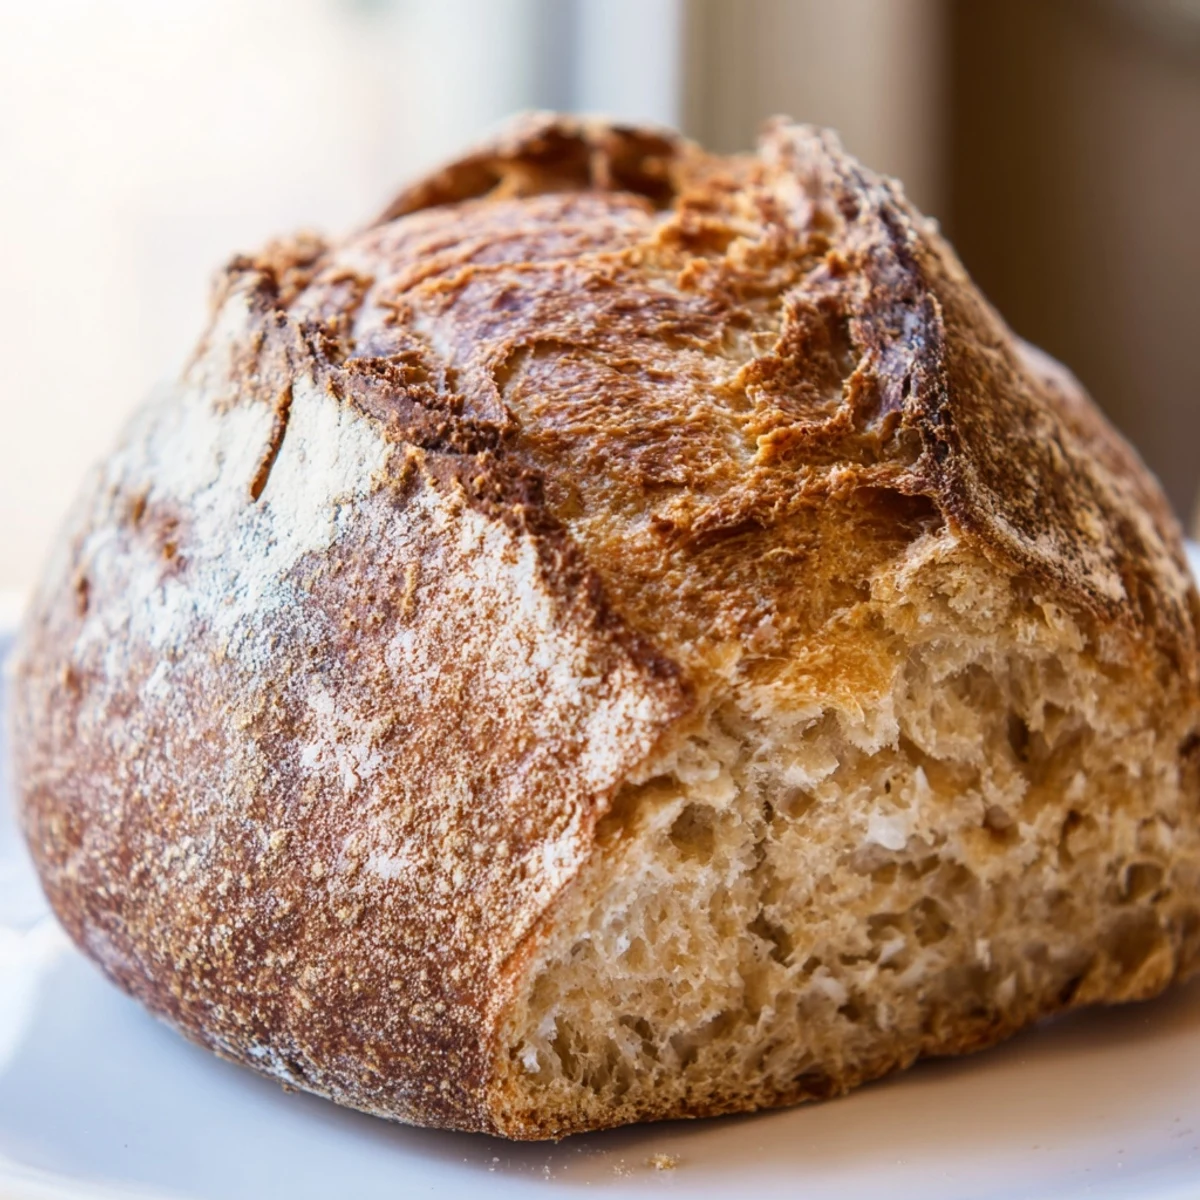
Save This rustic no-knead bread develops its signature crackling crust through slow fermentation and high-heat baking in a Dutch oven. The overnight rise creates complex flavor while the lidded pot traps steam for that perfect chewy texture. With just flour, water, salt, and yeast, you'll achieve bakery-quality results at home.
My apartment smelled like a professional bakery at 7am, and I hadnt even had coffee yet. That first loaf emerged from the Dutch oven with a crust that sang when I touched it—literally crackled and popped as it cooled on the rack. Ive made this recipe more times than I can count now, but nothing beats pulling that first steaming slice and watching butter melt into those beautiful air pockets.
Last winter, my sister visited during a snowstorm and we ate an entire loaf straight from the oven, standing over the counter with slabs of salted butter. She kept asking what the secret ingredient was, laughing when I told her it was just time and patience. Now she texts me every time she makes it, usually with a photo of her slices slathered in jam or used for the most epic grilled cheese.
Ingredients
- 3 cups all-purpose flour: Bread flour gives extra chew, but regular flour works perfectly fine
- 1 1/2 teaspoons salt: Enhances flavor and helps strengthen the gluten structure
- 1/2 teaspoon instant yeast: A tiny amount works magic over those long hours
- 1 1/2 cups lukewarm water: Should feel like bath temperature, not hot or cold to the touch
Instructions
- Mix the dough:
- Combine flour, salt, and yeast in a large bowl, then add water and stir until you have a shaggy, sticky mess
- Let it rest overnight:
- Cover the bowl and let it sit at room temperature for 12 to 18 hours until bubbling and doubled in size
- Shape and rise again:
- Gently turn the dough onto a floured surface, form it into a loose ball, and let it rest on parchment for 30 to 45 minutes
- Heat your pot:
- Place a Dutch oven in your oven and preheat to 450°F for at least 30 minutes
- Bake with the lid on:
- Carefully transfer the dough into the hot pot, cover, and bake for 30 minutes
- Finish uncovered:
- Remove the lid and bake for another 10 to 15 minutes until deeply golden brown
- Cool completely:
- Let the bread rest on a wire rack for at least 30 minutes before slicing into it
 Save
Save There's something meditative about making bread this way—you mix it up, walk away, and come back to this transformed living thing. It taught me that good food often requires less hands-on work than we think and more trust in the process.
Getting That Crackly Crust
The Dutch oven creates a mini steam chamber in your oven, which is exactly what professional bakeries use for artisan bread. That trapped moisture keeps the crust soft initially, allowing the bread to expand fully before the crust sets and becomes beautifully crisp.
Timing Your Bake
I usually mix the dough before bed, let it rise overnight while I sleep, then bake first thing in the morning. The timing works perfectly—fresh bread for breakfast and that incredible smell filling the house.
Customizing Your Loaf
The basic dough is incredible on its own, but its also a perfect canvas for whatever sounds good. Mix in a handful of olives or roasted garlic before the overnight rise, or knead in fresh herbs like rosemary and thyme after the dough has rested.
- Add mix-ins right after combining the wet and dry ingredients
- Cheese and jalapeño bread is worth trying at least once
- A dusting of flour on top before baking gives it that rustic bakery look
 Save
Save Slice this bread thick, toast it until golden, and youll never want store-bought bread again. Theres nothing quite like warm, crusty bread straight from your own oven.
Your Recipe Questions Answered
- → Why does this bread need to rise for 12-18 hours?
-
The long fermentation develops deep flavor and creates the bread's characteristic airy holes. Slow rising also breaks down gluten for better digestibility.
- → Can I reduce the rising time?
-
You can use slightly more yeast and warm water (85°F) for a 6-8 hour rise, though the flavor won't be as complex. The long, slow rise is what gives this bread its exceptional taste.
- → Why bake in a Dutch oven?
-
The Dutch oven creates a steamy environment that mimics professional bread ovens. This trapped steam allows the crust to expand fully before setting, resulting in that beautiful crackling exterior.
- → How do I know when the bread is done?
-
Look for a deep golden-brown crust. The bread should sound hollow when tapped on the bottom, and an instant thermometer inserted into the center should read 200-205°F.
- → Can I add mix-ins like herbs or cheese?
-
Absolutely! Fold in chopped olives, roasted garlic, fresh herbs, or cheese during step 3 when you turn the dough. Keep additions under 1 cup total to maintain proper dough structure.
