 Save
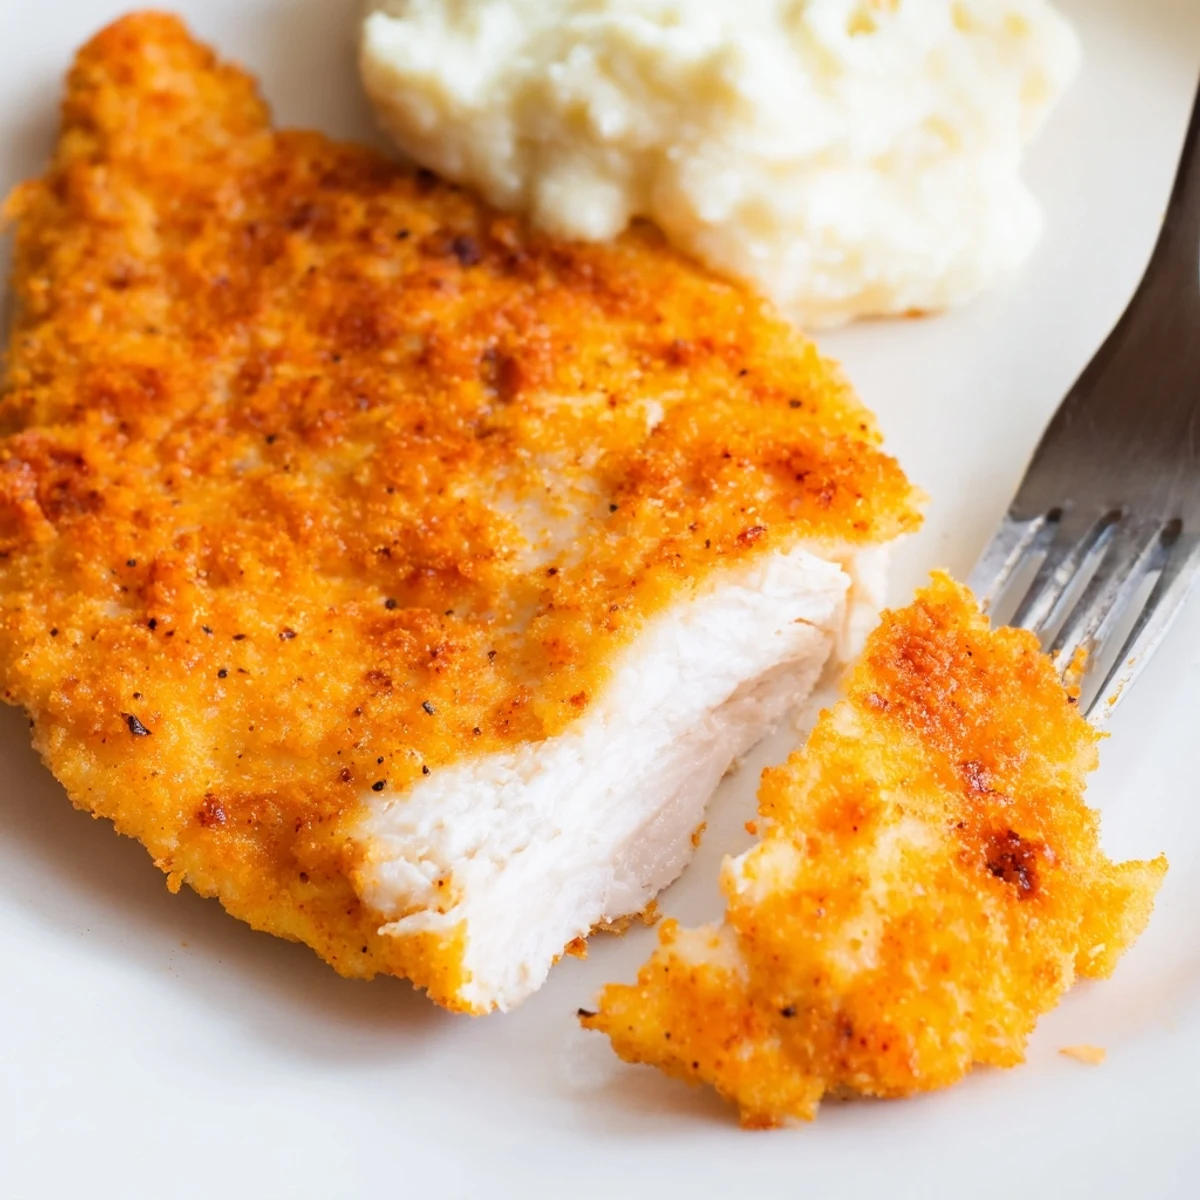
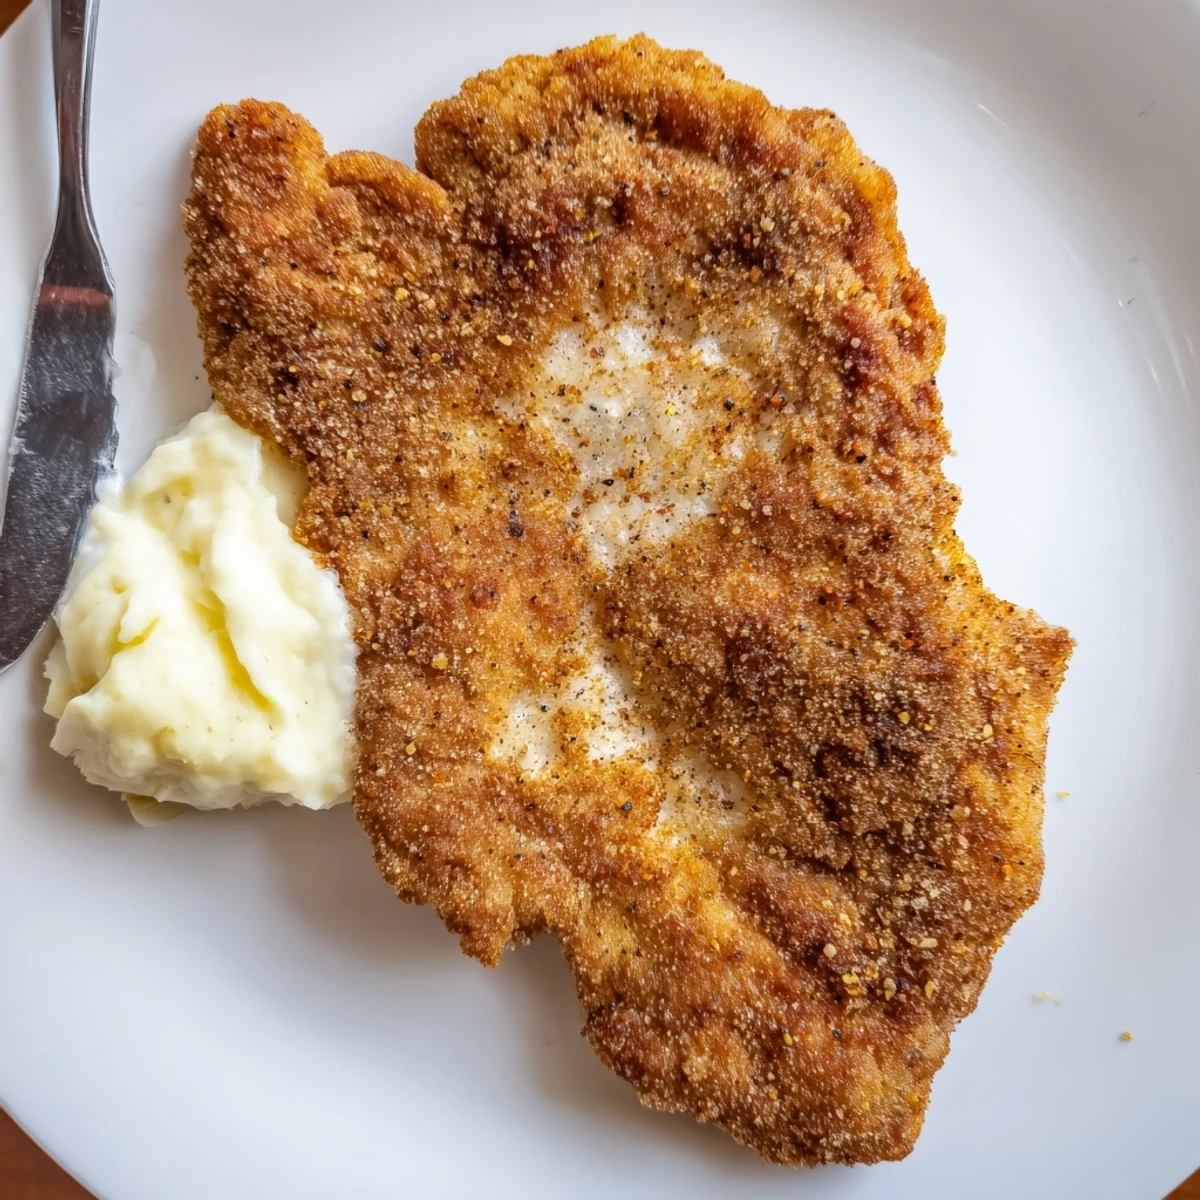
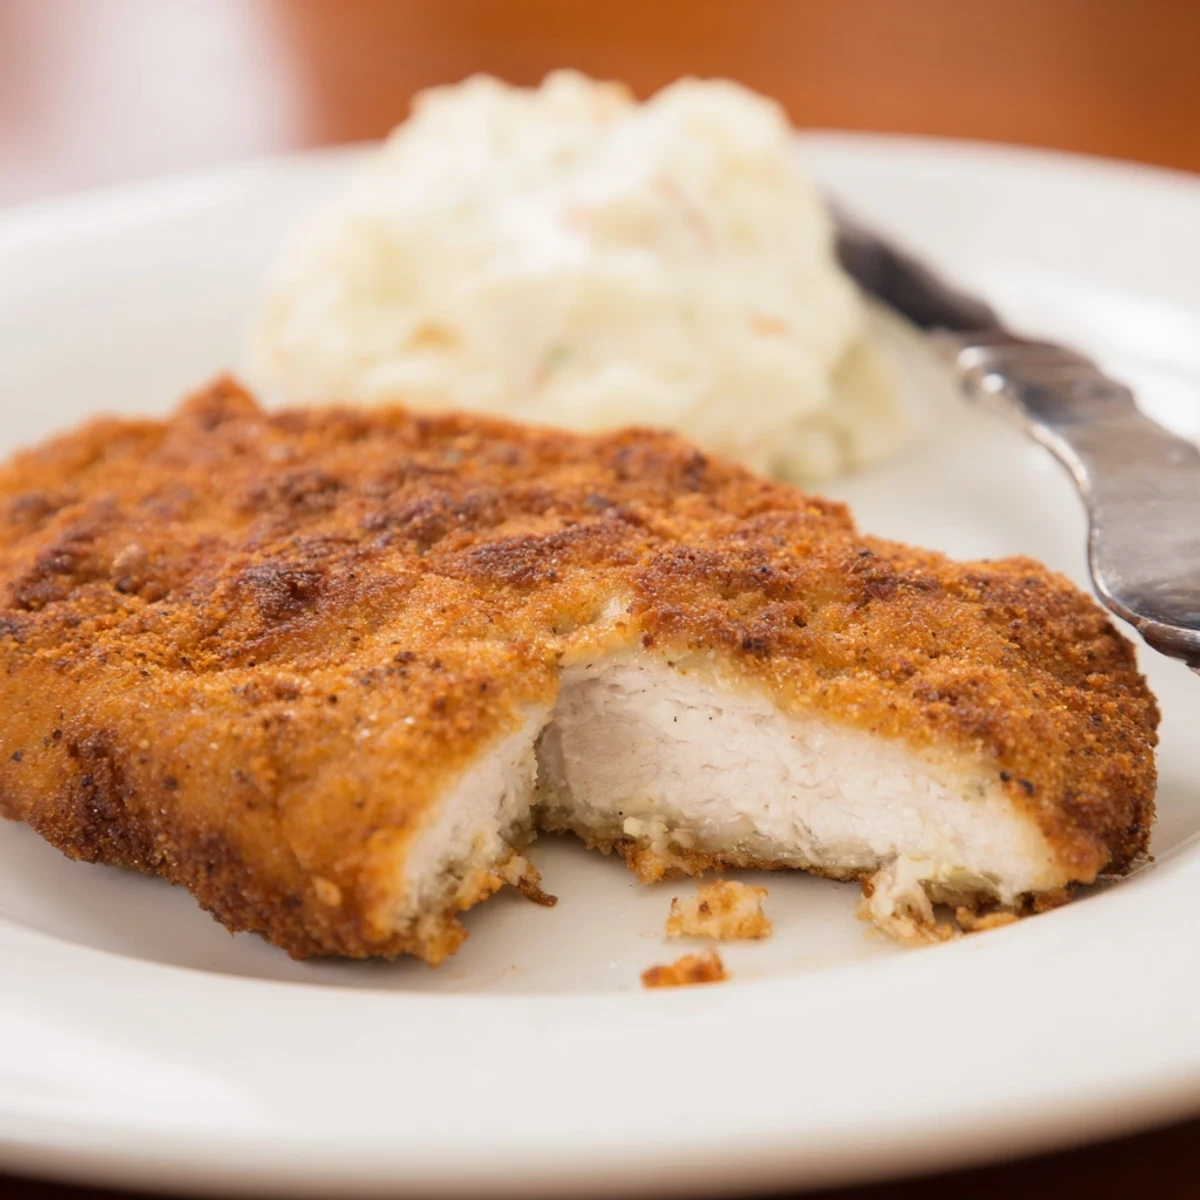
Save Pound boneless chicken breasts to an even 1/2-inch thickness and soak in buttermilk with salt and pepper for at least 30 minutes or up to 4 hours (overnight for best tenderness). Dredge in a seasoned mix of flour and cornstarch, press to adhere, then fry in oil at 350°F (175°C) until golden and the center reaches 165°F (74°C). Rest 2–3 minutes and serve four portions with mashed potatoes, slaw, or on a roll.
The sizzle of chicken hitting hot oil is one of those sounds that pulls everyone into the kitchen, no invitation needed. My grandmother never measured anything when she fried chicken, relying entirely on instinct and the way the breading looked against her fingertips. It took me years of dried out breasts and burnt coatings before I finally cracked the code she carried in her hands.
One Sunday afternoon my nephew wandered into the kitchen while I was setting up the breading station and asked if he could help. He wound up dropping a chicken breast straight into the flour without the buttermilk dip and we laughed about his sad pale little piece while the rest of us ate properly coated golden perfection.
Ingredients
- 4 boneless skinless chicken breasts: Pound them even so the thin end does not dry out before the thick part cooks through.
- 1 cup buttermilk: This is nonnegotiable for true tenderness and a subtle tang that penetrates the meat.
- 1 teaspoon salt plus half teaspoon black pepper for brine: Dissolved into the buttermilk it seasons from the inside out.
- 1 cup all purpose flour: The foundation of your coating, providing structure and body.
- Half cup cornstarch: This is the trick that makes the crust light and crackly rather than heavy and breadlike.
- 1 teaspoon paprika: Adds a gentle warmth and helps the coating brown beautifully.
- 1 teaspoon garlic powder: Distributes savory depth more evenly than fresh garlic ever could in a dry coating.
- Half teaspoon cayenne pepper optional: A quiet heat that builds without overwhelming, especially good if serving with honey drizzle.
- 1 teaspoon salt plus half teaspoon ground black pepper for coating: Do not skimp here because this is your only chance to season the crust itself.
- Vegetable oil for frying about 2 cups: You want enough depth to surround the chicken halfway up its side for even browning.
Instructions
- Pound the chicken flat:
- Slide each breast between two sheets of plastic wrap and use a mallet or rolling pin to gently flatten them to about half an inch thick. You will hear a satisfying soft thud with each strike and the goal is uniform thickness so nothing cooks unevenly.
- Make the buttermilk bath:
- Whisk together the buttermilk with a teaspoon of salt and half teaspoon of pepper in a bowl wide enough to hold all four breasts. Submerge the chicken completely and if you have time let it soak in the fridge for at least thirty minutes or up to four hours for maximum tenderness.
- Build the dredge:
- In a separate wide bowl combine the flour, cornstarch, paprika, garlic powder, cayenne if using, and the remaining salt and pepper. Run your fingers through it to break up any lumps and notice how the paprika tints everything a warm terracotta color.
- Coat the chicken:
- Lift each breast from the buttermilk letting the excess drip back into the bowl then press it firmly into the flour mixture on both sides. Really push the coating into every crevice with your palms because this pressure is what prevents it from flaking off in the oil.
- Heat the oil:
- Pour oil into a large skillet or deep pan until it reaches about a third of an inch up the sides and bring it to 350 degrees Fahrenheit over medium heat. You can test readiness by sprinkling in a pinch of flour and watching it sizzle immediately without smoking.
- Fry to golden glory:
- Lower the coated breasts into the oil in batches of two so the pan never gets crowded, cooking six to seven minutes per side until deeply golden and the internal temperature reads 165 degrees Fahrenheit. The kitchen will smell incredible and you will hear the oil calm down as each piece nears doneness.
- Rest before serving:
- Transfer the finished chicken to a plate lined with paper towels and let it rest for two to three minutes so the juices redistribute and the crust sets. Cutting too early releases all the moisture you worked so hard to seal in.
 Save
Save There is something about a platter of fried chicken sitting in the middle of the table that makes everyone sit down a little faster and talk a little less formally.
Serving Ideas Worth Trying
A thick slice of this chicken between a toasted brioche bun with pickles and a smear of spicy mayo makes a sandwich that rivals any restaurant version. Mashed potatoes and a bright vinegar based coleslaw are the classic companions and the contrast of creamy, crunchy, and tangy keeps every bite interesting.
Making It Gluten Free
Swap the all purpose flour for a one to one gluten free blend and replace the cornstarch with potato starch if corn is also a concern. The texture changes slightly, leaning more delicate than crunchy, but the flavor remains satisfying and the buttermilk marinade does all the heavy lifting for taste anyway.
Getting Ahead and Storing Leftovers
You can marinate the chicken the night before which actually improves both flavor and texture dramatically. Leftover fried chicken reheats surprisingly well in a 375 degree Fahrenheit oven for about ten minutes if you place it on a wire rack so the bottom does not steam soft.
- Never microwave leftover fried chicken unless you enjoy soggy disappointment.
- The raw breaded breasts freeze beautifully for up to three months, fry directly from frozen adding two extra minutes per side.
- Always let the oil cool completely before straining and storing it for a second use.
 Save
Save Fried chicken is never just dinner, it is a reason to gather and an excuse to slow down. Once you master this recipe you will find yourself making it on random Tuesdays just because you can.
Your Recipe Questions Answered
- → How long should I marinate the chicken?
-
At least 30 minutes for noticeable tenderness; 2–4 hours will deepen flavor and juiciness, and overnight delivers the most tender results.
- → What oil and temperature work best for frying?
-
Use a neutral high-smoke-point oil like vegetable or canola. Heat to about 350°F (175°C) and maintain steady temperature to achieve a golden crust without over-browning.
- → How do I keep the coating extra crispy?
-
Include cornstarch with the flour for a lighter, crunchier crust, press the coating firmly onto the meat, and avoid overcrowding the pan so oil temp stays consistent.
- → Can this be made gluten-free?
-
Yes. Substitute a cup-for-cup gluten-free flour blend for the all-purpose flour and verify cornstarch and other ingredients are labeled gluten-free.
- → How can I check doneness without a thermometer?
-
Slice into the thickest part: juices should run clear and the center should be opaque. For reliable safety, aim for an internal temperature of 165°F (74°C).
- → How can I add more heat to the dish?
-
Bump the cayenne in the coating, add smoked paprika or chili powder, or toss the hot breasts in a spiced butter or hot sauce for an extra kick.
