 Save
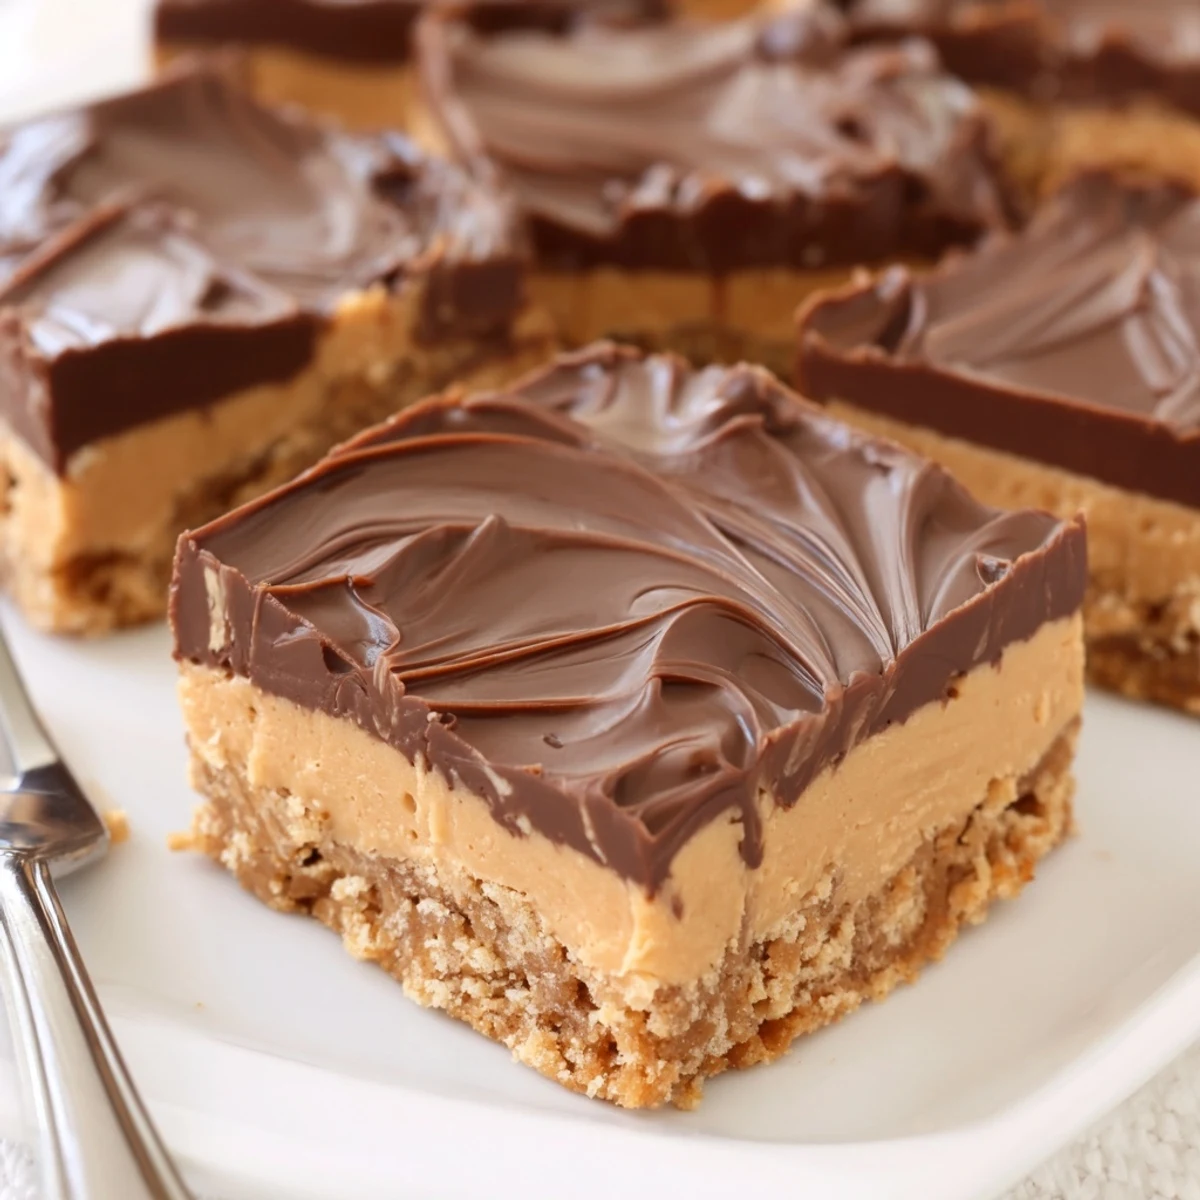
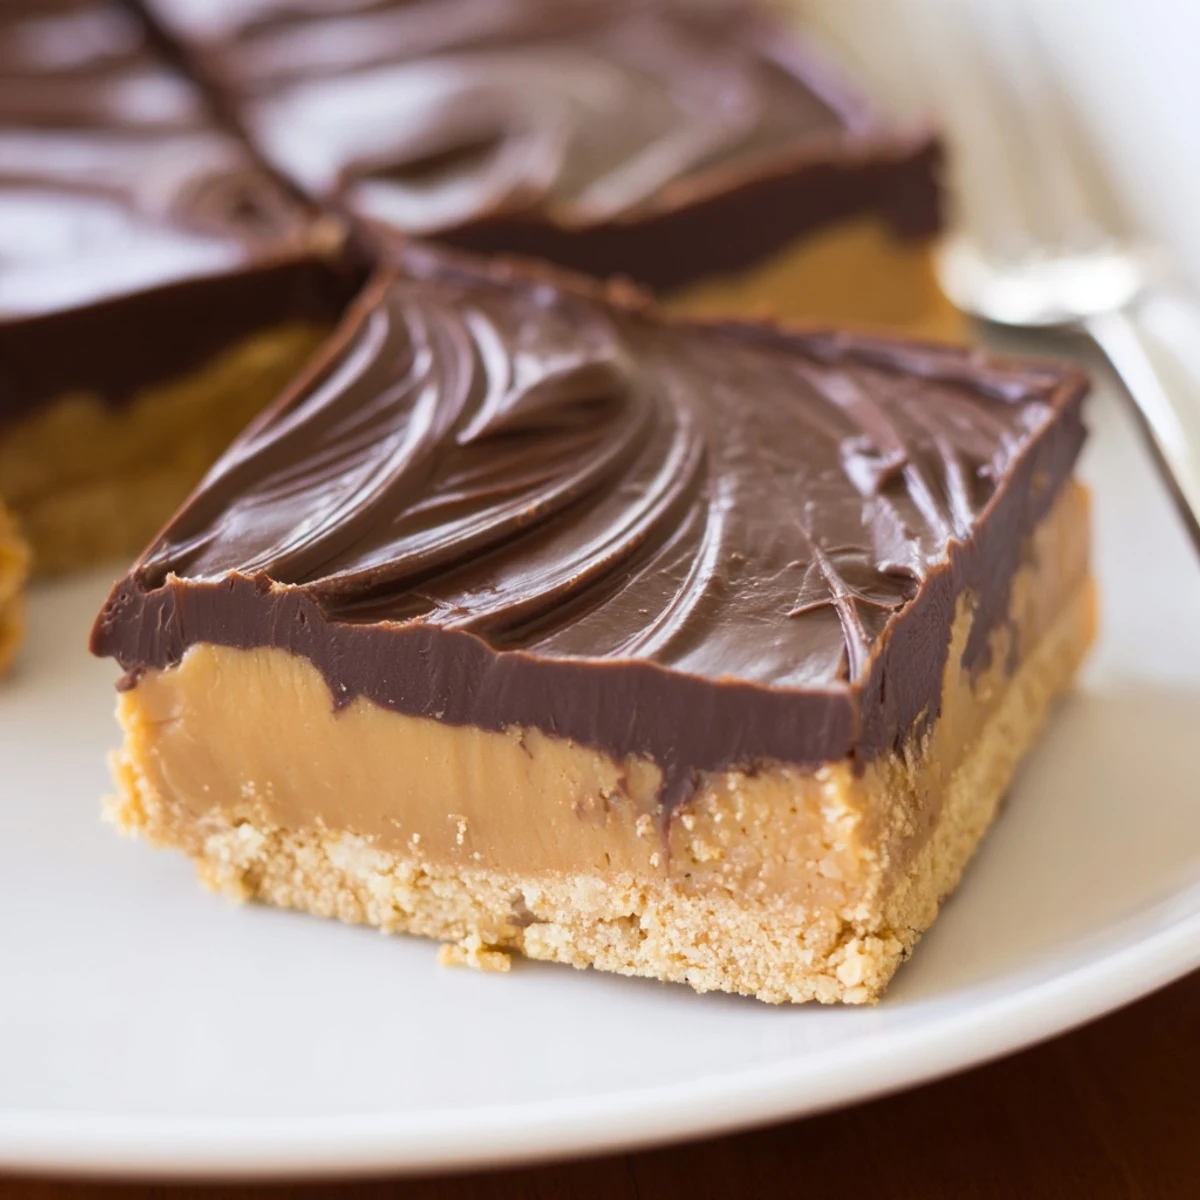
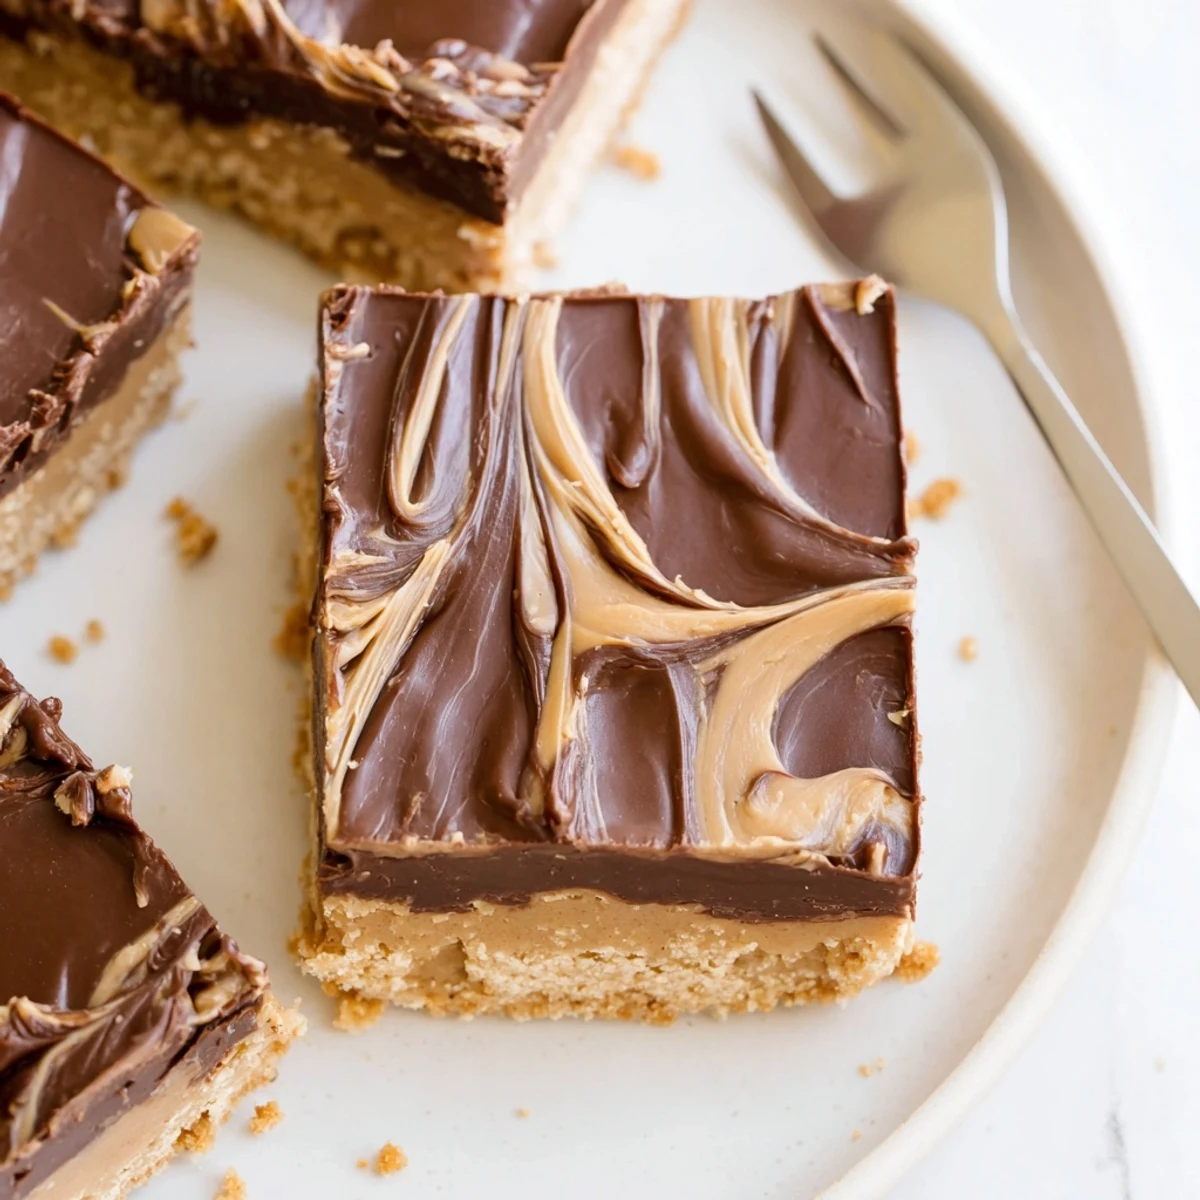
Save These no-bake peanut butter bars combine a buttery graham-cracker base with creamy peanut butter, pressed into an 8x8 pan and finished with a melted chocolate–peanut butter glaze. Chill for at least 2 hours to set, lift from the pan using parchment, and slice into 16 bars. Try chunky peanut butter or a sprinkle of sea salt for extra texture and flavor; store chilled up to one week.
The hum of the fridge was my background music on a humid afternoon when I first decided to whip up these No Bake Peanut Butter Bars. The kitchen felt too warm to even consider turning on the oven, so this recipe became my instant solution to sweet cravings without breaking a sweat. The satisfaction of spooning creamy peanut butter into a bowl instantly beckoned happy anticipation. Sometimes, you can almost taste the treat before it's made—especially when peanut butter and chocolate are involved.
I remember making a batch of these bars before heading to a friend's game night. Halfway through the evening, as the laughter picked up and everyone reached for another square, someone asked for the recipe between mouthfuls. That was the moment I knew these bars were the unofficial star of the snack table.
Ingredients
- Creamy peanut butter: Go for the classic, shelf-stable kind for the silkiest base—I learned that natural nut butters can be a little too runny here.
- Unsalted butter, melted: Melting the butter ensures it combines smoothly and creates that signature fudgy texture.
- Powdered sugar: This dissolves effortlessly, lending sweetness and perfect density to the bars.
- Graham cracker crumbs (or digestive biscuit crumbs): They give the bars a sturdy bite and subtle toasty flavor—once I tried with cookies, but the classic crumbs win on nostalgia and structure.
- Vanilla extract: Just a hint brings warmth and rounds out all the other flavors in a surprisingly noticeable way.
- Semi-sweet chocolate chips: The touch of bitterness keeps the topping from tasting sickly sweet—I find milk chocolate makes it a bit too rich.
- Creamy peanut butter (for topping): A little more in the chocolate smooths the finish and ties the whole treat together in each bite.
Instructions
- Prep your pan:
- Line an 8x8 inch pan with parchment, letting the edges hang over so you can lift out the bars easily—trust me, this saves time later.
- Mix up the base:
- Stir together the melted butter and one cup of peanut butter in a big bowl until the mixture looks silky and inviting, then add in powdered sugar, graham cracker crumbs, and vanilla. Don't be afraid to use your hands to bring it together; it should feel thick, almost like cookie dough.
- Shape and smooth:
- Press the peanut butter layer firmly into your lined pan, smoothing the surface with a spatula (or the back of a spoon if you like a rustic look).
- Make the chocolate topping:
- In a microwave-safe bowl, gently melt the chocolate chips with 1/4 cup of peanut butter—use 30-second bursts and stir until glossy and fully combined.
- Finish and chill:
- Pour the chocolate-peanut butter mix over the base, spread evenly, then chill in the fridge for at least two hours, until the topping is set and sliceable.
- Slice and serve:
- Use the parchment to lift out the bars, then cut into 16 squares—listen for that gentle crack of the chocolate layer as your knife goes through.
 Save
Save Passing around a plate of these bars at a family picnic, I watched my cousin's toddler end up with chocolate streaked all over her cheeks. There's something about that sticky, happy mess that made me realize these bars are more than a dessert—they're a moment of fun in every bite.
Swaps and Toppings Worth Trying
Experimenting with crunchy peanut butter once brought a little extra joy to the bars—the surprising crunch felt like a small upgrade, and a sprinkling of flaky sea salt on top gave a professional finish. For my gluten-free friends, using crushed gluten-free cookies worked beautifully, with no one noticing the difference. You might find yourself inventing new favorites every time you make these.
No Bake, No Fuss
One of my favorite parts about this recipe is that you can make it with just a handful of tools and a little bit of patience. There's hardly any cleanup, and the results always look (and taste) like you tried much harder than you did. The toughest part is waiting for them to chill.
Troubleshooting for Perfect Bars
If your bars ever turn out too soft, it's likely because the base wasn't packed down firmly or the ingredients were a bit too warm. On sticky days, I sometimes pop the whole tray in the freezer briefly before slicing to get sharp, neat edges. When it comes to storing, a simple airtight container in the fridge keeps these bars freshest.
- If you're serving in summer, keep them chilled until the last minute.
- Wipe your knife between slices for clean layers.
- Don't forget to reserve a secret square just for yourself.
 Save
Save With every batch, these No Bake Peanut Butter Bars remind me that low effort can still mean maximum delight. May your next bite be as full of smiles and chocolate as mine.
Your Recipe Questions Answered
- → How long should the bars chill before slicing?
-
Chill for a minimum of 2 hours, or until the topping and base feel firm to the touch. Faster chilling can be achieved by placing the pan in the coldest part of the fridge.
- → How do I melt the chocolate topping smoothly?
-
Heat chocolate chips and peanut butter in 30-second intervals, stirring between each burst. Gentle, even stirring prevents scorching and yields a glossy, pourable glaze.
- → How can I add crunch to the bars?
-
Fold in chopped roasted peanuts or use chunky peanut butter in the base. You can also sprinkle chopped nuts on top of the warm glaze before chilling for added texture.
- → What's a good gluten-free substitute for graham cracker crumbs?
-
Use finely crushed gluten-free cookies or certified gluten-free graham-style crumbs. Press slightly firmer when using lighter crumbs to ensure the base holds together.
- → How should leftovers be stored?
-
Keep bars in an airtight container in the refrigerator for up to one week. For longer storage, freeze individual bars between sheets of parchment and thaw in the fridge before serving.
- → Can I use natural peanut butter instead of creamy commercial-style?
-
Natural peanut butter can be used, but stir thoroughly to reincorporate oils. The base may be slightly softer; chilling time may need to be extended to reach a firm set.
