 Save
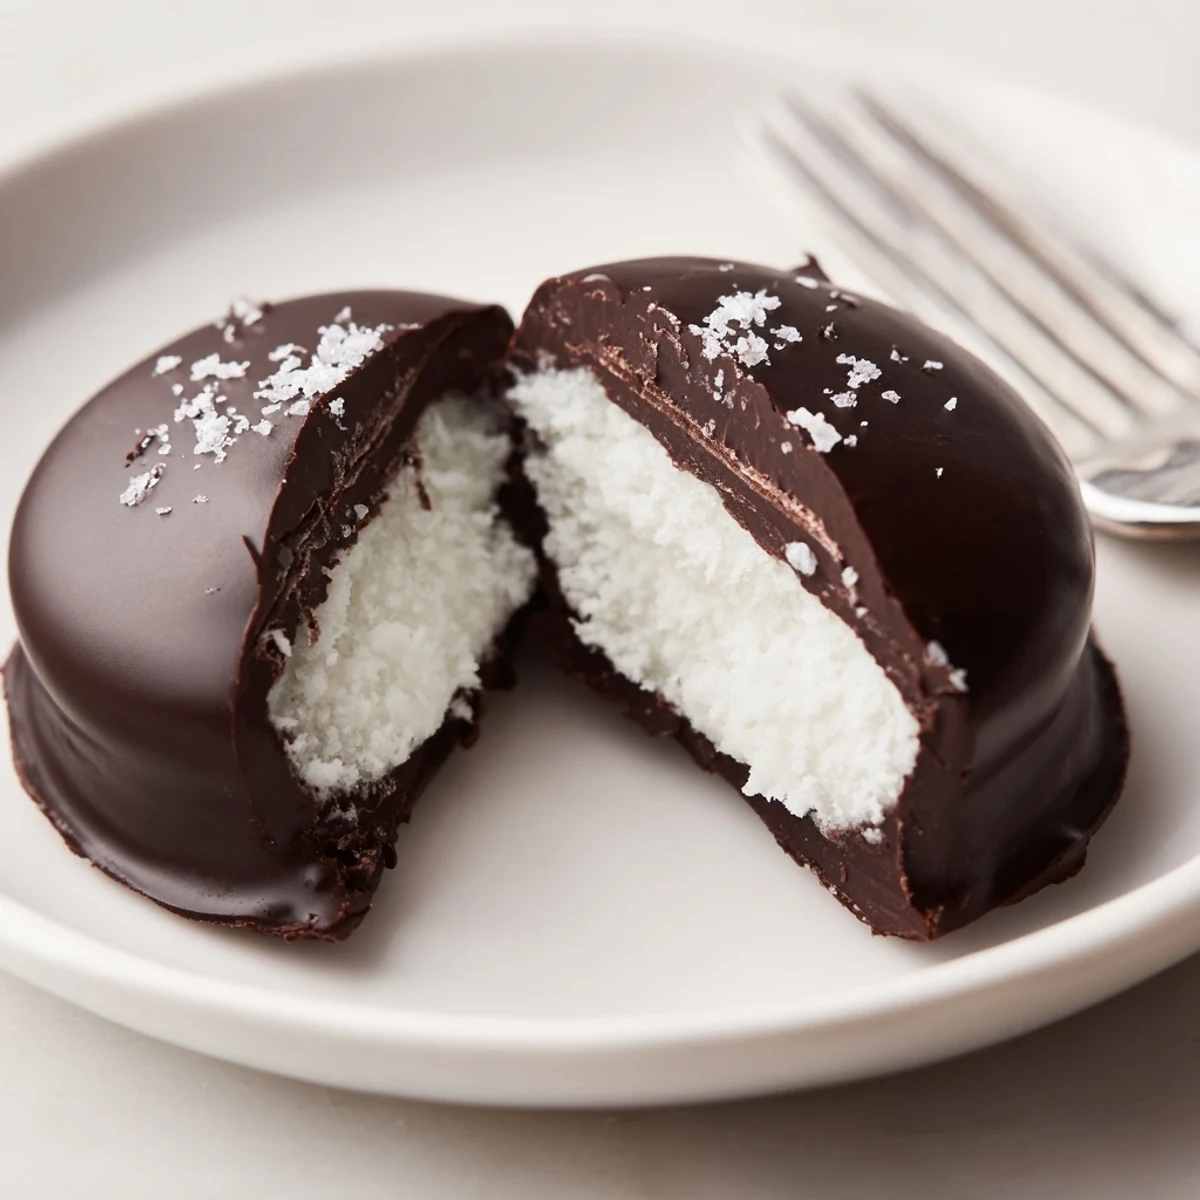
Save Combine sifted powdered sugar with softened butter, peppermint extract, heavy cream, and a pinch of salt until a smooth, pliable dough forms. Shape into small discs, freeze until firm, then dip in melted dark chocolate with a touch of coconut oil for a glossy finish.
Chill until set. Sprinkle crushed candy or flaky sea salt before chocolate firms. Use dairy-free butter and coconut cream to make a vegan version. Store chilled in an airtight container for up to two weeks.
The scent of peppermint always reminds me of winter evenings when the kitchen windows would fog up from the warmth inside. One year, a friend dropped off a box of homemade peppermint patties tied with red string at my door—crisp chocolate, cooling mint, and just a hint of mischief. The memory lingered, so I set out to try making my own. There's something a bit magical about dipping each snowy round and waiting for the chocolate to quietly harden in the cold fridge.
Once, I whipped up a batch for a movie night, not realizing that the scent of peppermint would fill the apartment before the credits even rolled. We paused the film halfway through because no one could focus—the promise of chocolate-mint treats was just too enticing. Watching friends sneak back for seconds felt like the true reward. It's the kind of recipe that draws people together, even when they're supposed to be paying attention to the screen.
Ingredients
- Powdered sugar: Sift it well to keep the filling silky smooth and avoid lumps.
- Unsalted butter: Softening it beforehand helps everything blend evenly; cold butter will lead to a clumpy mess.
- Peppermint extract: Go for pure extract, not imitation—the genuine stuff gives the brightest, most natural coolness.
- Heavy cream: Adds just enough richness for the fillings to meld together without being greasy.
- Salt: Just a pinch sharpens the mint and chocolate, so don't skip it even if it feels tiny.
- Dark chocolate: Choose a bar between 60-70% cocoa for a bittersweet shell that balances the sweet filling.
- Coconut oil (optional): Melting in a touch makes the chocolate easier to work with and gives a beautiful sheen.
Instructions
- Make the peppermint base:
- In a mixing bowl, beat the powdered sugar, butter, peppermint extract, cream, and salt until you have a thick, toothpaste-like dough. If it clings to your fingers too much, sprinkle in a bit more powdered sugar until it’s workable.
- Shape the patties:
- Scoop out 2 teaspoons per piece, rolling lightly in your palms before pressing each into a disc about 1/4 inch thick. Line them up on a parchment-covered baking sheet—they look like soft little snow coins at this stage.
- Chill for firmness:
- Slide the baking sheet into your freezer and let the rounds firm up for 20–30 minutes, or until they’re easily handled without sticking.
- Melt the chocolate:
- Chop your dark chocolate and melt it gently with coconut oil (if using) over a double boiler, stirring until glossy and smooth. The aroma of bittersweet chocolate is half the fun here.
- Dip and coat:
- Using a fork, dip each frozen mint disc in the melted chocolate, letting excess drip away before placing it back on the parchment. Be quick—the chocolate cools fast on contact, creating an even shell.
- Set and store:
- Chill the coated patties in the refrigerator until the chocolate is firm—about 15 minutes. Store in a lidded container, ready for sudden cravings or sharing.
 Save
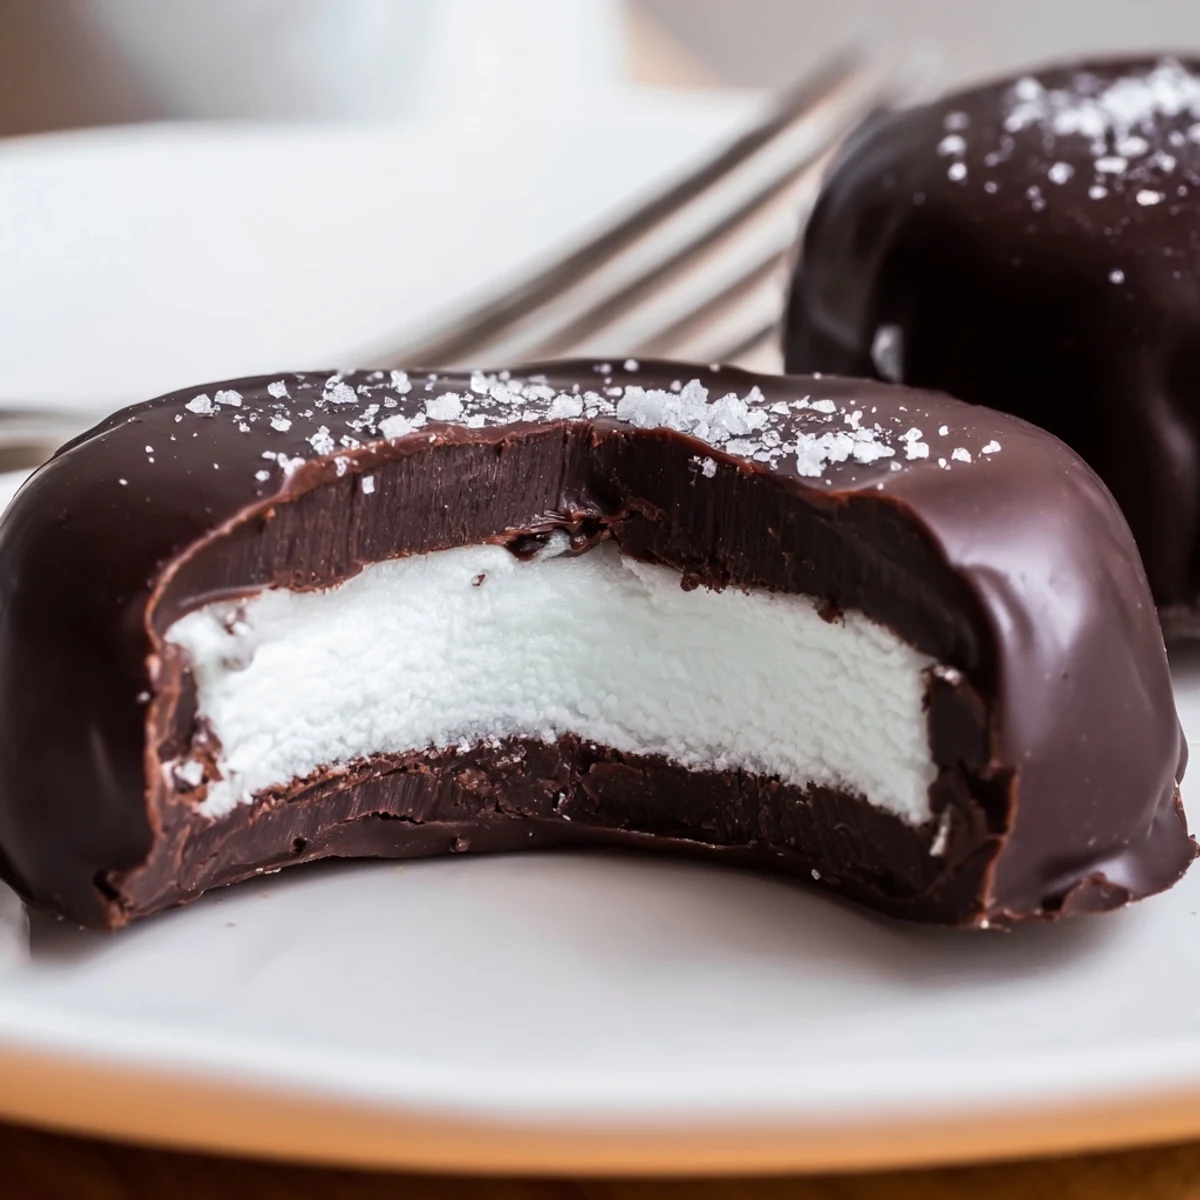
Save Handing out these peppermint patties at a holiday get-together, I watched a cousin break into laughter after unexpectedly biting into a second one—she claimed they woke her up better than coffee could. It felt like more than a dessert; it sparked a chain of warmth and minty grins through the room.
A Little Prep Makes a Big Difference
I learned pretty quickly that laying out all your ingredients and tools before starting turns what could be a mess of sticky bowls and chocolate streaks into a smooth experience. Parchment paper is a lifesaver—don’t skip it, or you’ll fight to peel patties off the tray.
Make Them Your Own
This recipe is just as flexible as your cravings—I've swapped in vegan butter and coconut cream with hardly any difference in texture. Sometimes, crushed peppermint candies or a dusting of flaky salt gives them a playful edge.
Chilling, Storing, and Gifting
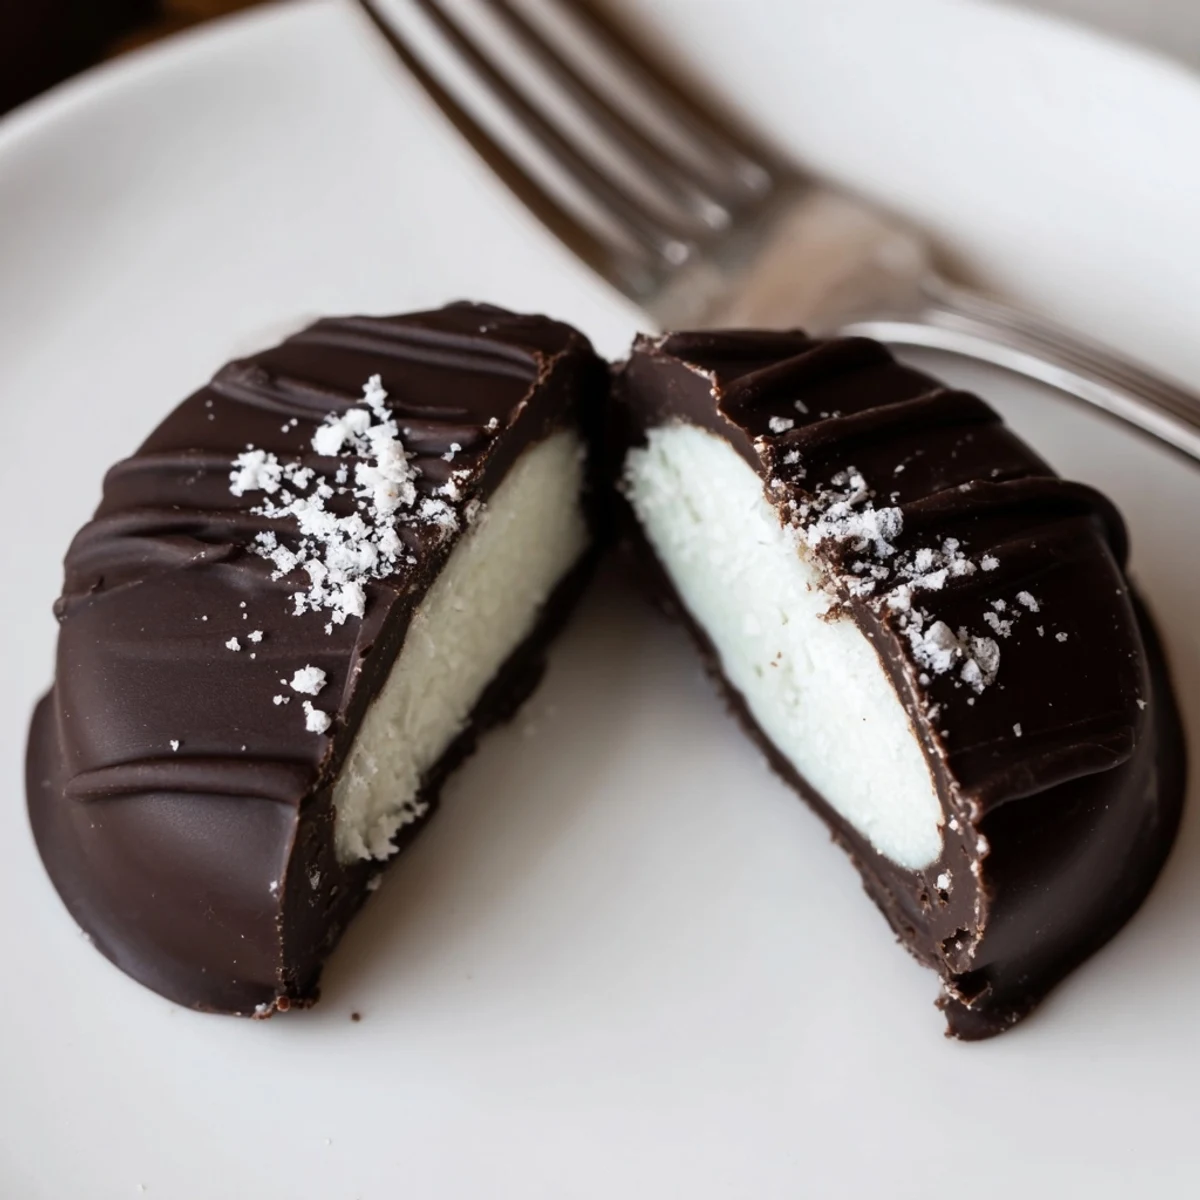
Chilled peppermint patties hold their shape best, and I’ve found they last up to two weeks in the fridge—though they're usually gone by then.
- If gifting, separate layers with parchment to keep them pretty.
- Serve slightly chilled for the best snappy crunch.
- Be ready to answer requests for the recipe!
 Save
Save Whether for a celebration or a quiet treat, these peppermint patties turn a handful of simple ingredients into something memorably cool and chocolatey. Happy dipping—and try not to eat them all at once.
Your Recipe Questions Answered
- → Can I make these without dairy?
-
Yes — substitute dairy-free butter and coconut cream for the filling and check dark chocolate labels for dairy-free varieties. The texture may be slightly softer, so chill thoroughly before coating.
- → How do I prevent the filling from sticking?
-
Keep discs well chilled or slightly frozen before dipping. If the filling is sticky, add a little more sifted powdered sugar until it reaches a firm, workable consistency.
- → How do I get a smooth, glossy chocolate coating?
-
Melt chocolate gently over simmering water and stir until fully smooth. Adding a teaspoon of coconut oil helps thin the chocolate and gives a shinier finish; avoid overheating to prevent seizing.
- → Can I use milk or white chocolate instead?
-
Yes — milk or white chocolate will work, though sweetness and contrast will change. For white chocolate, ensure it melts smoothly and consider reducing added cream in the filling to balance sweetness.
- → What toppings work best?
-
Sprinkle crushed peppermint candy, finely chopped candy canes, or flaky sea salt onto the wet chocolate for texture and visual appeal. Add toppings immediately after dipping so they adhere.
- → How should I store finished patties?
-
Keep in an airtight container in the refrigerator for up to two weeks. Separate layers with parchment paper to prevent sticking and restore to room temperature briefly before serving if desired.
