 Save
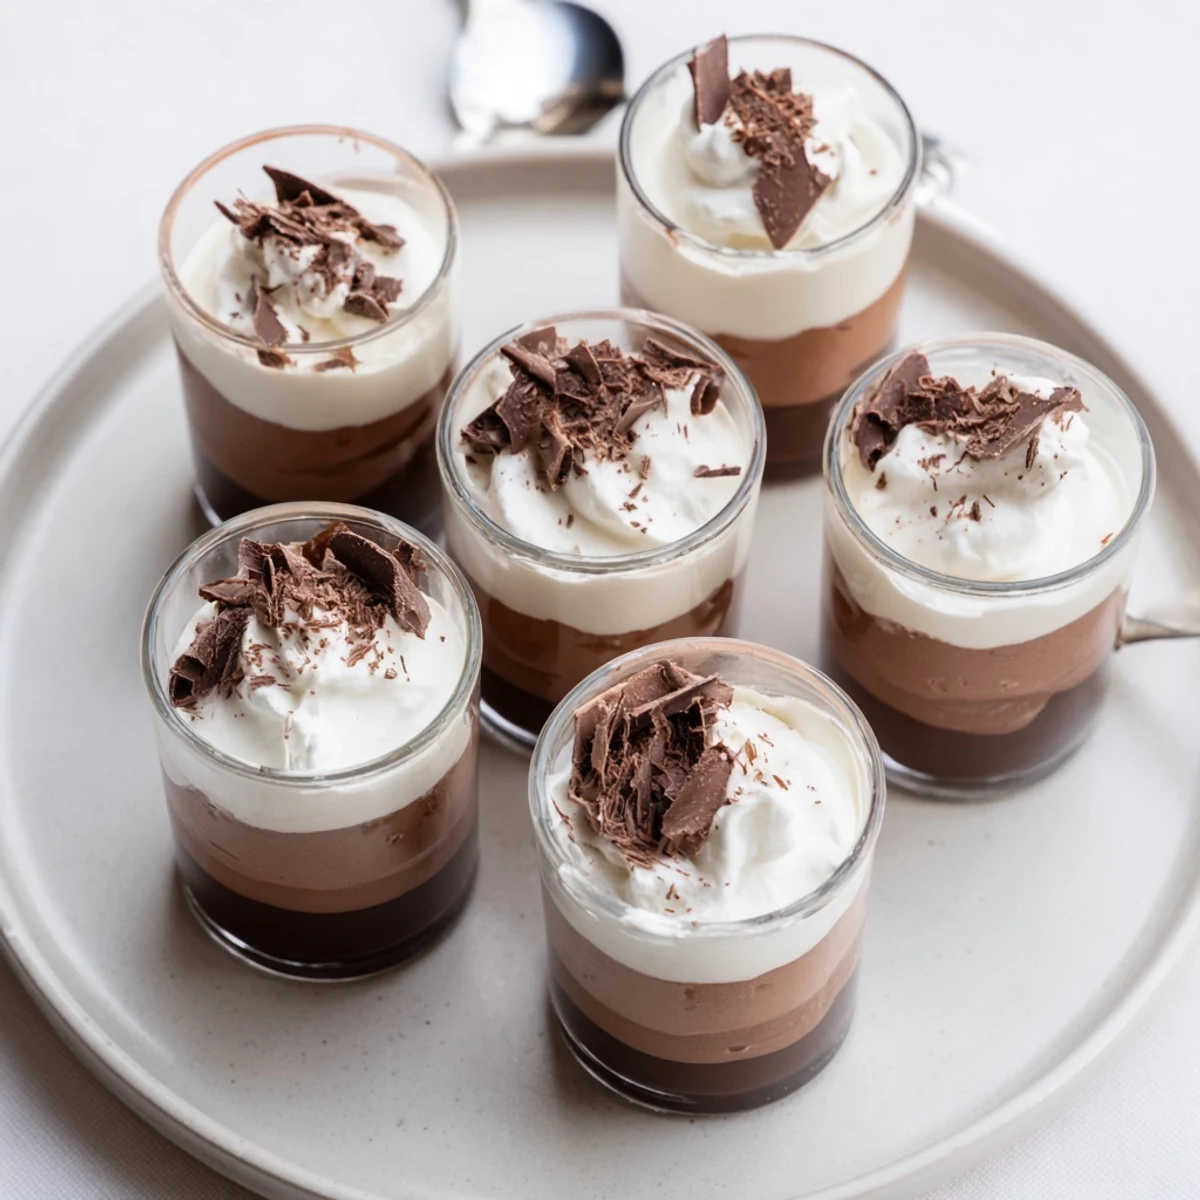
Save Layer rich dark, milk and white chocolate mousses in individual cups for a showstopping finish. Melt each chocolate gently, fold into sweetened egg yolks and then into softly whipped cream to keep an airy texture. Spoon or pipe layers, chilling between builds to help them set. Finish with shaved chocolate or a dusting of cocoa; chill fully before serving.
The aroma of melting chocolate always makes my kitchen feel more inviting, but nothing quite compares to the anticipation as each layer of these mousse cups comes together. The first time I tried making them, I genuinely underestimated how much fun it would be to balance three different chocolates in one dessert. Watching the glossy waves of mousse pile up in each little glass, I couldn't help but feel a little thrill at how elegant and playful the process was. It's a project that's equal parts satisfying and indulgent.
One rainy Saturday, my friend dropped by unexpectedly just as I was piping the last white chocolate layer. We ended up chatting at the counter, dipping spoons into the bowls and marveling at how even simple ingredients could become this showstopper. It turned the afternoon into a mini celebration made entirely of chocolate and laughter.
Ingredients
- Dark chocolate (100 g, minimum 60% cocoa): Go for a high-quality bar for deep bittersweetness that anchors the first layer.
- Large egg yolk (x3): Adds a silky texture and luxurious richness to each mousse; separate eggs when cold for less fuss.
- Sugar (1 ½ tbsp per layer): Just enough to sweeten without overpowering the chocolates distinctive notes.
- Heavy cream (100 ml for each mousse, cold): Cold cream whips up fluffier and lighter for mousses that feel airy.
- Milk chocolate (100 g): The mellow, creamy heart of the trio; use real chocolate, not chips, for best melt.
- White chocolate (100 g): Sweet and gentle, a little trickier to melt—do it slow and be patient.
- Shaved chocolate or cocoa powder: Adds the final flourish and a little extra snap or dust on top, purely for fun.
Instructions
- Create the dark chocolate base:
- Gently melt the dark chocolate over a bain-marie, letting the deep scent fill your kitchen, and let it cool just enough to keep its shine. Whisk the egg yolk with sugar until it's pale and smooth, then fold in the chocolate and add softly whipped cream for a light, lush mousse—spoon into cups and chill.
- Build the milk chocolate layer:
- Use the same gentle melting technique, but this time notice how the milk chocolate turns velvety and sweet. Fold into the whipped cream and egg yolk mixture, layer it carefully on top so you don't disturb the base, and chill again.
- Finish with white chocolate mousse:
- Melt the white chocolate slowly (it burns faster), then fold into the egg yolk and sugar mixture before blending in the feathery whipped cream. Either pipe or spoon it delicately over the milk chocolate and chill everything until firm and ready.
- Add the finishing touch:
- Just before serving, scatter shaved chocolate or a dusting of cocoa powder for elegance and a hint of drama.
 Save
Save The first time I brought a tray of these mousse cups to a dinner party, the response made me feel like I’d pulled off a magic trick. I’ll never forget the wide eyes and satisfied silence after that first spoonful—suddenly, everyone wanted the recipe.
What to Watch For When Layering
Stacking mousse looks easy, but the secret is a steady hand and a chilled base. If you’re too quick to add the next layer, the previous one might not hold and you’ll lose that striking visual effect. For flawless lines, use a piping bag or a small spoon and work carefully right to the edge.
A Word About Chocolate Quality
I once tried using cheaper chocolate and immediately saw (and tasted) the difference—it just wasn’t as glossy or smooth. Splurging on good chocolate really lets each layer stand out. Now, I always check the label for real cocoa butter and avoid anything with too many extras.
Making These Ahead (and Serving Tips)
These cups are the ultimate make-ahead magic for gatherings: prep the night before and chill, then finish with toppings right before serving. That extra time blends the flavors and gives the mousses a melt-in-your-mouth texture.
- If the mousse feels too soft, pop the cups in the freezer for 10 minutes.
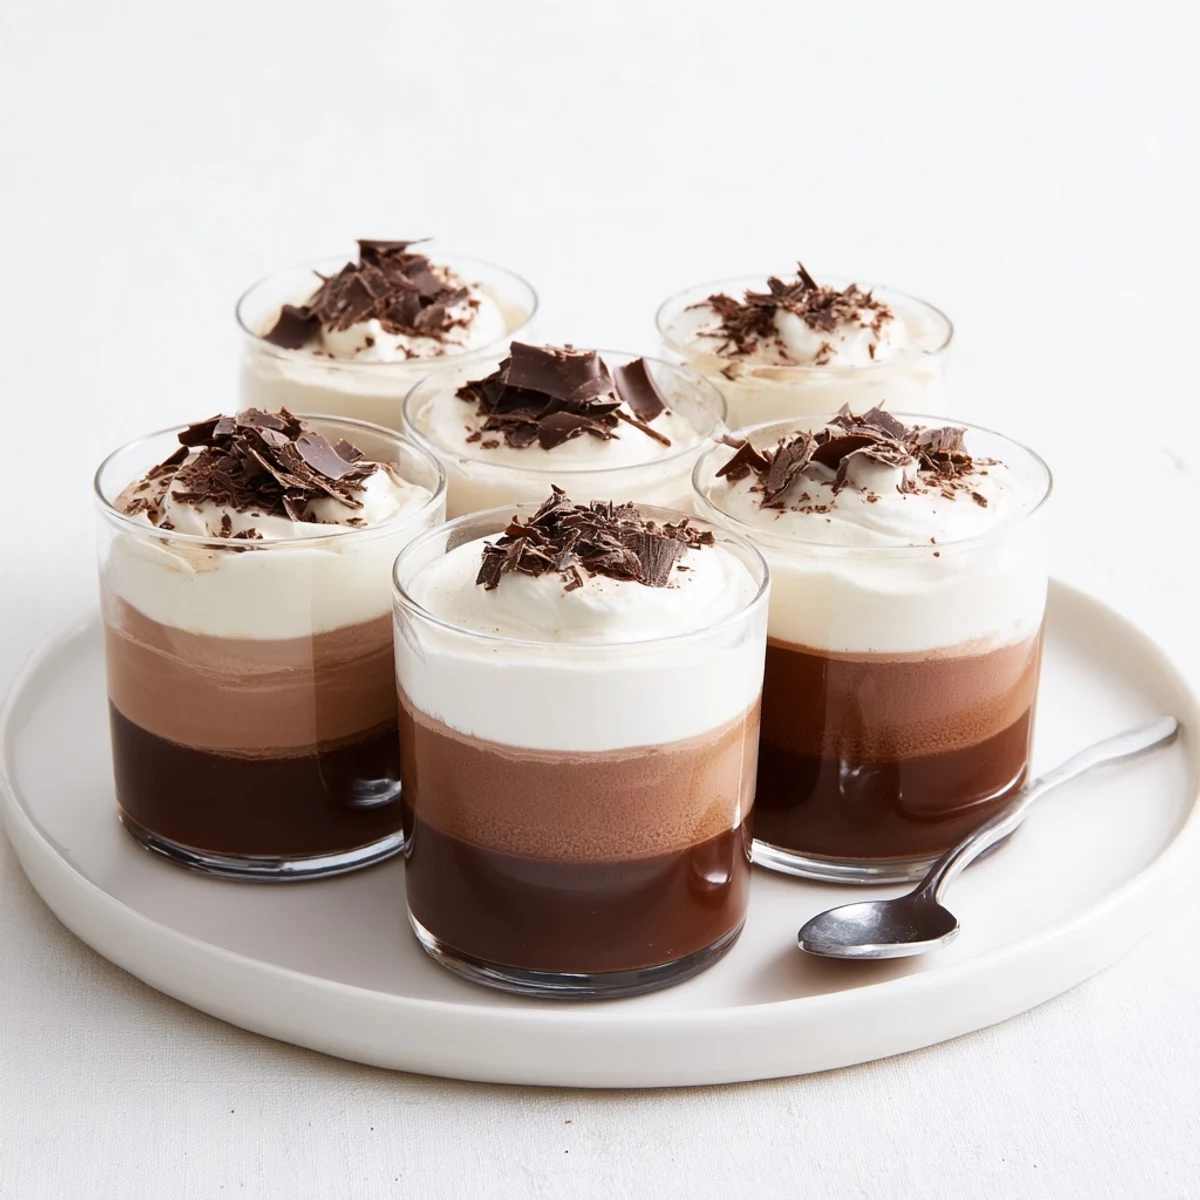
- Clear cups make those gorgeous layers visible—presentation really is half the fun.
- Don’t forget to leave out of the fridge for a few minutes before serving for perfect creaminess.
 Save
Save I hope you end up with as many laughs and happy moments as chocolatey layers when you make these cups. They look fancy, but they’re all about fun and flavor—enjoy every spoonful.
Your Recipe Questions Answered
- → How do I keep the mousses light and airy?
-
Whip the cream to soft peaks and fold it in gently to preserve air. Cool melted chocolate slightly before folding into yolks to avoid deflating the mixture or scrambling the eggs.
- → Are there safe egg alternatives for the yolk base?
-
Use pasteurized yolks or a stabilized whipped cream base blended with a little mascarpone for structure. Commercial egg substitutes designed for custards can work, but check texture and sweetness adjustments.
- → How long should I chill between layers?
-
Chill each layer 25–30 minutes in the freezer for a quick set, or 30–45 minutes in the fridge for a gentler set. Firm layers prevent colors from bleeding during assembly.
- → What chocolate should I choose for best results?
-
Use good-quality couverture or baking chocolate: dark at 60%+ cacao for depth, a smooth milk chocolate, and a creamy white. Avoid chocolates with high filler content for cleaner flavor and texture.
- → Any tips for neat layering and presentation?
-
Pipe the mousses through a piping bag or use a spoon held close to the surface to avoid disturbing lower layers. Clear glasses showcase the layers; finish with shaved chocolate or a light cocoa dusting.
- → Can I add liquor or flavor variations?
-
Yes—add a splash of coffee liqueur to the dark layer or a nut liqueur to the milk layer. Keep additions small so they don't thin the mousse; reduce cream slightly if needed.
