 Save
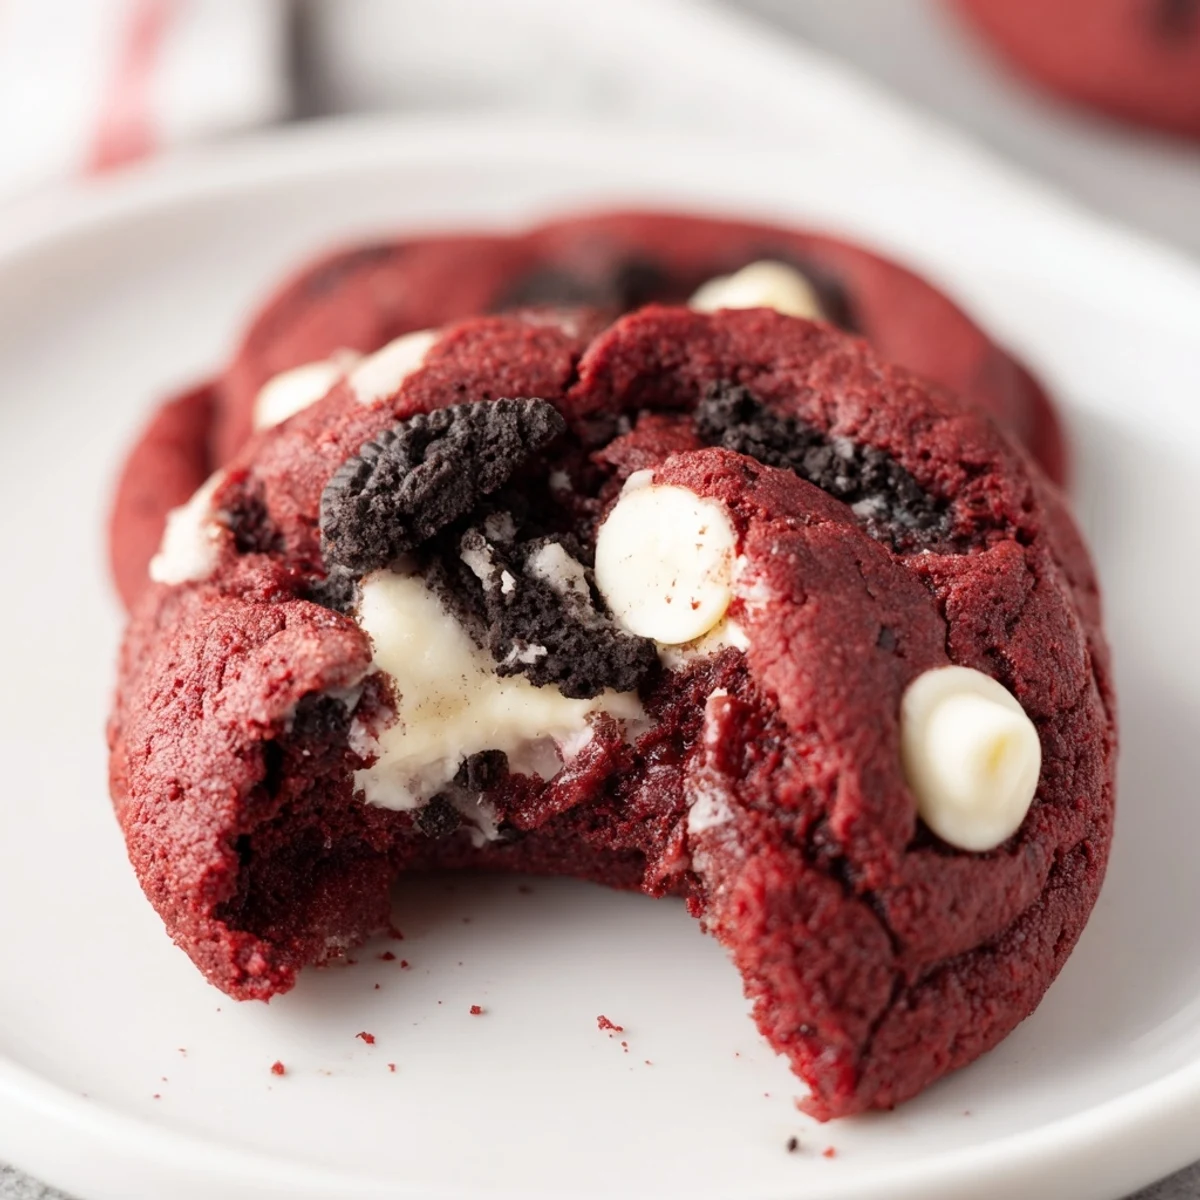
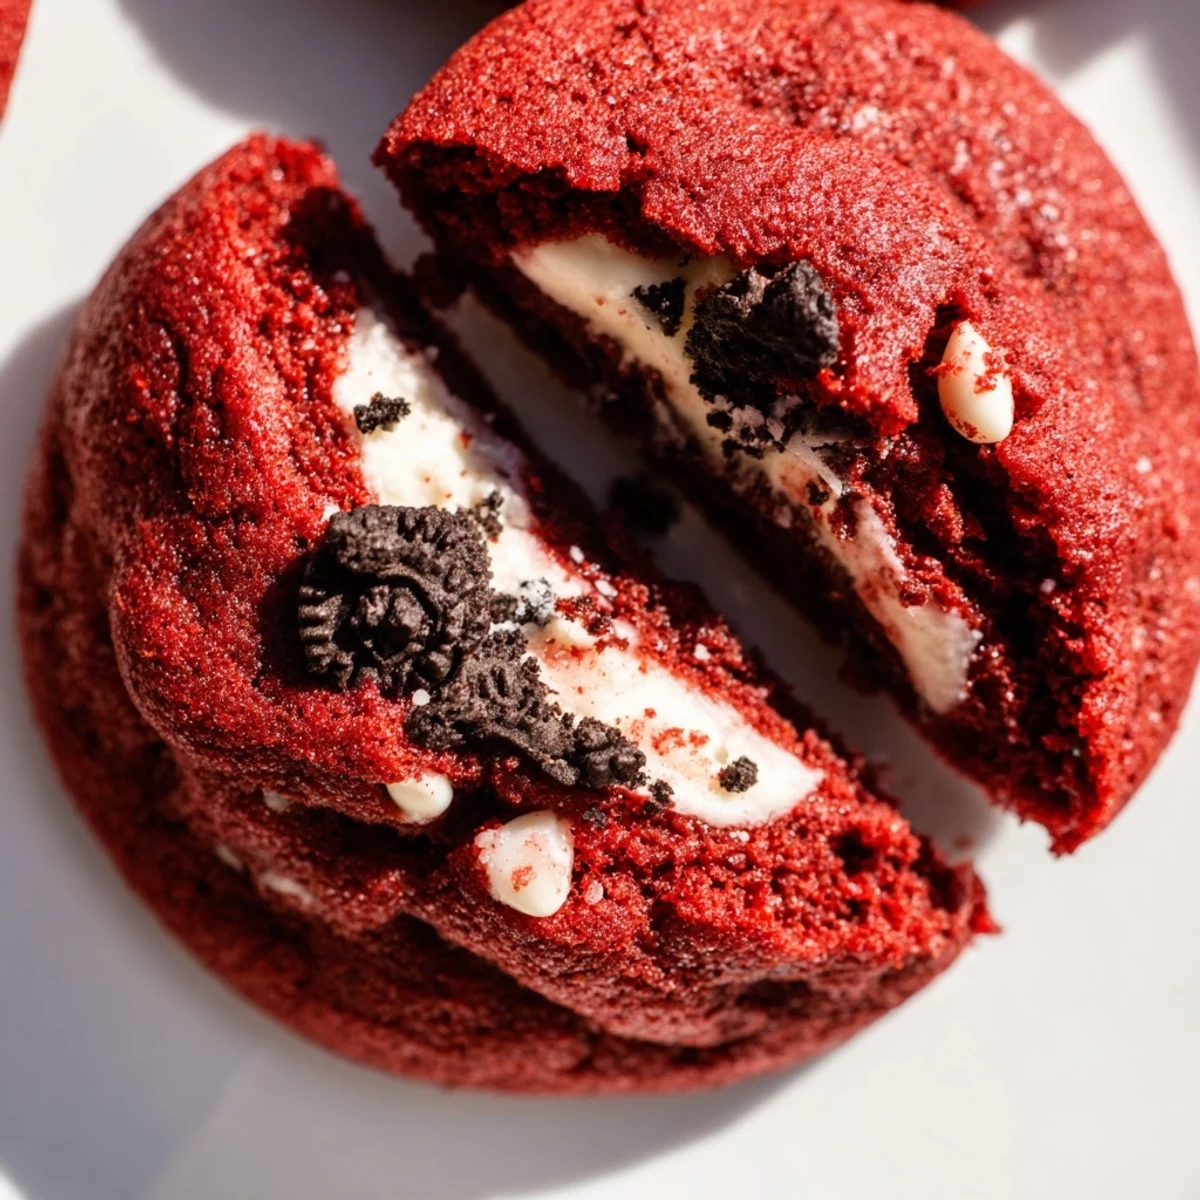
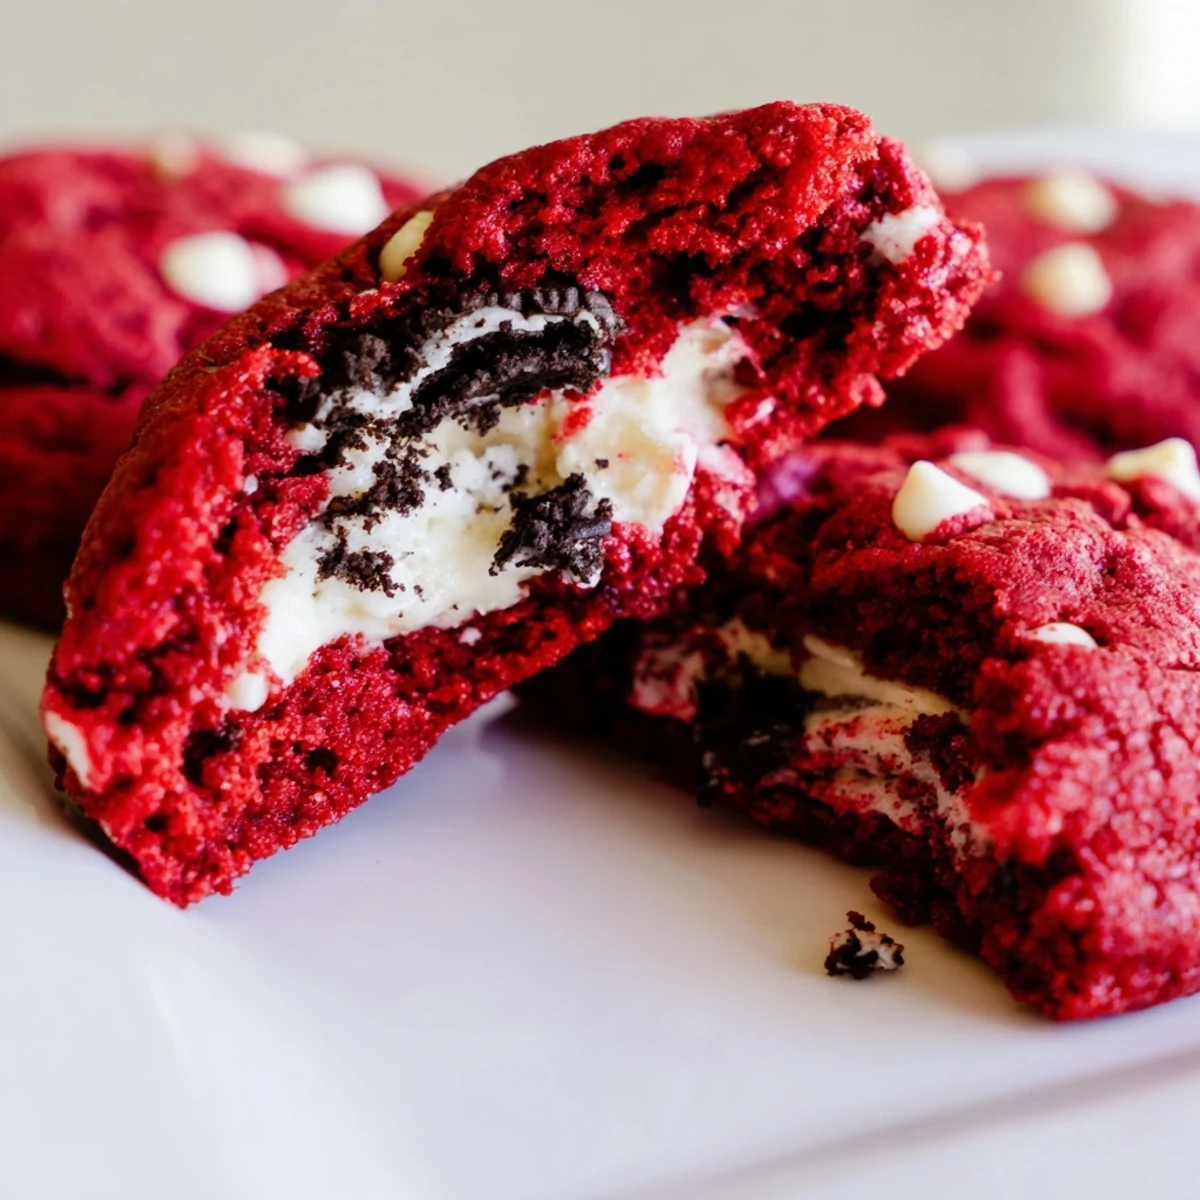
Save These indulgent red velvet cookies feature a rich cocoa base with white chocolate chips and a surprise center of creamy Oreo filling. The soft, chewy exterior perfectly complements the sweet cookies-and-cream interior, creating a decadent two-bite treat that's ideal for special occasions or when you want to elevate your cookie game. The vibrant red color makes these especially festive for holidays.
I started making these stuffed cookies during a snow day when my roommate and I were craving something over-the-top indulgent. The first batch looked like red velvet explosions in the oven, but we ate every single messy one standing over the counter with milk.
Last Christmas I made three dozen for our office potluck and my boss asked if I would consider selling them. That awkward moment when you have to explain they take two hours and you basically have to love someone to make them.
Ingredients
- All-purpose flour: The base structure that holds everything together
- Unsweetened cocoa powder: Adds that signature red velvet depth without sweetness
- Baking soda: Helps these puff up beautifully around the filling
- Salt: Essential for balancing all the sugar going on here
- Unsalted butter: Softened properly makes or breaks the dough texture
- Granulated sugar: Creates that crisp exterior we want
- Light brown sugar: Keeps the centers chewy and tender
- Large egg: Room temperature eggs incorporate so much better
- Milk: Just enough to bring the dough together
- Vanilla extract: Do not skip or substitute, seriously
- Red food coloring: Gel gives deeper color with less liquid
- White chocolate chips: The creamy counterpoint to all that cocoa
- Cream cheese: Must be fully soft or you will get lumps
- Powdered sugar: Sifting prevents gritty filling disasters
- Oreo cookies: Crush them fine so no big chunks break through the dough
Instructions
- Prep your oven and pans:
- Preheat to 350°F and line two baking sheets with parchment paper
- Mix the dry ingredients:
- Whisk flour, cocoa powder, baking soda, and salt in a medium bowl
- Cream the butter and sugars:
- Beat until light and fluffy, about 3 full minutes
- Add the wet ingredients:
- Mix in egg, milk, vanilla, and food coloring until combined
- Combine everything:
- Gradually add dry ingredients and fold in white chocolate chips
- Make the Oreo filling:
- Beat cream cheese and butter smooth, then add powdered sugar and vanilla
- Finish the filling:
- Fold in crushed Oreos and refrigerate 10 minutes so it is easier to work with
- Stuff the cookies:
- Flatten dough portions, place filling in center, and seal edges completely
- Bake them:
- Bake 11 to 12 minutes until edges are set but centers still look soft
- Cool completely:
- Let them rest on the baking sheet 5 minutes before moving to a wire rack
 Save
Save My daughter now requests these for every school event and has started calling herself my official taste tester. The other moms asked for the recipe but I think they regretted it when they saw how many steps were involved.
Making These Ahead
You can make the filling a day in advance and keep it refrigerated. The dough also freezes beautifully if you want to scoop and freeze raw portions for later baking.
Getting That Perfect Color
Gel food coloring gives you that vibrant red without adding extra liquid that throws off the dough consistency. Start with less than you think and add more as needed.
Serving Suggestions
These are impressive enough for dessert parties but casual enough for movie nights. The filling stays creamy for days if stored properly.
- Serve warm with vanilla ice cream for next level indulgence
- Package them in clear boxes for adorable homemade gifts
- Dust with powdered sugar right before serving for extra drama
 Save
Save These cookies have become my go-to when I need to remind someone that they are worth the effort. Hope they become a favorite in your kitchen too.
Your Recipe Questions Answered
- → Can I make the dough ahead of time?
-
Yes, you can prepare the cookie dough up to 2 days in advance and store it refrigerated in an airtight container. Let it come to room temperature for about 15 minutes before stuffing and baking for best results.
- → What's the best way to crush the Oreos for the filling?
-
Place the Oreos in a sealed plastic bag and crush them with a rolling pin or mallet until you reach a fine crumb texture. Alternatively, pulse them in a food processor for 10-15 seconds for uniform crushing.
- → Can I freeze these stuffed cookies?
-
You can freeze the assembled unbaked cookies on a baking sheet until firm, then transfer to a freezer bag for up to 3 months. Bake from frozen, adding 2-3 minutes to the baking time. Baked cookies can also be frozen for up to 2 months.
- → How do I prevent the filling from leaking during baking?
-
Chill the Oreo filling for at least 10 minutes before using, and ensure you seal the dough completely around the filling by pinching the edges together. Cold filling is easier to work with and less likely to leak in the oven.
- → Can I use natural food coloring instead of red dye?
-
Beet juice or pomegranate juice can provide a natural red tint, though the color will be more subtle than gel or liquid food coloring. You may need to use about 2 tablespoons of natural juice to achieve a visible red hue.
- → What if I don't have white chocolate chips?
-
Semi-sweet chocolate chips, milk chocolate chips, or even chopped dark chocolate make excellent alternatives. Each variation will slightly alter the sweetness profile but still pair beautifully with the Oreo filling.
