 Save
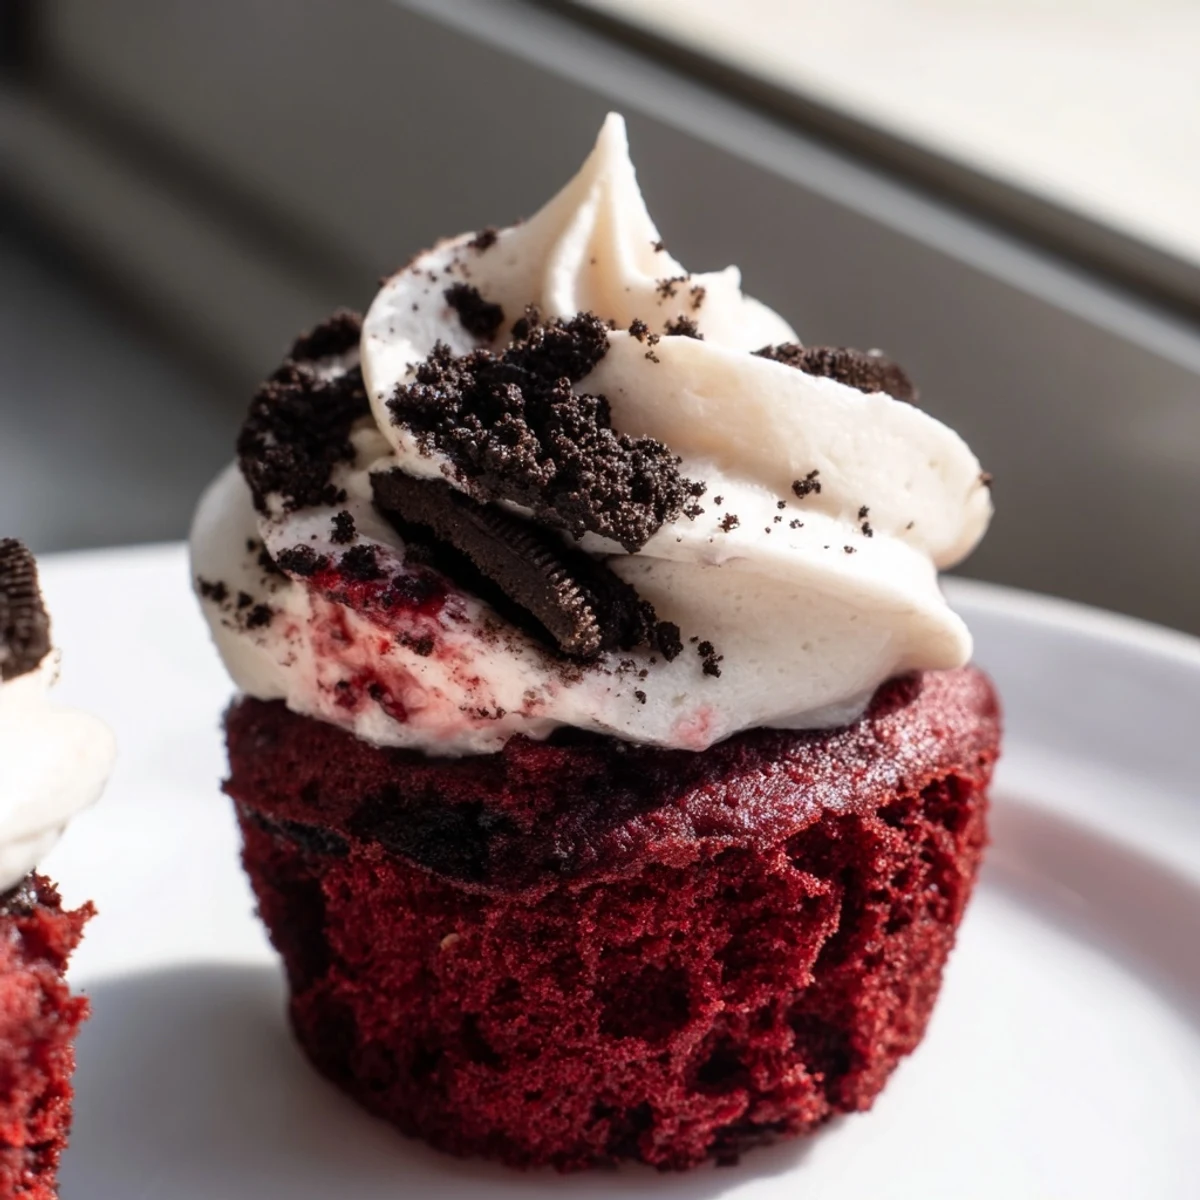
Save These red velvet Oreo cupcakes combine a tender, cocoa-kissed red velvet batter with generously chopped Oreo pieces folded right in. Each cupcake bakes up with a soft, moist crumb and a beautiful crimson hue.
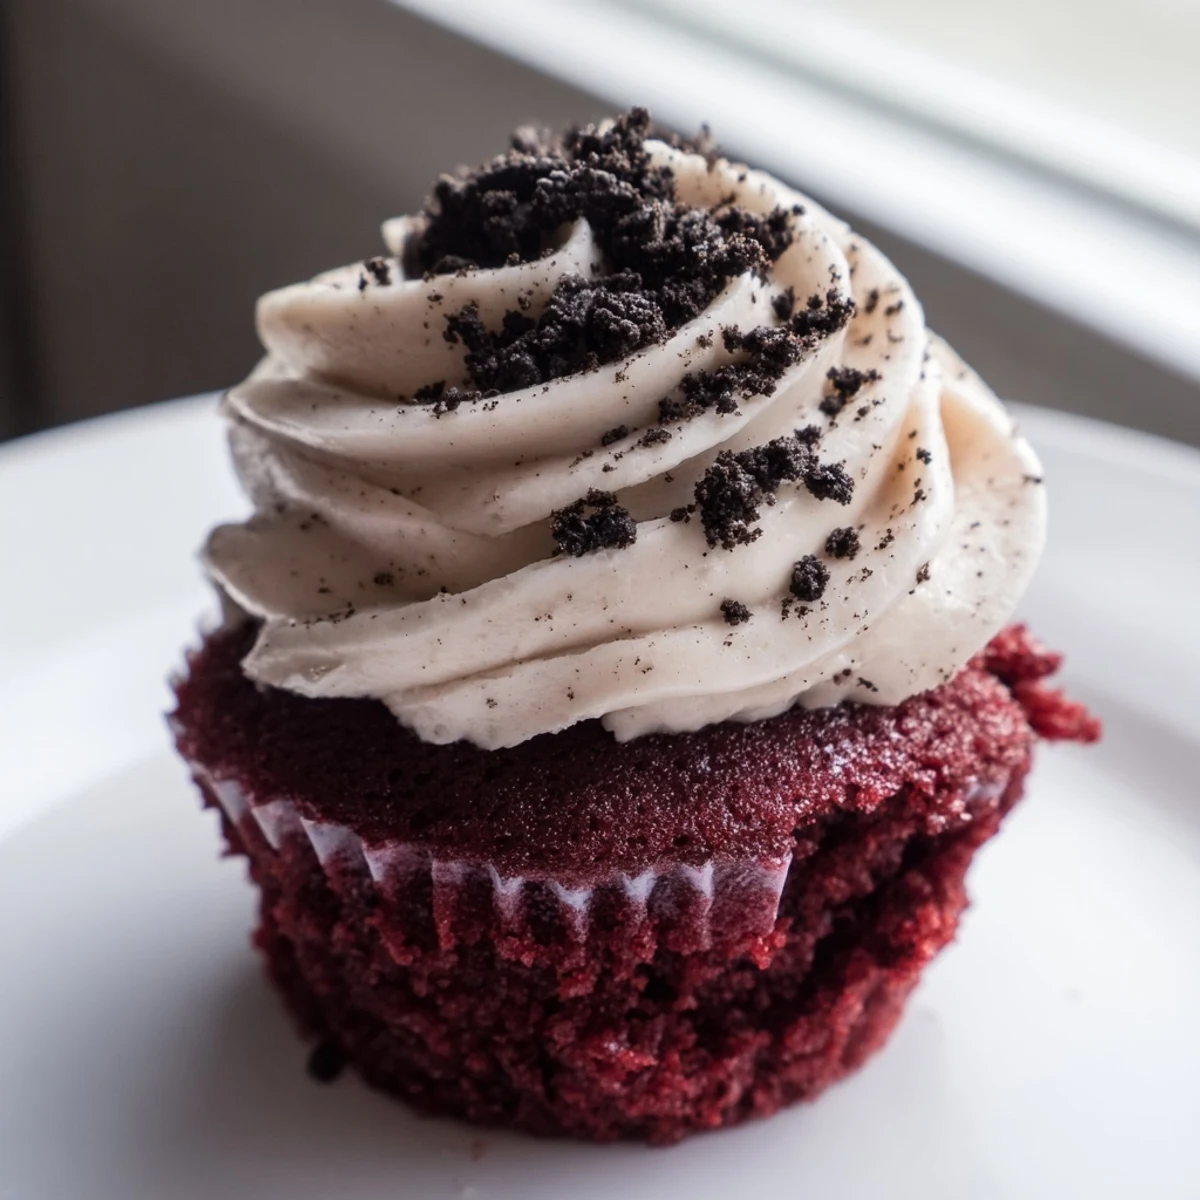
Topped with a luscious cream cheese frosting loaded with finely crushed Oreos, every bite delivers a satisfying crunch and creamy tang. They take just 40 minutes from start to finish and yield a dozen generously frosted treats.
Perfect for birthdays, holiday gatherings, or anytime you want a dessert that stands out on the table.
My kitchen looked like a crime scene the first time I made red velvet anything, frosting smeared across my forehead and red batter splattered on the ceiling fan somehow. But those cupcakes disappeared so fast at my neighbors potluck that three people texted me the next day asking for the recipe. Red velvet already walks the line between cake and something almost candy sweet, and stuffing Oreo pieces into that batter pushes it straight into irresistible territory.
I brought a batch of these to a friends birthday picnic last spring and watched a seven year old eat three of them in silence, which felt like the highest compliment a cupcake can receive. The cream cheese frosting has crushed Oreos folded right in, and when you pipe it high and finish with extra crumbs, people genuinely think you bought them somewhere fancy.
Ingredients
- All-purpose flour (1 1/4 cups, 160 g): Scoop and level it gently because packed flour makes dense cupcakes and nobody wants that.
- Unsweetened cocoa powder (3 tbsp, 25 g): Just enough to give that signature red velvet chocolate whisper without turning it into a full chocolate cake.
- Baking soda (1/2 tsp): Works with the vinegar to give the crumb a tender lift.
- Salt (1/4 tsp): A small pinch that wakes up every other flavor in the bowl.
- Vegetable oil (1/2 cup, 120 ml): Oil keeps these cupcakes soft for days, way better than butter for moisture.
- Granulated sugar (3/4 cup, 150 g): Balances the slight tang from buttermilk and vinegar perfectly.
- Large egg, room temperature (1): One egg is all you need for structure without making things heavy.
- Buttermilk, room temperature (1/2 cup, 120 ml): The secret to that velvety tender crumb, so do not skip it or substitute regular milk.
- Red food coloring gel (1 tbsp): Gel gives you bold color without thinning the batter the way liquid drops would.
- Pure vanilla extract (1 tsp): Rounds out the flavor and ties the chocolate and red velvet notes together.
- Distilled white vinegar (1/2 tsp): Reacts with baking soda for extra fluffiness, and you will never taste it.
- Oreo cookies, roughly chopped (10): Folded into the batter so every bite has a little crunch of cookie surprise.
- Unsalted butter, softened (1/2 cup, 115 g): Let it truly soften at room temp or your frosting will have ugly lumps.
- Cream cheese, softened (8 oz, 225 g): Full fat cream cheese makes the richest frosting, so skip the reduced fat version here.
- Powdered sugar, sifted (2 cups, 250 g): Sifting is nonnegotiable unless you enjoy crunchy frosting.
- Pure vanilla extract for frosting (1 tsp): A second teaspoon in the frosting layer adds sweet floral warmth.
- Oreo cookies, finely crushed (6): Pulsed in a bag or food processor until sandy for the most spreadable frosting texture.
Instructions
- Preheat and prepare your pan:
- Set your oven to 350 degrees F (175 degrees C) and line a 12 cup muffin tin with paper liners so nothing sticks and cleanup is effortless.
- Whisk the dry ingredients together:
- In a medium bowl, combine the flour, cocoa powder, baking soda, and salt with a whisk until evenly blended, then set it aside.
- Build the wet batter:
- In a large bowl, beat the oil and sugar until they look like wet sand, then add the egg, buttermilk, red food coloring gel, vanilla, and vinegar, mixing until the batter is a gorgeous smooth crimson.
- Marry the wet and dry:
- Pour the dry ingredients into the wet mixture gradually, stirring just until the last streak of flour disappears because overmixing makes cupcakes tough.
- Fold in the Oreo pieces:
- Gently stir the chopped Oreos into the batter with a spatula, distributing them evenly without crushing them into dust.
- Fill the cupcake liners:
- Spoon or scoop the batter into each liner, filling them about two thirds full so they have room to dome beautifully without overflowing.
- Bake until perfectly set:
- Slide the tin into the oven for 18 to 20 minutes, testing with a toothpick that should come out clean or with just a few moist crumbs clinging to it. Let them rest in the pan for 5 minutes, then move them to a wire rack to cool completely.
- Make the cookies and cream frosting:
- Beat the softened butter and cream cheese together until silky and lump free, then add the sifted powdered sugar and vanilla, beating on medium high until the frosting is cloud light and fluffy. Fold in the finely crushed Oreos by hand so the crumbs stay distinct and pretty.
- Frost and garnish:
- Pipe or spread the frosting generously onto each fully cooled cupcake, then finish with a sprinkle of extra Oreo crumbs on top for that bakery style flourish.
 Save
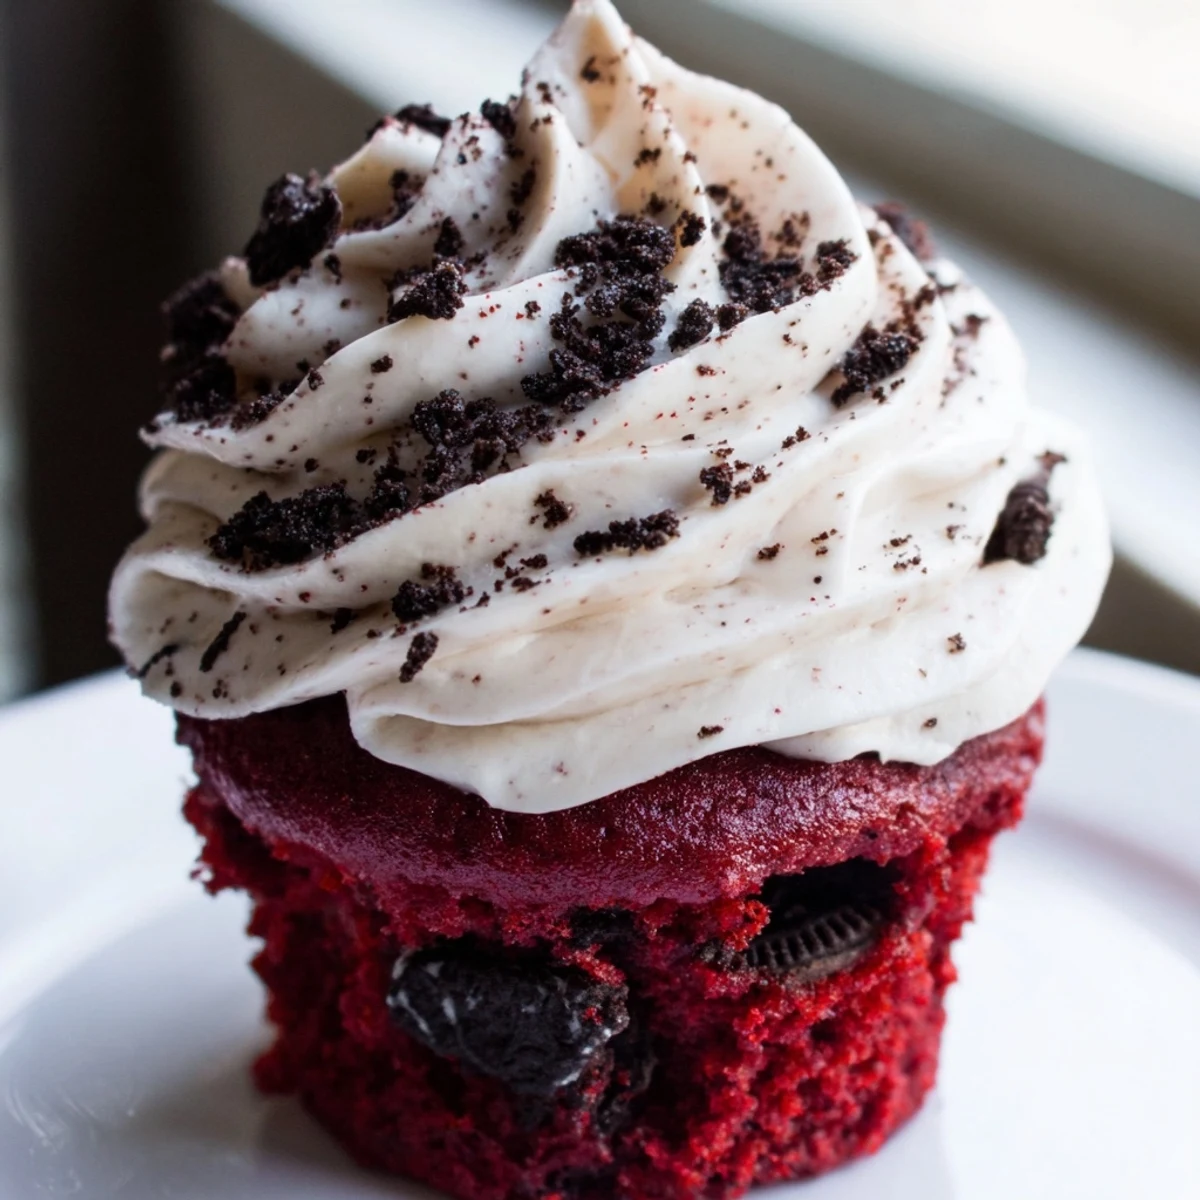
Save There is something deeply satisfying about watching someone bite into a cupcake and discover an unexpected chunk of Oreo hiding inside. It transforms a simple dessert into a small moment of joy.
Tools That Actually Help
An electric mixer saves your arm on the frosting, but honestly a whisk and some determination works fine for the cupcake batter itself. A cookie scoop fills the liners evenly, which matters more than you think because uneven cupcakes bake at different rates and some end up dry while others sink. A piping bag is optional but gives you those tall swoopy swirls that make people gasp when you lift the container lid.
Gluten Free And Allergy Swaps
You can swap the all-purpose flour for a one-to-one gluten free blend and use gluten free chocolate sandwich cookies instead of Oreos, and the texture stays remarkably tender. Just remember that Oreos contain wheat and soy, and the cream cheese and butter bring dairy into the picture, so always check labels if you are baking for someone with allergies.
Storing And Serving Like A Pro
These cupcakes stay beautifully soft for up to three days in an airtight container in the refrigerator, though I doubt they will last that long. Let them sit at room temperature for about 20 minutes before serving so the frosting softens and the cake regains its full flavor.
- Freeze unfrosted cupcakes for up to two months and thaw overnight before frosting for last minute dessert emergencies.
- Add a handful of mini chocolate chips to the batter alongside the Oreos if you want even more chocolate intensity.
- Always let the cupcakes cool completely before frosting or the cream cheese will melt right off into a sad puddle.
 Save
Save Every time I make these, someone asks if they can pay me to bake them for a party, and I always say just take the recipe instead. Good cupcakes are meant to be shared, and these were born to travel from your kitchen to wherever joy is needed.
Your Recipe Questions Answered
- → Can I make these cupcakes ahead of time?
-
Yes, you can bake the cupcakes a day in advance and store them in an airtight container at room temperature. Frost them the day you plan to serve for the freshest presentation and best texture.
- → Why did my cupcakes sink in the middle?
-
Sinking usually happens if the oven is opened too early, the batter is overmixed, or the leavening agents are expired. Avoid opening the oven door during the first 15 minutes of baking and mix the batter just until the dry ingredients are incorporated.
- → Can I use regular red food coloring instead of gel?
-
You can use liquid food coloring, but you will need about 2 tablespoons to achieve the same vibrant red tone. Gel coloring is preferred because it delivers more intense color without adding extra liquid to the batter.
- → How should I store leftover frosted cupcakes?
-
Store frosted cupcakes in an airtight container in the refrigerator for up to 3 days. Let them sit at room temperature for about 20 minutes before serving so the frosting softens and the cake regains its tender texture.
- → Can I freeze these cupcakes?
-
You can freeze the unfrosted cupcakes for up to 2 months by wrapping each one tightly in plastic wrap and placing them in a freezer-safe bag. Thaw overnight in the refrigerator, then frost and serve. Frosted cupcakes can also be frozen but the frosting texture may change slightly.
- → What can I substitute for buttermilk?
-
Combine 1/2 cup of whole milk with 1/2 tablespoon of white vinegar or lemon juice. Let the mixture sit for 5 minutes until it curdles slightly, then use it as directed. This homemade alternative works perfectly in the batter.
