 Save
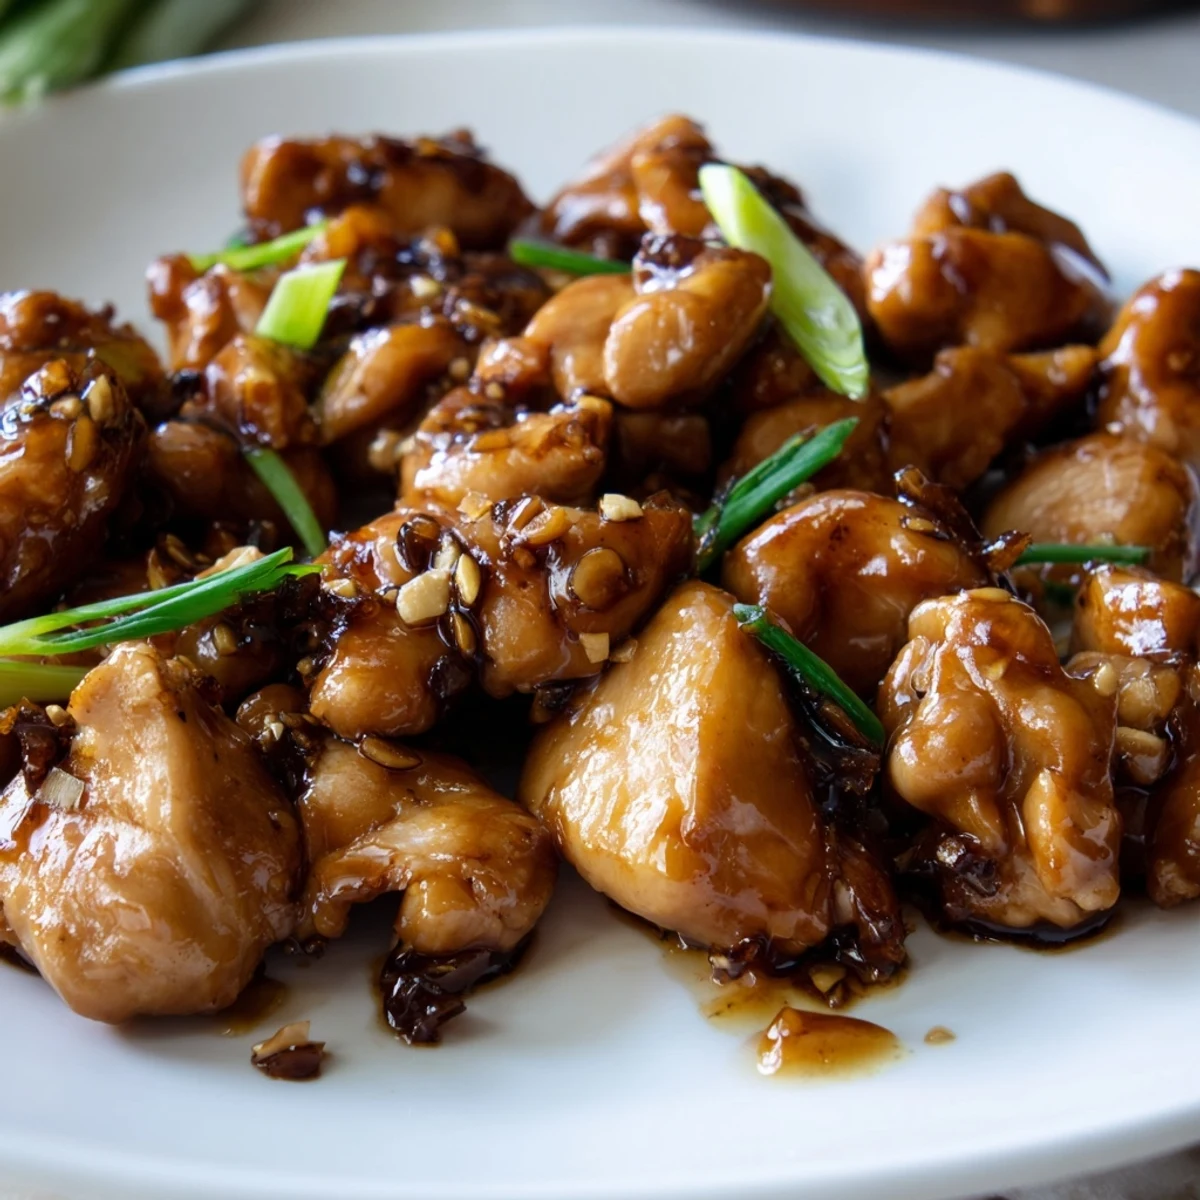
Save This Asian-inspired dish features tender chicken pieces cooked in a rich, glossy sauce that strikes the perfect balance between sweet and savory flavors. The combination of soy sauce and brown sugar creates a caramelized coating that clings beautifully to the meat, while fresh garlic and ginger add aromatic depth.
What makes this dish special is its simplicity—just seven ingredients come together in under 30 minutes for a restaurant-quality meal. The sauce thickens naturally as it simmers, creating that signature sticky glaze that Mongolian-style cuisine is known for.
Serve over steamed rice for a complete dinner, or pair with noodles for a heartier meal. The dish is naturally dairy-free and can easily be made gluten-free with a simple soy sauce substitution.
The first time I made Mongolian chicken, I was skeptical about how something so simple could taste so complex. Standing at my stove, watching that glossy sauce thicken and coat the chicken, I realized sometimes the most impressive flavors come from the humblest ingredients. Now its my go-to when I want takeout quality results without actually ordering takeout.
Last winter, when my sister came over exhausted from work, I threw this together between catching up. She literally stopped mid-sentence after her first bite and asked what restaurant Id ordered from. The look on her face when I told her Id made it myself was absolutely priceless.
Ingredients
- 1 lb boneless chicken thighs or breasts: Thighs stay juicier but breasts work perfectly if thats what you have on hand
- 1/2 cup low-sodium soy sauce: Regular soy sauce makes it too salty, so control the salt level here
- 1/3 cup brown sugar: Dark brown sugar gives a deeper molasses flavor if you want extra richness
- 1/4 cup water: This helps dissolve the sugar and creates the right sauce consistency
- 4 cloves garlic: Fresh garlic is non-negotiable here, garlic powder just doesnt give the same punch
- 1 tablespoon fresh ginger: Peel it with a spoon to get all those flavorful bumps without wasting any
- 2 tablespoons vegetable oil: Any neutral oil works, but save your sesame oil for finishing
Instructions
- Mix the sauce base:
- Whisk soy sauce, brown sugar, and water in a bowl until the sugar completely disappears into the liquid
- Heat your pan:
- Get that oil shimmering in a large skillet or wok over medium-high heat, you want it hot enough to hear a sizzle immediately
- Sear the chicken:
- Add chicken pieces and let them develop a golden brown crust, about 4 to 5 minutes, turning occasionally so all sides get color
- Add the aromatics:
- Toss in minced garlic and grated ginger, stirring constantly for just 1 minute until the smell fills your kitchen
- Create the glaze:
- Pour in that sauce mixture and stir to coat every piece, then let it bubble away for 6 to 8 minutes until it thickens beautifully
 Save
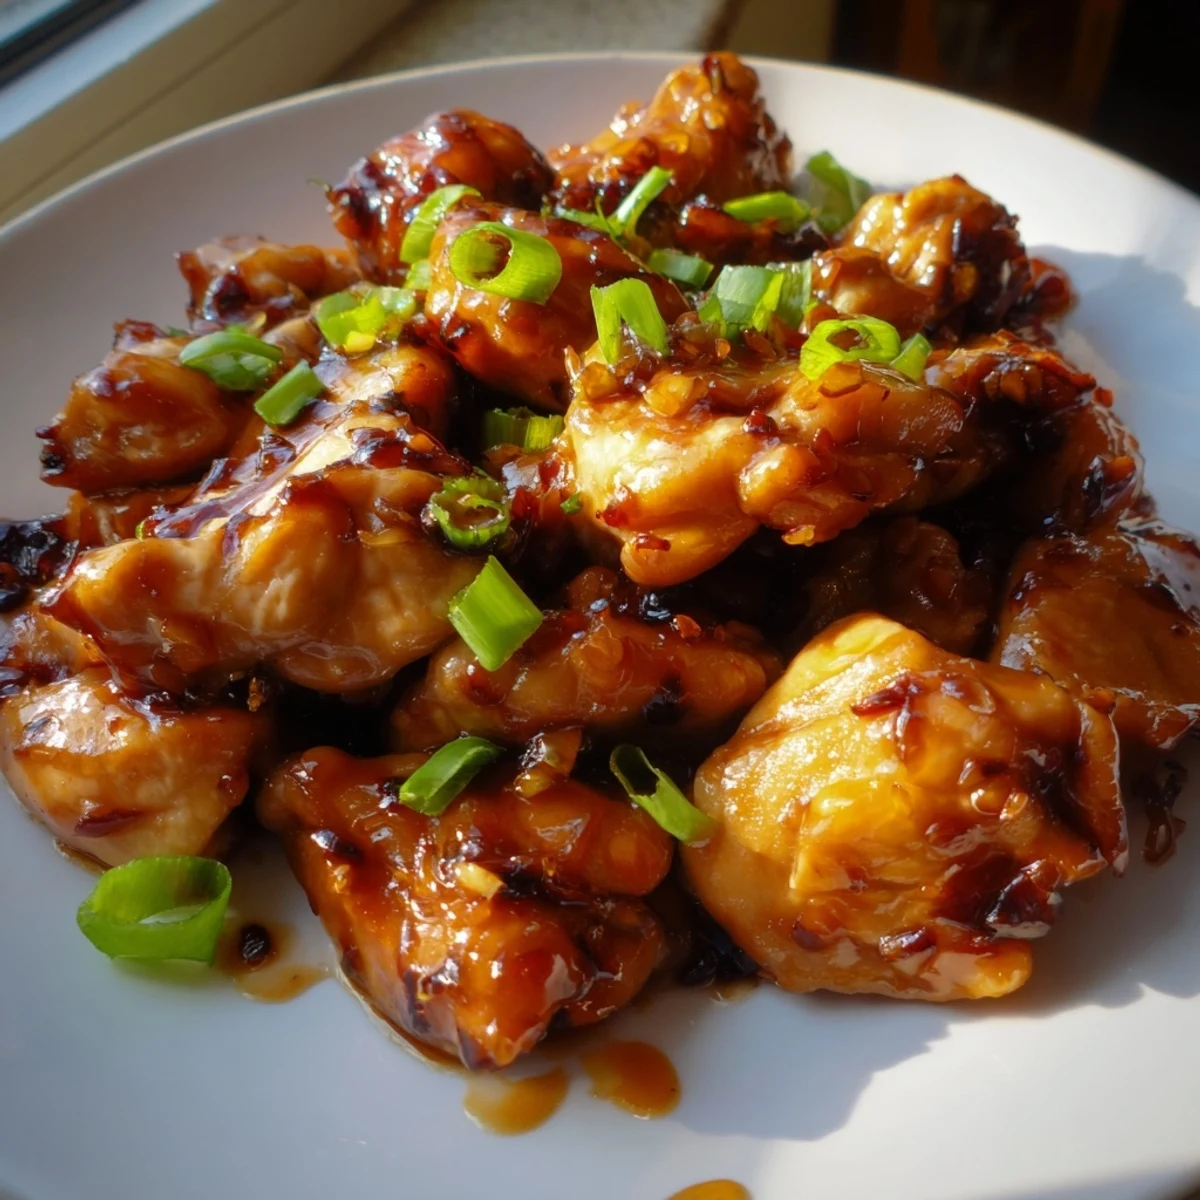
Save This recipe has saved me on countless weeknights when motivation was low but hunger was high. Theres something incredibly satisfying about serving something that looks and tastes this impressive with so little actual effort.
Make It Your Own
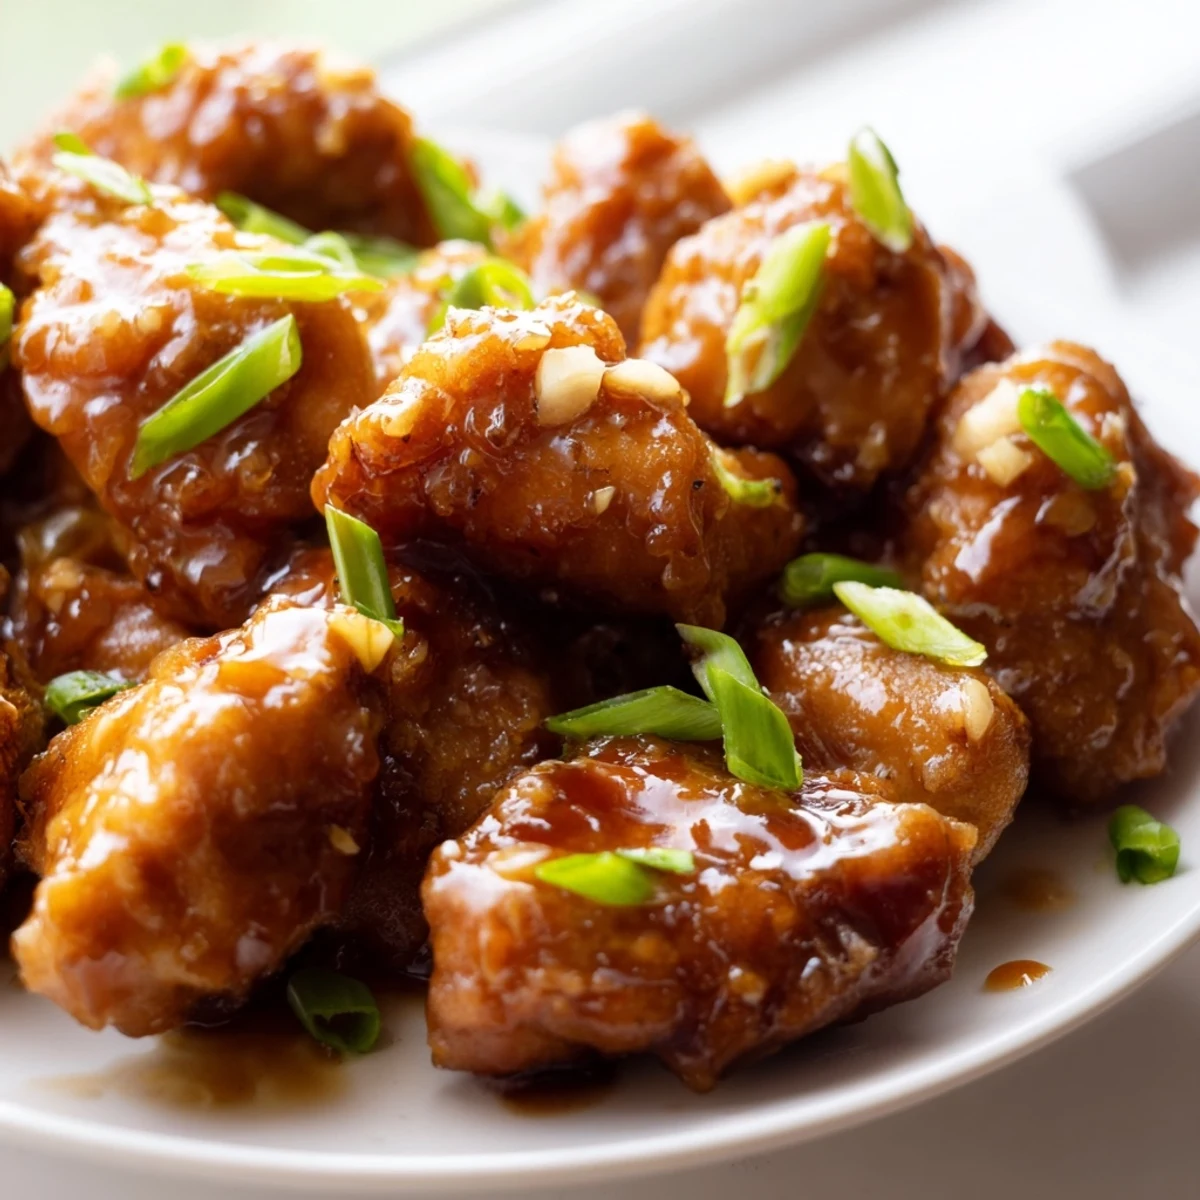
Ive learned that a light dusting of cornstarch on the chicken before cooking gives it that restaurant-style crunch. Sometimes I add a pinch of red pepper flakes right at the end for a gentle warmth that builds. The beauty of this dish is how forgiving it is with small adjustments.
Serving Suggestions
Steamed jasmine rice is classic, but I love serving this over cauliflower rice when I want something lighter. Sautéed bok choy or broccoli on the side cuts through the sweetness perfectly. The sauce is so good youll want something extra to soak it all up.
Storage And Reheating
This keeps beautifully in the refrigerator for up to 4 days and actually tastes better the next day as the flavors deepen. Reheat gently in a pan with a splash of water to loosen that sauce back up.
- Freeze portions in freezer bags for those emergency weeknight dinners
- Double the sauce if you love extra drizzle over your rice
- The green onions are best added fresh right before serving
 Save
Save There you have it, my friend. Weeknight dinner just got a whole lot more exciting.
Your Recipe Questions Answered
- → What cut of chicken works best?
-
Boneless, skinless chicken thighs are ideal because they stay tender and juicy during cooking. Chicken breasts work well too, though they may cook slightly faster. Cut either option into uniform bite-sized pieces for even cooking.
- → Can I make this gluten-free?
-
Absolutely. Substitute the soy sauce with coconut aminos or a gluten-free tamari sauce. Ensure all other ingredients, especially any garnishes or sides, are certified gluten-free if needed.
- → How do I get a thicker sauce?
-
Let the sauce simmer uncovered until it reduces and coats the back of a spoon. For extra thickness and a slight crunch, lightly dust the chicken in cornstarch before cooking as suggested in the notes.
- → What should I serve with this dish?
-
Steamed white or brown rice is the classic pairing that soaks up the flavorful sauce. Noodles, quinoa, or cauliflower rice also work well. Add sautéed bok choy, steamed broccoli, or stir-fried vegetables for a complete meal.
- → Can I add more spice?
-
Yes. Add red pepper flakes during step 4 when sautéing the garlic and ginger. Start with 1/4 teaspoon and adjust to your heat preference. A drizzle of sriracha or chili crisp at serving also adds a nice kick.
- → How long do leftovers keep?
-
Store in an airtight container in the refrigerator for up to 3 days. Reheat gently in a skillet with a splash of water to loosen the sauce, or microwave in 30-second intervals. The sauce may thicken further when chilled.
