 Save
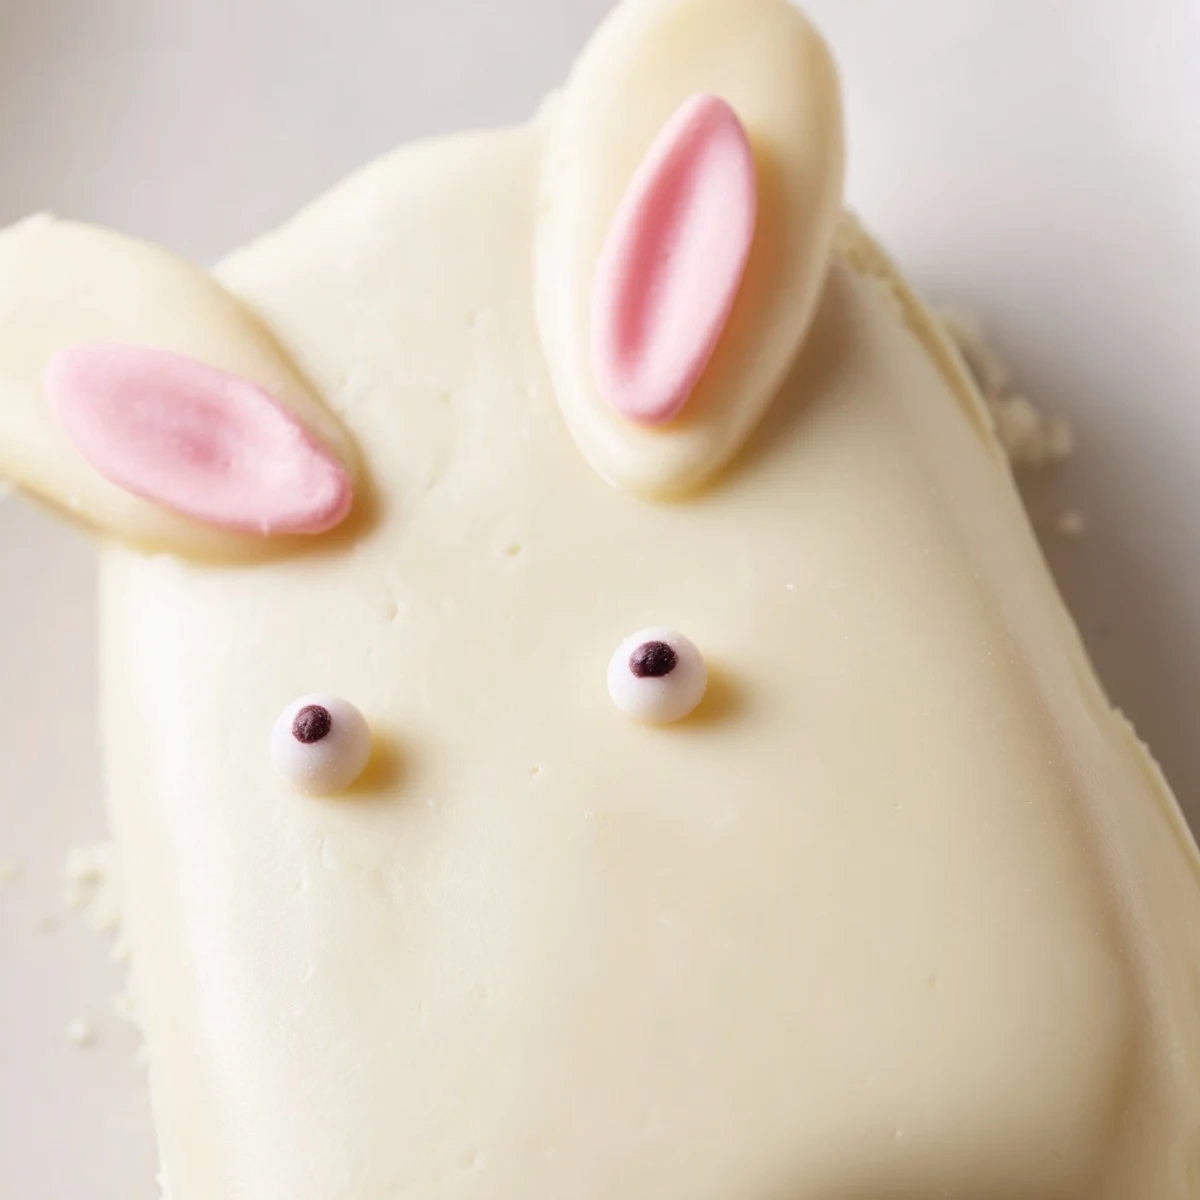
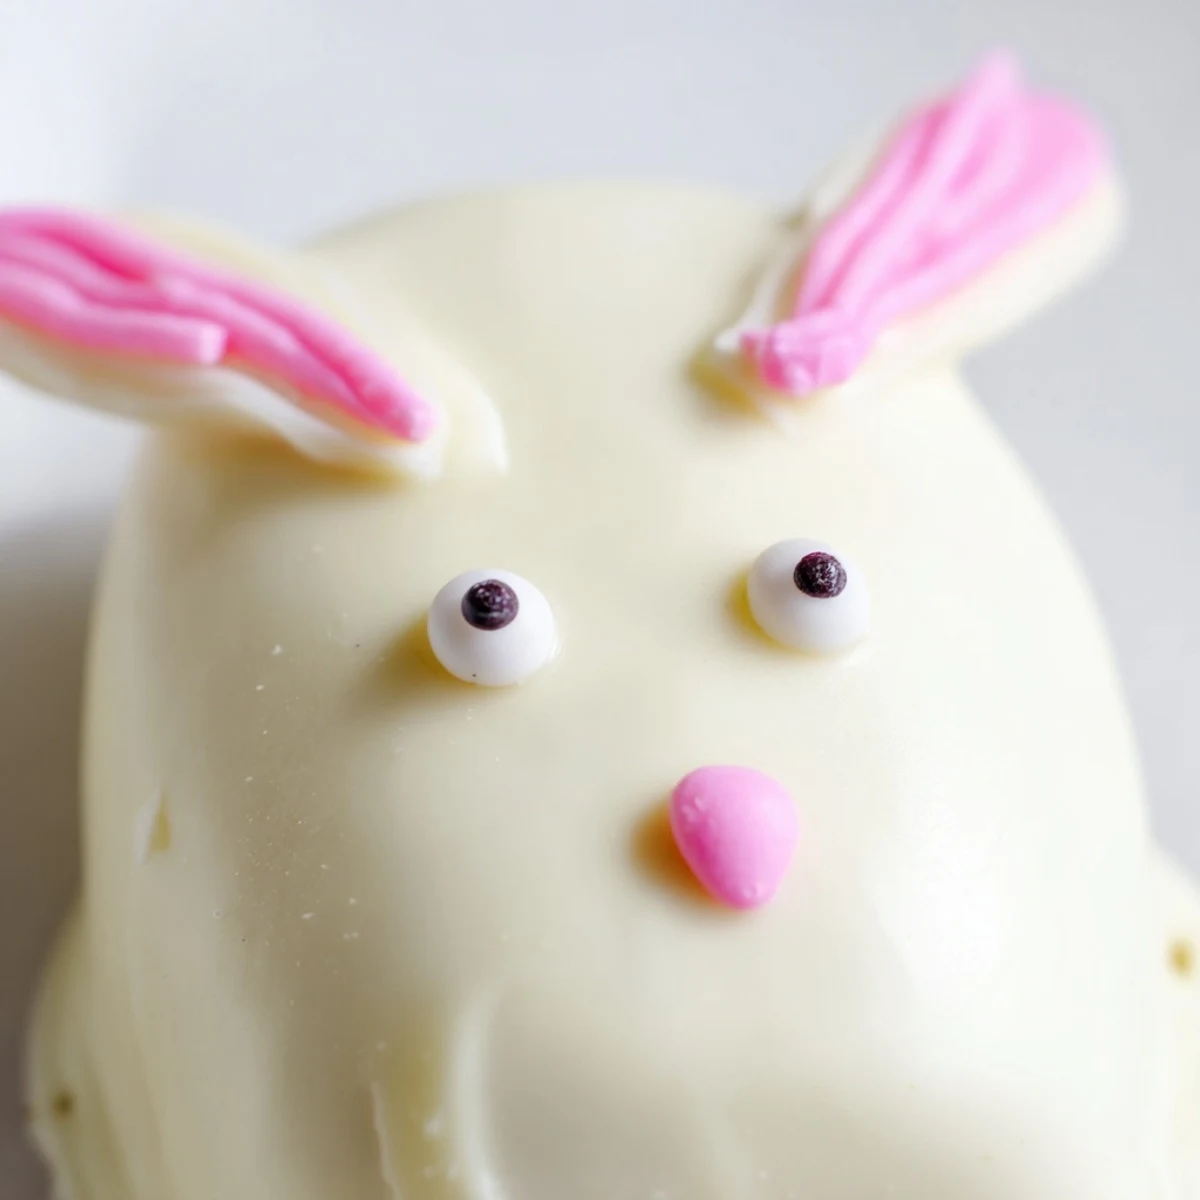
Save These delightful bunny-shaped treats combine moist vanilla cake crumbs with cream cheese and butter, formed into playful cakesicles and dipped in smooth white chocolate. The cake mixture holds together perfectly while the white chocolate coating provides a sweet, creamy exterior that pairs beautifully with the tender crumb inside.
Decorating these treats is half the fun—add candy eyes, pink noses, and floppy fondant ears to bring each bunny to life. The marbled white chocolate effect creates an especially elegant finish, while sprinkles and colorful details make them irresistible to both children and adults.
Ideal for Easter gatherings, spring parties, or as a creative weekend project with family. Each batch yields eight generously-sized treats that store beautifully in the refrigerator for up to three days. The vegetarian-friendly composition and straightforward preparation make them accessible for bakers of all skill levels.
The kitchen smelled like vanilla and sunshine when I first attempted these bunny cakesicles for my niece's Easter egg hunt. I'd planned to make simple cake pops, but somehow the conversation turned to how much more fun they'd be shaped like bunnies, and suddenly we were covered in white chocolate and giggling at our lopsided creations.
Last spring, my neighbor's daughter helped me make a batch, and she insisted each bunny needed its own personality. We spent an extra hour giving them different expressions—some grumpy, some surprised, all delicious—and her mom texted me later saying it was the highlight of their holiday weekend.
Ingredients
- Vanilla cake crumbs: I have used leftover birthday cake and store-bought cupcakes—both work beautifully, just avoid anything too dry
- Cream cheese: Room temperature is non-negotiable here; cold cream cheese creates lumps that will drive you crazy
- Unsalted butter: Softened for about 30 minutes makes the mixing process so much smoother
- Powdered sugar: This balances the cream cheese's tang and helps the mixture hold its bunny shape
- Vanilla extract: Pure vanilla extract makes everything taste homemade and special
- White chocolate: I have learned the hard way that high-quality white chocolate melts and coats better than the cheap stuff
- Edible gel food coloring: Liquid coloring will seize your chocolate—gel coloring is worth the extra trip to the baking aisle
- Cakesicle sticks: Paper ones work, but I prefer the slightly sturdier wooden sticks for less wobble during decorating
Instructions
- Mix your cake dough:
- Combine all the cake mixture ingredients in a medium bowl, mixing with clean hands until the texture resembles Play-Doh that holds its shape when squeezed
- Shape the bunnies:
- Portion into 8 equal pieces and gently flatten each into an oval, pressing slightly at the top to create subtle ear bumps before inserting sticks about halfway through
- Chill thoroughly:
- Refrigerate for at least 20 minutes—warm cake centers will cause your chocolate coating to crack and slide off, which I learned during an unfortunate trial run
- Melt the chocolate:
- Heat white chocolate in 30-second intervals, stirring between each, until it flows like heavy cream and feels silky when you dip a spoon in
- Dip and tap:
- Submerge each bunny completely, then tap the stick against the bowl edge gently to let excess chocolate drip off—this prevents those frustrating puddles at the bottom
- Decorate immediately:
- Add candy eyes, sprinkles, or fondant details while the chocolate is still tacky because nothing adheres to hardened chocolate without additional melting
- Set completely:
- Let the chocolate harden at room temperature for about 15 minutes, or pop the tray in the fridge for 5 minutes if you are impatient like me
 Save
Save My sister-in-law now requests these for every family gathering, not just Easter, and we have started making them as 'cake flowers' for spring birthdays using the same technique but pressing the mixture into petal shapes instead.
Working With White Chocolate
White chocolate is notoriously finicky and can seize into a grainy mess if even a drop of water gets into the bowl. I always make sure my spoon is completely dry before stirring, and if the chocolate does seize, I have rescued it by stirring in a teaspoon of vegetable oil until it becomes smooth again.
Making Ahead
You can prepare the cake mixture and shape the bunnies up to two days in advance, storing them tightly covered in the refrigerator. The shaped centers freeze beautifully too—just thaw them in the fridge overnight before dipping in melted chocolate.
Decoration Ideas That Work
Beyond candy eyes, I have used mini marshmallows for tails and pink sprinkles for noses. Shaved coconut makes adorable fur texture when pressed into wet chocolate, and a tiny dot of pink gel coloring transforms into the sweetest bunny cheeks.
- Pretzel sticks dipped in pink chocolate make charming ears that stay crunchy
- Crushed graham crackers add a fun texture variation on the coating
- Matcha powder mixed with a bit of white chocolate creates lovely green grass detail
 Save
Save These bunny cakesicles have become such a beloved spring tradition in our house that I cannot imagine Easter without them anymore.
Your Recipe Questions Answered
- → Can I make these cakesicles ahead of time?
-
Absolutely! Prepare the cakesicles up to three days in advance and store them in an airtight container in the refrigerator. The white chocolate coating helps keep the cake moist and fresh. Bring them to room temperature about 15 minutes before serving for the best texture and flavor.
- → What other cake flavors work well for this treat?
-
While vanilla provides a classic neutral base, chocolate cake creates a lovely contrast with white chocolate coating. Lemon, red velvet, or funfetti cake crumbs also add delightful variety. Just ensure the cake is thoroughly crumbled and not too moist before mixing with the binding ingredients.
- → How do I prevent the sticks from falling out?
-
Chilling the shaped cake mixture for 20-30 minutes before inserting the sticks is crucial. Insert the stick about halfway through the cake shape, then gently press the cake around the base to secure it. An additional brief chill after inserting the sticks ensures they stay firmly in place during dipping.
- → What's the best way to melt white chocolate for coating?
-
Melt white chocolate in 30-second intervals in the microwave, stirring thoroughly between each burst. White chocolate seizes easily, so avoid overheating. If the mixture becomes too thick, add a teaspoon of vegetable oil or coconut oil to achieve a smooth, dippable consistency.
- → Can I use candy melts instead of real white chocolate?
-
Yes, candy melts work beautifully and often produce a smoother coating since they're formulated for dipping. They're available in various colors, which can eliminate the need for additional food coloring. However, real white chocolate offers a richer flavor profile that many prefer.
- → How do I create the marbled effect mentioned in the notes?
-
Melt white chocolate as directed, then add a small amount of gel food coloring. Gently swirl once or twice with a toothpick—don't overmix! Dip your cakesicle, and the swirl pattern will create a beautiful marbleized effect. Practice with a test piece first to perfect your technique.
