 Save
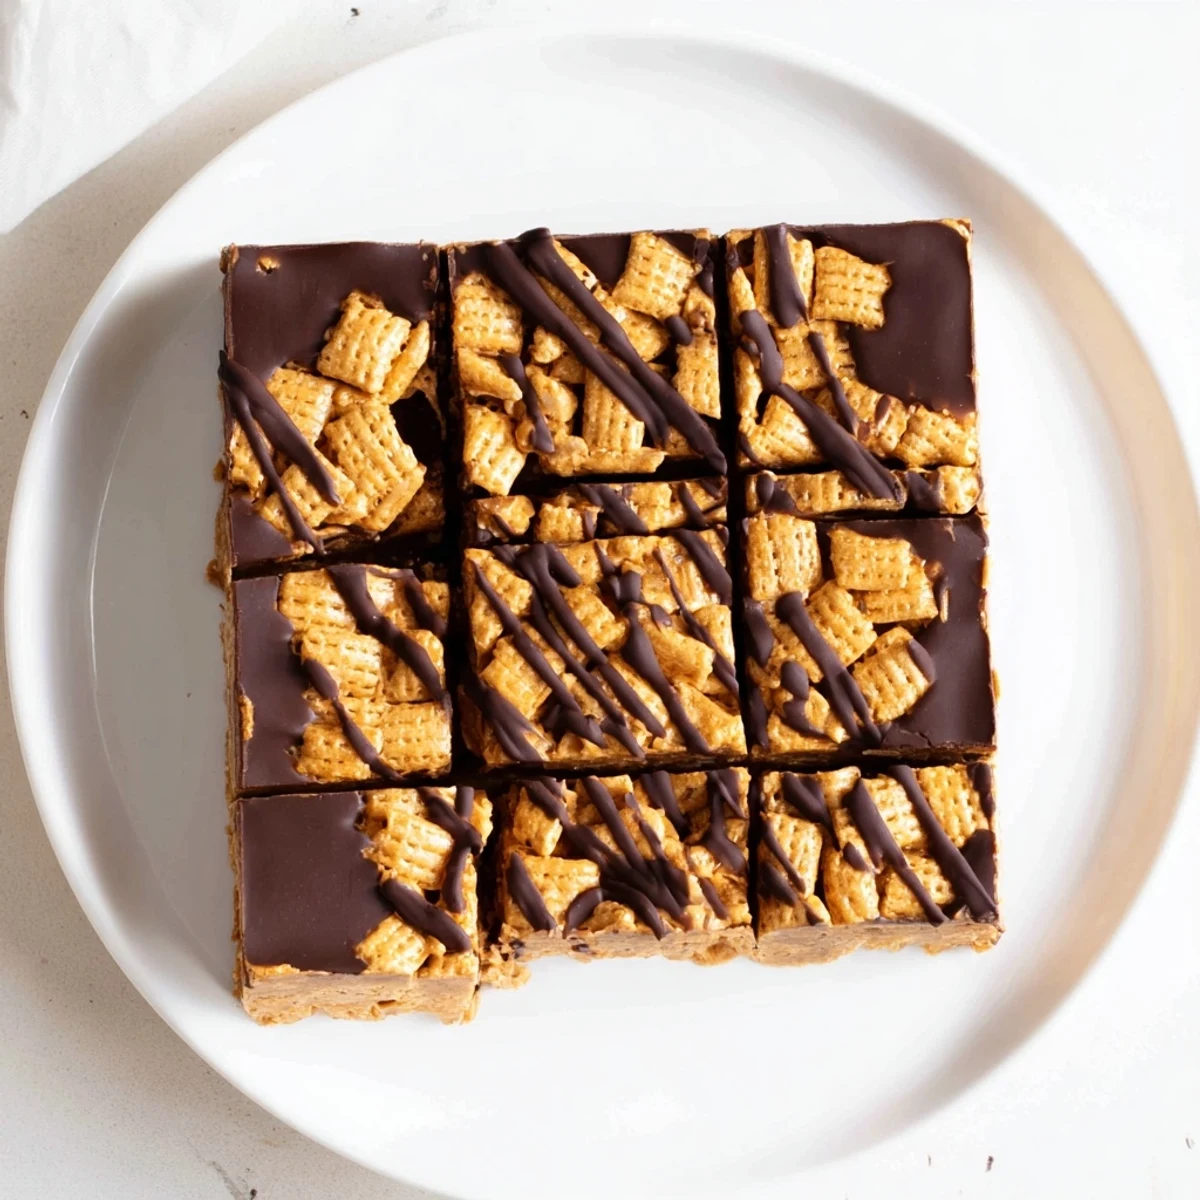
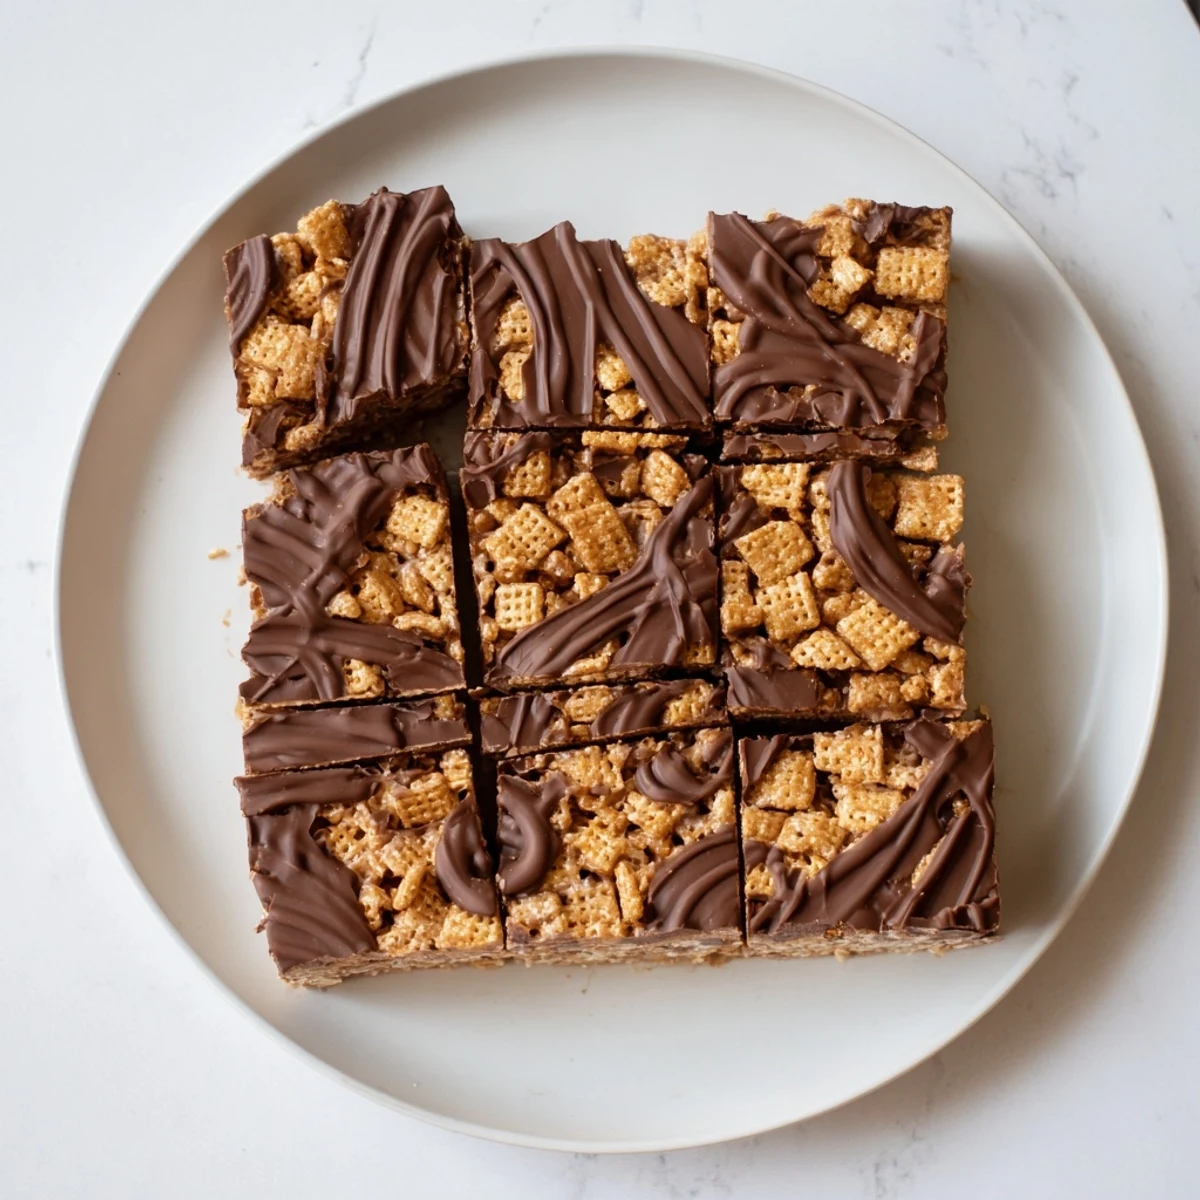
Save Whip up these crunchy, sweet bars without ever turning on your oven. Gluten-free Chex cereal gets coated in a warm mixture of peanut butter, honey, and butter, then pressed into a pan and topped with melted chocolate. The result? A layered treat that's part crispy, part creamy, and entirely satisfying. After just an hour in the refrigerator, you'll have 16 handheld bars perfect for packing in lunches, serving at gatherings, or keeping stashed in the fridge for whenever hunger strikes.
My college roommate burst into our tiny kitchen one Tuesday evening, clutching a box of cereal and a jar of peanut butter like she had discovered gold. She had found this recipe somewhere online and swore it would change our study snack game forever. Two hours later, we were licking chocolate off spoons while sitting on the apartment floor, completely ignoring our textbooks.
I brought a batch to my office potluck last month and watched my coworker Sarah take that first skeptical bite. Her eyes went wide before she whispered, I need this recipe immediately. Now she texts me updates every time she makes them, which has evolved into approximately three times per month.
Ingredients
- 4 cups gluten-free Honey Chex cereal: The honey variety adds an extra layer of sweetness that perfectly balances the rich peanut butter
- 1 cup creamy peanut butter: Use natural peanut butter for a more intense flavor or regular for a smoother, sweeter result
- 1/2 cup honey: Adds floral notes that complement the cereal and helps bind everything together without being overpowering
- 1/4 cup unsalted butter: Creates that luscious, melt-in-your-mouth texture in the base layer
- 1 cup semisweet chocolate chips: Ensure they are certified gluten-free if that matters for your dietary needs
- 2 tablespoons creamy peanut butter: Mixing this into the chocolate makes the topping glossy and prevents it from cracking when cut
Instructions
- Prep your pan perfectly:
- Line an 8x8-inch baking pan with parchment paper, letting the edges hang over like little handles. This saves you so much frustration later when you need to lift the whole thing out.
- Melt the base mixture:
- Combine the peanut butter, honey, and butter in a large saucepan over medium-low heat. Stir constantly until everything melts together into a smooth, glossy mixture. Remove from heat immediately once combined.
- Coat the cereal:
- Pour in the Honey Chex and gently fold until every piece is evenly coated. Take your time here because the cereal is fragile and you want it to stay crunchy, not turn into crumbs.
- Press it down firmly:
- Transfer the mixture to your prepared pan and press it down with the back of a spoon or spatula. Press harder than you think you need to—this ensures the bars hold together when you cut them later.
- Make the chocolate topping:
- Microwave the chocolate chips and 2 tablespoons peanut butter in a microwave-safe bowl. Heat in 30-second intervals, stirring between each, until completely smooth and glossy.
- Spread and chill:
- Pour the chocolate over the base and spread it evenly with an offset spatula. Refrigerate for at least 1 hour until completely set before cutting into 16 squares.
 Save
Save My daughter helped me make a batch last summer and managed to get chocolate on absolutely everything including her forehead and the cat. The photo of her grinning with chocolate-covered hands is now my phone wallpaper.
Making Them Your Own
Sometimes I swap sunflower seed butter for peanut butter when my niece visits since she has a nut allergy. The flavor changes slightly but that irresistible crunch stays exactly the same.
The Secret to Perfect Cutting
Let the bars sit at room temperature for about 5 minutes before slicing them. Use a sharp knife and run it under hot water between cuts for those picture-perfect clean edges.
Storage Solutions
I keep these stacked between layers of wax paper in an airtight container in the fridge. They actually taste even better on day two when the flavors have had time to really meld together.
- Freeze them for up to 3 months if you want to have dessert emergencies covered
- Individual pieces wrapped in parchment make excellent lunchbox surprises
- They thaw in about 15 minutes at room temperature
 Save
Save Every time I make these now, I think about that tiny college kitchen and how something so simple could create such a lasting memory. Good food does that—it connects us to people and moments we never want to forget.
Your Recipe Questions Answered
- → Can I make these bars without peanut butter?
-
Yes! Substitute sunflower seed butter, almond butter, or any nut-free alternative that melts smoothly. The texture and sweetness will remain similar, though the flavor will shift slightly based on your chosen butter.
- → How long do these bars stay fresh?
-
Store in an airtight container in the refrigerator for up to one week. The cold temperature keeps the chocolate firm and maintains the crunch of the cereal base. They can also be frozen for up to three months—thaw in the fridge before serving.
- → Do I need to use Honey Chex specifically?
-
While Honey Chex adds extra sweetness, plain gluten-free Chex works perfectly fine since the honey is already included in the sticky base mixture. Just ensure whichever cereal you choose is certified gluten-free if needed.
- → Can I add mix-ins to the cereal base?
-
Absolutely! Mini marshmallows, chopped nuts, shredded coconut, or even dried fruit can be folded in with the cereal. Just keep additions to about ½ cup total so the bars still hold together properly when pressed.
- → Why is my chocolate layer cracking when I cut the bars?
-
Let the bars sit at room temperature for 5-10 minutes before cutting. Cold chocolate can be brittle, while slightly warmed chocolate slices more cleanly. Use a sharp knife warmed under hot water and wiped dry between cuts for the smoothest edges.
